-
Auto21 – Post 4
This week we set up the raspberry pi, installed the needed software and got the camera working. We started using the OpenCV library to modify the pictures by changing hue, saturation and brightness isolating the playing card numbers which we want to recognize. With this we should be able to compare these pictures with sample…
-
TCD – Unmanned ground vehicle Week 3 (05.09 – 11.09)
Hei bloggen! We started our day by going through the Arduino kit which we got from the university in the first semester of the first year, trying to look for parts which we could use. Sure enough we found servo motors and also a Bluetooth module. We figured this Bluetooth module could prove to be…
-
Week 4: Sort.it – Product Development
This week we improved upon the code we already wrote, and finished some of the CNC designs so that they where ready to produce. Setting up the physical button We started working on a way to interact with our system, we where thinking that a button is the first logical interaction we should work on.…
-
Connect 4 – Week 3 (05.09 – 11.09)
This week, Zoran showed us how we can lasercut things out. We than started to make a prototype of the gameboard, that means only two rows with all colums. And also cutting out 14 coins. Later, we have to paint or mark them in the player color and robot color. We glued the separator parts…
-
Week 3: Sort.it – Connecting all 3 motors
This week we changed our name to Sort.It. Now that we had set up one of the motors correctly, we had to connect the wires on the two other motors and doubling up the code for the two other motors. Since we already done it once it was a piece of cake to do it…
-
Week 2: Further investigations into our problem domain
Now that we had figured out that we would have a sorting system. We had to dive deeper into the specifics. We had to investigate what kind of grabbing tool did we needed for our problem. What kind of grabbing tool could be versatile. There were few problems with our ideas about making it “easier”…
-
Group 2 – Chess Mates
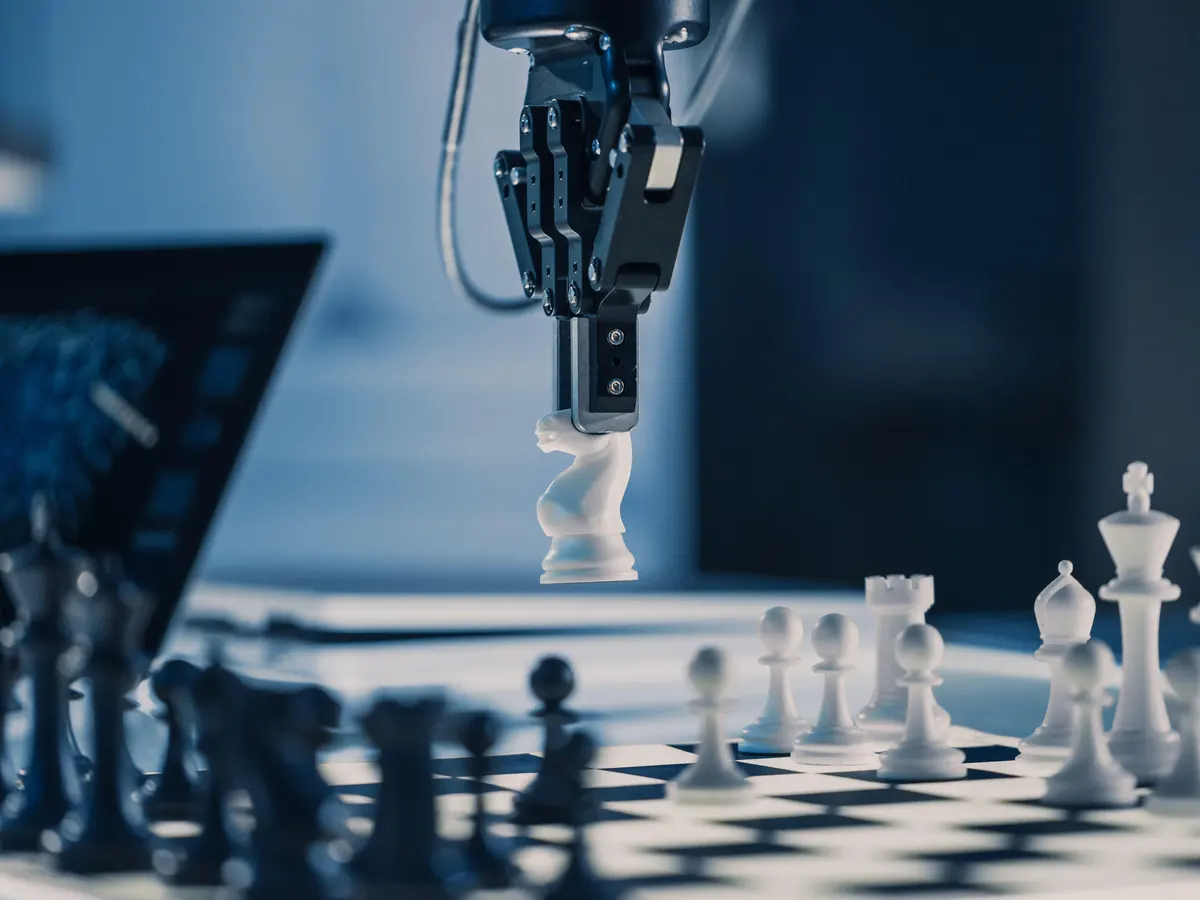
Hello everyone. We are Chess Mates, and our project is to create a chess game where your opponent will be a chess playing robot arm. Since we have had som difficulty posting on this blog, we decided to give an update on week 1, 2 and 3 in this blog post. Week 1 and 2…
-
Week 1: Considering our options
CNC.IT – Computer Numerical Control Innovative Technologies Starting phase Today’s work did put our creativity to the test. Since we had a group that consisted of all three engineering disciplines, we had to find a problem that could involve all of our group members. We had many ideas such as robotic arm, chessboard with AI,…
-
TCD – Unmanned ground vehicle week 2 (29.08 – 04.09)
Hei bloggen! Today we have explored the parts we are going to use, functionality and application of the robotic arm. We try to limit ourselves so that we don’t gap over too much in the initial phase. The level of ambition is sky-high, but we get good advice from supervisor Zoran, which means that we…
-
Auto21 – Post 1&2
24.08.2022 The day started with me oversleeping and missing the train, so I was late, and everyone had found a group already. I managed to find a very helpful teacher, who introduced me to a group I was greeted by the new group. we were faced with a problem that was that the group was…