This week our group has started using the Github side that we created last week. The computer students has continued the work on tracking and recognizing the pieces and creating a chess game in unity that can later be used as an interface between the camera and the motion. During this week we have also started making the board. In the video bellow you can see the CNC machine that we used for cutting the board pieces.
Helge Sondre, Oriana Presacan:
This week we managed to draw a red circled around the objects by making an algorithm that colors a pixel red if next to a blue pixel there was no blue. This made then a circle around the objects. Also we learned a bit about github, so we can use this in our project. If we then manages to ruin/lose our code we can go back to find an older working version of the code.
Next we want to visualize what we have found and hopefully manage to soon start recognize pieces.
Sondre Fuhre Orsteen:
This week I have been learning how to use GitHub, while working more on the Unity Chess game. So far, the board has been made, with each in individual square being clickable. All the pieces spawn on their correct positions, and white starts to move followed by black and so on. There is also a basic function to highlight which move is allowed, but it is not yet finished. The most current I am working on is making the rules for the pawn’s movement.
This picture shows what it looks like when the mouse hoovers over a square, indicated by the x.
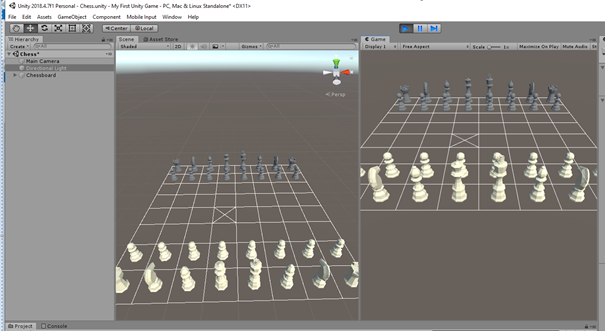
This picture shows the highlight occurring when selecting a piece. This is not yet finished by an example to show how it will work in the future.

Osmar Ferreira de Freitas:
This week I focused more in organizing our GitHub and help the other members to get the hang of the repository organization. I also started researching about A4988 stepper motor driver, so we can implement in our system in the near future.
Stian Bergstrøm:
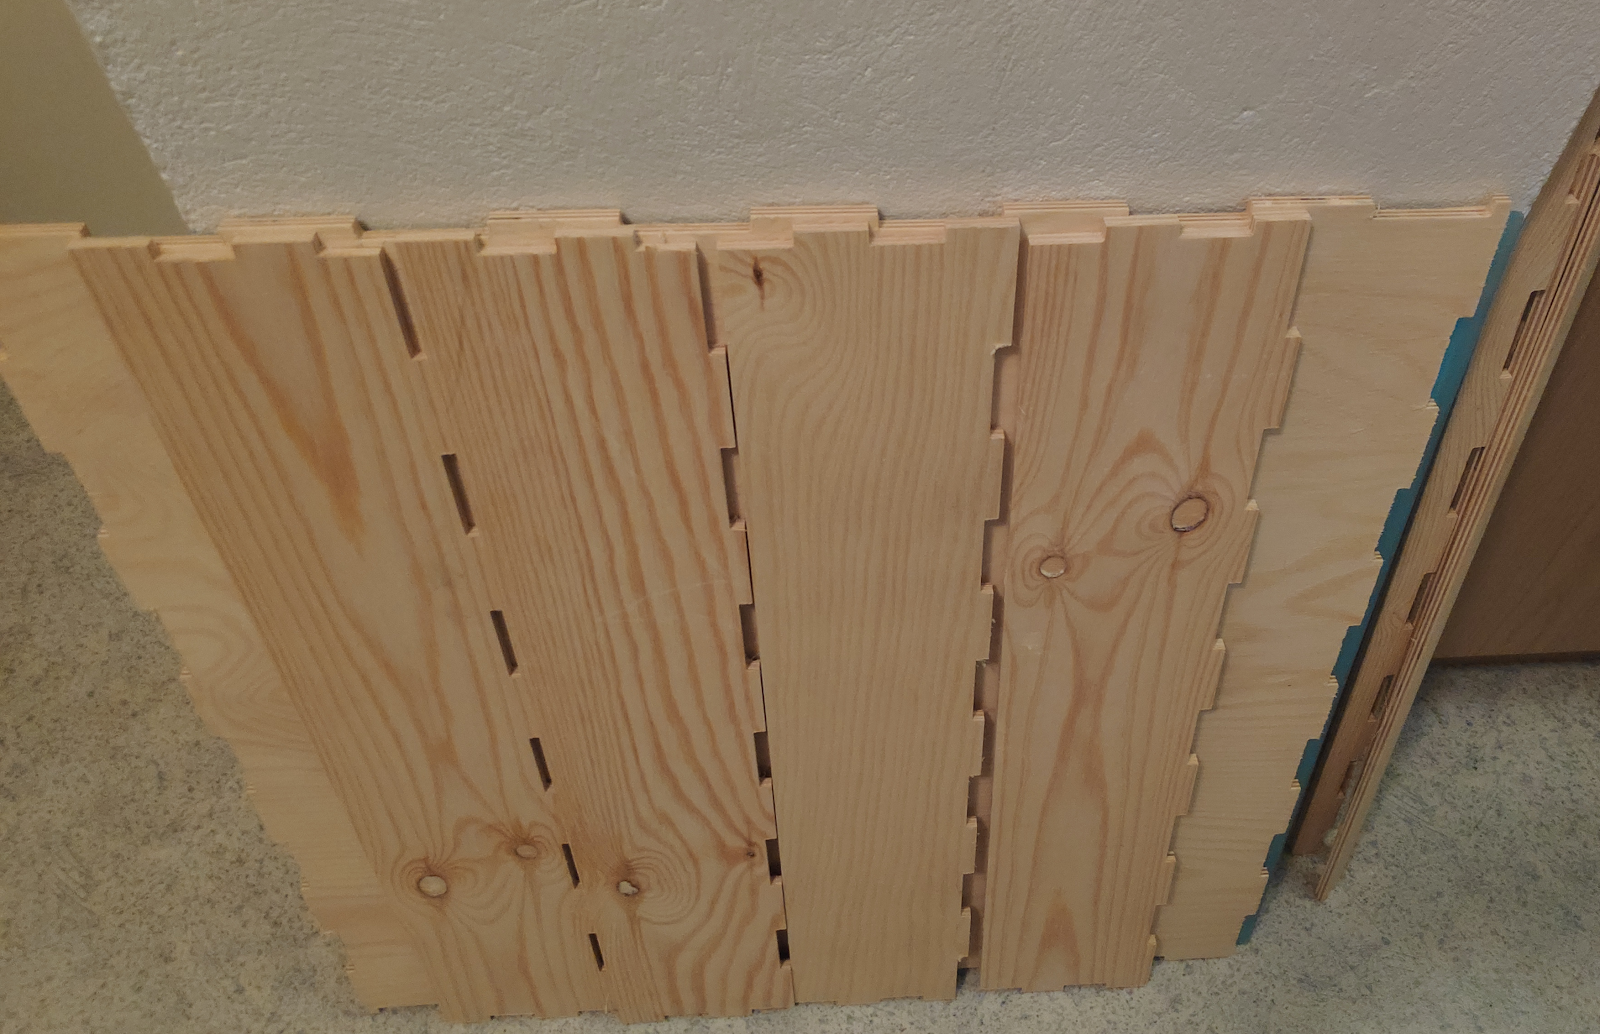
This week I have been starting on making the board. The plan was to use 3 or 4mm plate but it was not stiff enough. Another options was to use a thicker plate and use acrylic glass as the top plate. Ended up with using a 7mm thick plywood plate to be used for the bottom and for the side. After resizing the model in Fusion 360 the board was ready to be cut. After getting the correct file I could make the tool path for the CNC router and start cutting the board. The side and bottom plate can be seen on the picture below. For the top plate we would need a thinner plate. That is because we can’t have a big distance from the pieces to the electromagnet. With our plate needed to be 600x600mm the thinner plywood plate would be a little to flexible. The other option would be acrylic glass. This plate would also be good for testing the system since it is a smooth surface and translucent. Then we can see the electromagnet under the top plate.