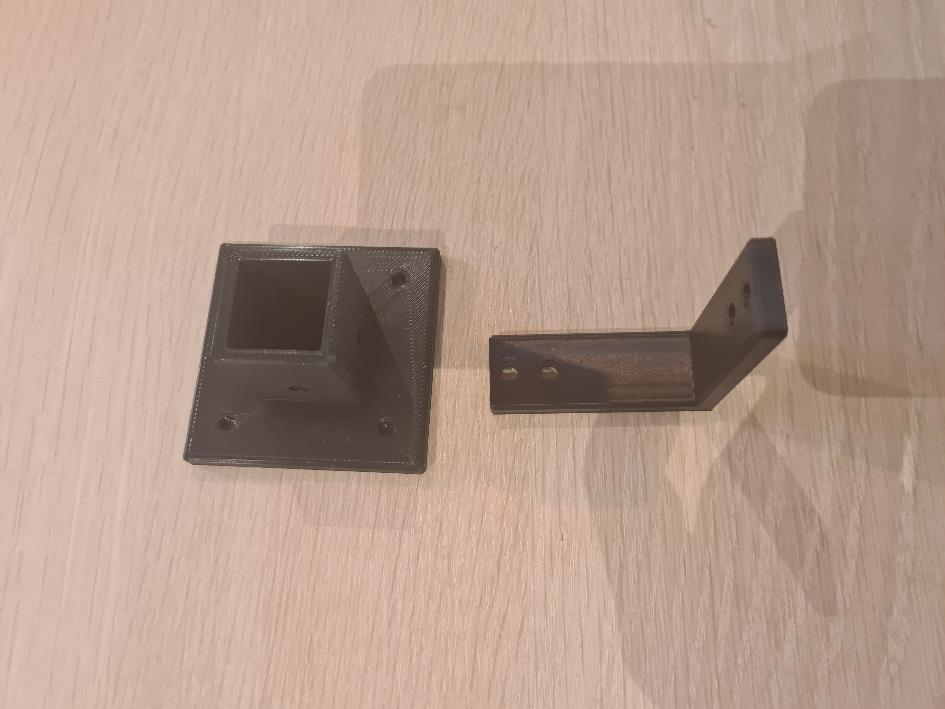
In the beginning of the semester when I was working on a timeline for this project, I had planned to complete the whole project by the end of week 13. And as it turns out, I was able to finish my part of the project by the end of this week. The only thing that remains to be done, and that is something I did not take into consideration when establishing the timeline, is that I need to attach the chess board and the arm to the box / frame I created. But since Kevin and Hossein are still programming the arm, I am hopeful that I can put everything together on Wednesday, when we are planning to work on the presentation and video for the upcoming exam presentation. Below is a picture of the feet and angle bracket i created for the box / frame.
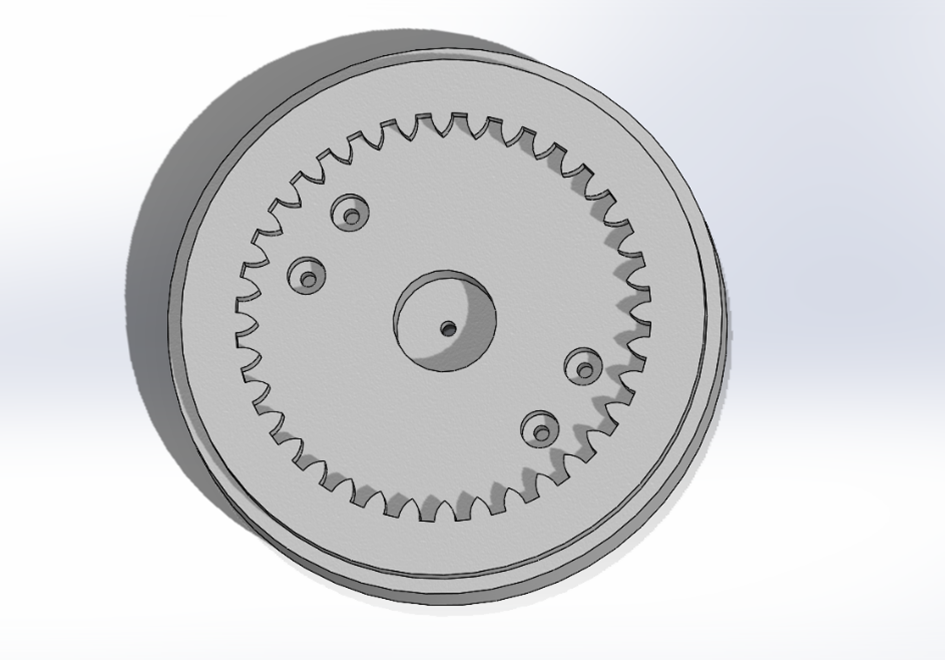
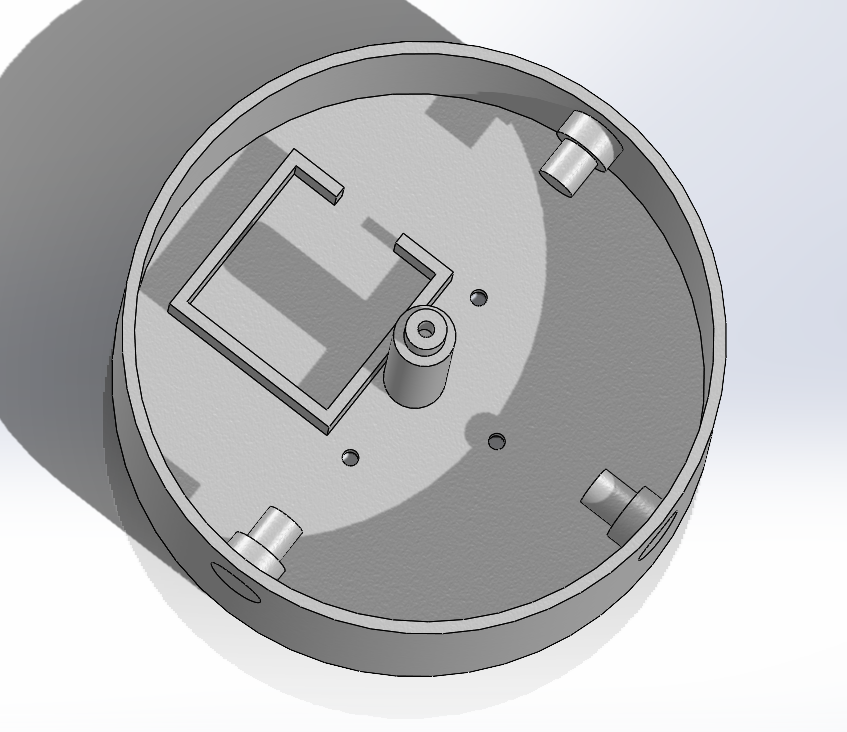
As mentioned in the previous post, I had to do some small changes on the base of the arm. I ended up keeping the original design and just added an axel in the center of the base. I also included (after discussing it with Richard) a screw hole in the lid and center axel, just to secure the lid to the base and prevent it from tipping over. I also increased the diameter of the lid and the base before printing new parts.
I had taken the problem with the arm tipping over into consideration when I outlined the design of the arm. But since the material I use on my 3D printer is PLA, and that is not an option to choose from when choosing material in Solidworks, I had to choose ABS plastics when checking what the weight of the arm would be. I did do some light statics math on the arm, but since I would be printing the arm and I would do it with an infill grade of approximately 15% with a honeycomb pattern for strength. The number of variables I needed to take into consideration were to many. I could run a FEM analysis on the arm, but ended up not doing so when I checked the datasheets for the servomotors and finding out that the servomotors could lift up to 11kg/cm on 6V. (This is taken from the tower pro website, which is the manufacturer of the servo motors we were given for this project).
I was originally planning on creating av “table” with a turn mechanism, so the player could choose whether they wanted to play black or white pieces. But after discussing it with Kevin and Hossein, it turns out that having that as an option might create a problem with the code, and we decided against implementing that as a feature.
As mentioned in last week’s post, I had designed a case for the raspberry Pi that Marte have been using. But it turns out that the code / program Marte created is too “big” to run using a raspberry Pi, and we had to switch to a computer and a web cam instead, and had no longer need for the storage box.
All in all, this project has been a lot of fun, and I feel like I have learned a lot about what I should do, and not do, when working on a project. I also feel like i have experienced in some degree what it is like to work as a mechanical engineer on a project. Everything from discussing the project with the other disciplines, to creating a design and finding out what works and what does not work. To actually see the designed I created finished, and working as intended.
Working hours this week: 8 – excluding the time used on printing.
Liv Marte Olsen – Mechanical engineering.
Computer Vision
Small monday meeting
On Monday I met up with Liv Marte for an hour just to go over all the measurements, for the storage box for the Pi and the screen, on final time before sending it to print. I am glad we did, since we did do some small adjustments to the box.
Help with the pi
I met up with Liv Marte at 10.30 to work with the group. Since I found that the Pi was so slow last week, I used some time setting it up, and doing some research on what the problem could be, but I didn’t find anything, so I ended up having to ask Joakim for help.
First I showed him how poorly it performed, and he suggested to try it on another Pi to see if the results are the same. He found a Pi 400 that we could test on. We flashed another SD card with Raspbian and started the configuration. This took forever so Joakim had to leave and I would go get him when it was done.
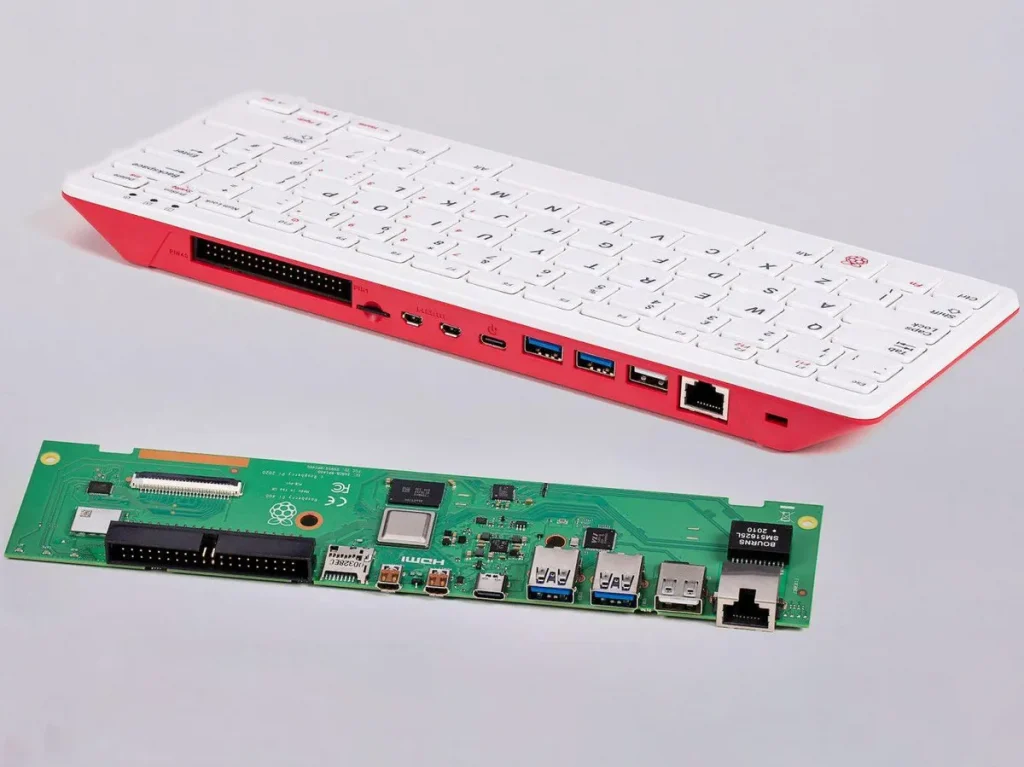
Sometime later, it finished, and I went and got him so we could test the computer vision model. We opened it and the results was 2 fps… This means that there is nothing wrong with the 3B+, its simply too weak, and the 2 fps difference is just because the 400 is a better model. This was honestly pretty sad to realise, because I have put so much effort into making this work, and it would just make the project so much cooler. We will just have to use the computer for this part instead, unfortunately.
With this I am now done with my main tasks for the project, and even though a lot of things didn’t go as planned, I am happy with my work.
The rest of my time this week has been used on trying to get access to the model through code which seems to be an issue.
Hours on the project this week: 6 hours
Marte Marheim, Computer Science
Vi hadde fortsatt feil på elektriske delen av armen, der vi sleit veldig med å få ting til å fungere som de skal, etter (3t) fant vi frem til to nye ødelagte servomotorer som var problemet, så ble vi gitt 2 nye servomotorer, og etter 1-2 timer med testing der fant vi ut at en av dem var ødelagt, og den andre var plastikk, noe vi etter erfaring tenkte oss ikke skal fungere, men uansett så satt vi den på plass og testet den, og den var også ødelagt. totalt 6timer ble brukt bare på feilsøking og finne ut av hva som var galt
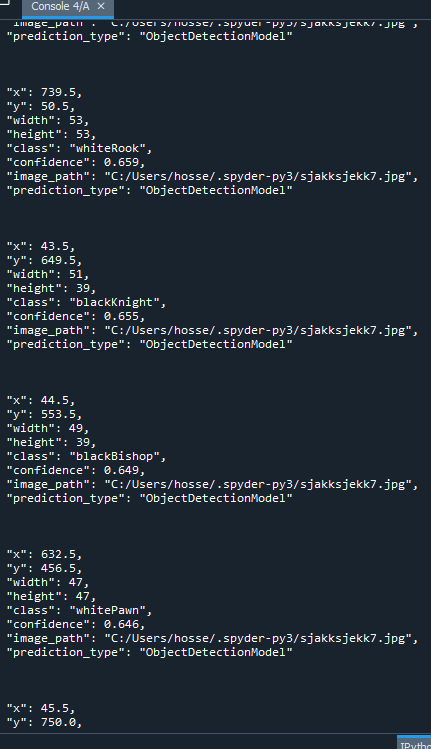
Dagen etter fikk vi tak i Zoran og spurte om nye servomotorer, noe han providerte, og de fungerte, så var endelig alt på plass og klar for programmering, jeg jobbet en time her og der, totalt 6 timer(hver, der både kevin og jeg, så totalt 12 timer ble brukt til å kun få tak i datasettet) resten av uken på se på outputen til roboflowen til Marte, der etter en viss tid så klarte jeg å ta tak i datasettet hennes og teste med nytt bildet (ikke inn i datasettet, men inne i python, med tilgang til datasettet hennes
) og fant ut at jeg kan ta tak i x og y hu providerer på prediction.model, etter en del testing, men det kommer i utgangspunkt slik hvis man skal ha output fra prediction:
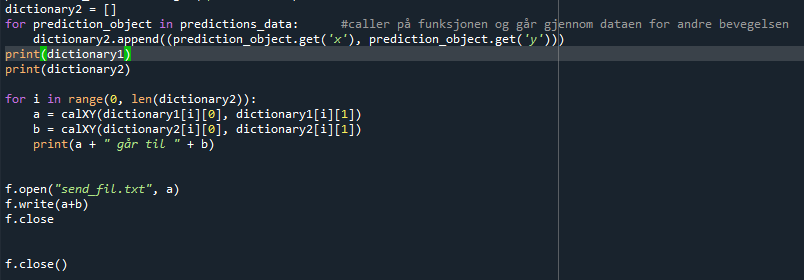
men jeg filtrer dette, ved bruk av array så plukker jeg elementene i prediction av x og y, og printer ut kun dem/henter kun dem ut det vil da se slik ut :
arr =[]
for elem in prediction:
arr+=(elem[‘x’],elem[‘y’])
print(arr)

Denne delen under er for å sammenligne to verdiene av xy vi for
Hossein Sadeghi, Computer Science
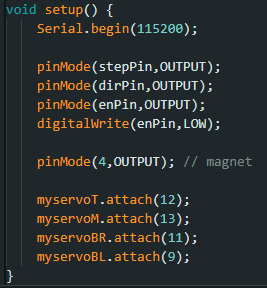
Programmering av armen:
Testet ut elektromagneten og den ser ut til å være rett fram. Fikk en switch fra Zoohran som skal slå av og på magneten, så gjorde en del research på oppsettet og fikk den til å fungere til slutt.
Så var det steppermotoren som måtte settes opp og se om den fungerte. Fikk det ikke til å fungere i starten med en kode jeg fant på samme nettside som ble brukt til å se hvordan driveren skulle settes opp: [ https://mytectutor.com/how-to-use-tb6560-stepper-motor-driver-with-arduino/ ]. Dette brukte jeg mye tid på (8 timer).
Deretter på onsdag fikk jeg vite fra Zoohran at det var en annen kode jeg måtte bruke. Denne fungerte, men armen gikk kun i en retning. Den gikk til venstre på LOW, men helt stille på HIGH. Brukte så enda flere timer på å researche dette. (8 timer til).
Neste dag, uten hell med å få steppermotoren til å gå begge veier, kunne jeg ikke bruke med tid på dette og måtte få ferdig koden til robot armen. Dette er slik koden ble til slutt:
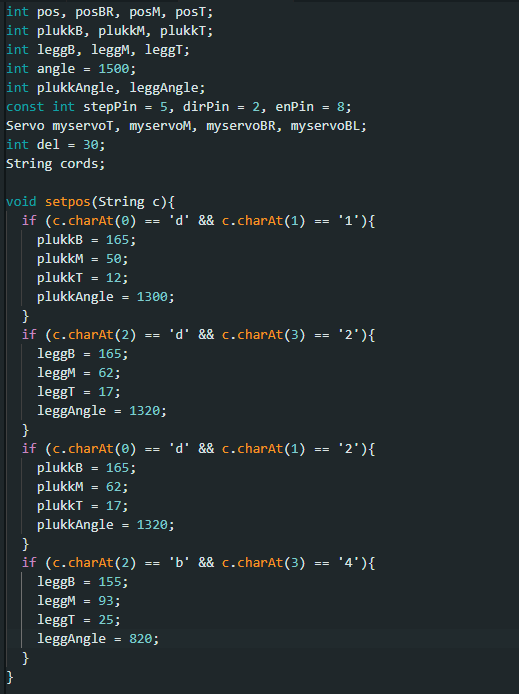
I den første headeren, “CordsToServo.h” ville jeg gjort ferdig servo-gradene for hver enkelt sjakk-koordinat på brettet. Hver og en av koordinatene ville fått en if-statement for de 2 første characters (c.charAt(0) og c.charAt(1)), hvis det skal plukkes fra den stedet, og en if-statement i tilfelle det skal slippes noe på den samme koordinaten (c.charAt(2) og c.charAt(3)). Dette ville jeg klart å gjort ferdig om jeg hadde en dag til eller 2. Problemet er at jeg av en eller annen grunn, siden vi ikke har en elektroingeniør på gruppa, ikke fikk steppermotoren til å gå andre veien også. Om jeg byttet mellom 2 av ledningene fra samme “coil” (f.eks. A+ og A-) så gikk steppermotoren kun til Høyre, men ikke venstre (samme problem bare andre retning). Derfor kunne jeg gjort dette ferdig, men mange timer gikk bort på å prøve å få steppermotoren til å fungere helt ordentlig.
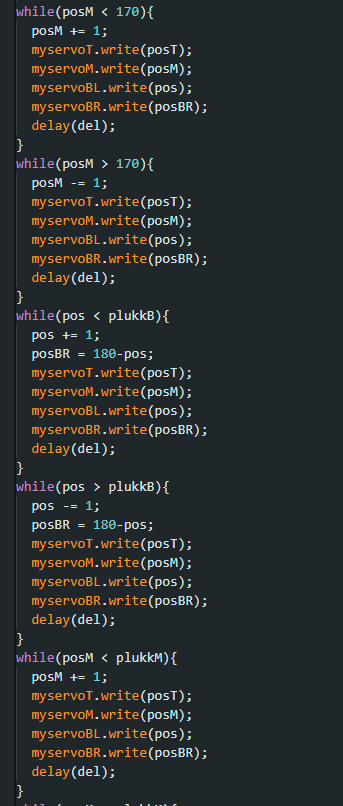
Har 3 filer, der 2 av dem er header files. Viser første header “CordsToServo.h”:
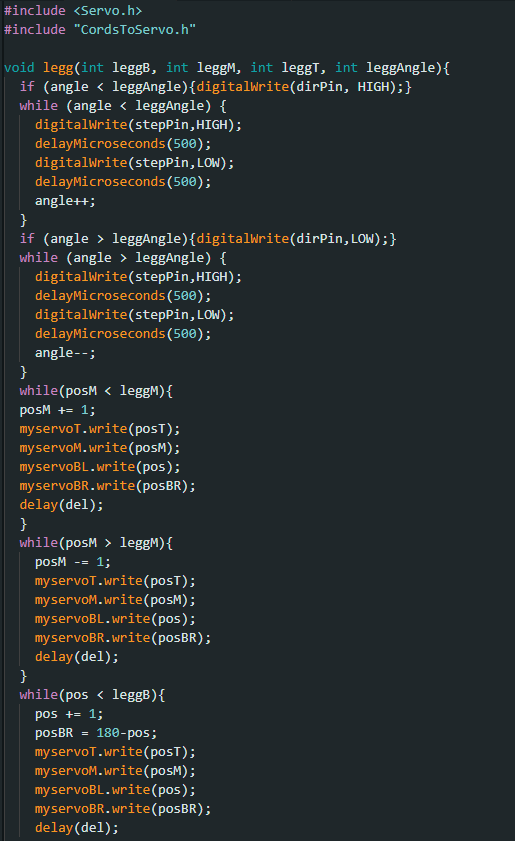
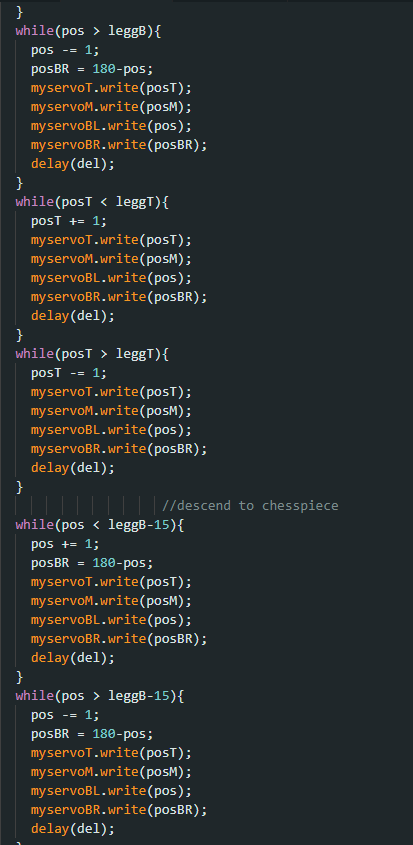
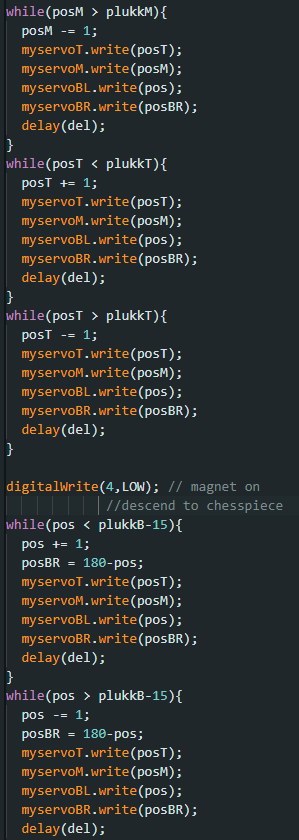
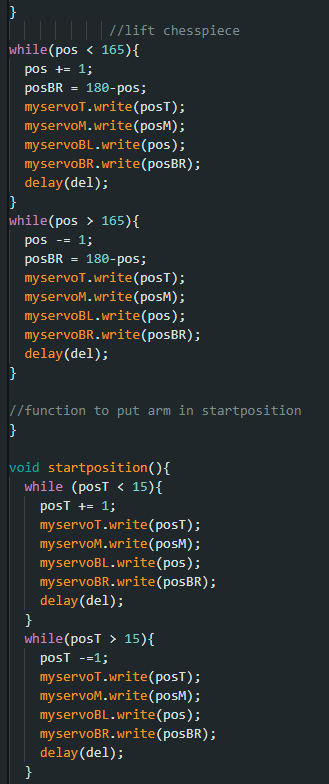
Deretter neste header fil “FunctionsArm.h”:
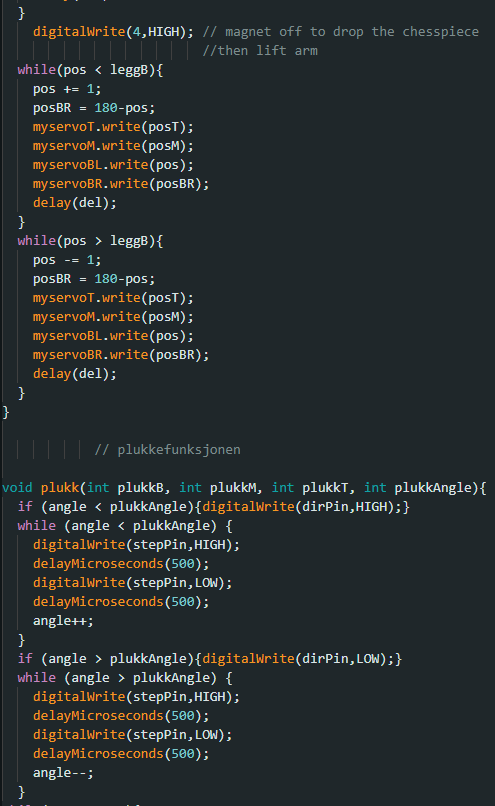

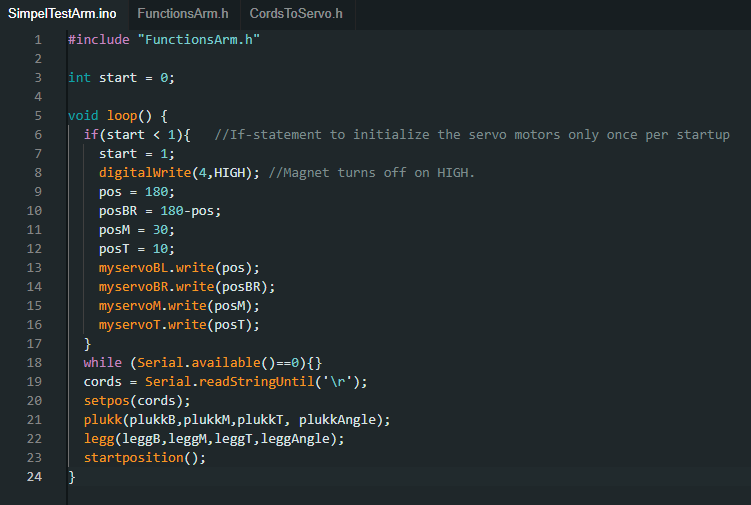
Deretter hovedfilen (SimpelTestArm.ino) som inneholder hovedloopen:
Kevin Johansen, Computer science