Because the deadline is getting closer and closer, this week’s report is written in a more bullet-point style:
- We got a MCP3008 adc converter from Zoran. We used following tutorial to get it working https://medium.com/nerd-for-tech/how-to-add-light-and-temperature-sensors-to-raspberry-pi-a1e0c7d6d37f
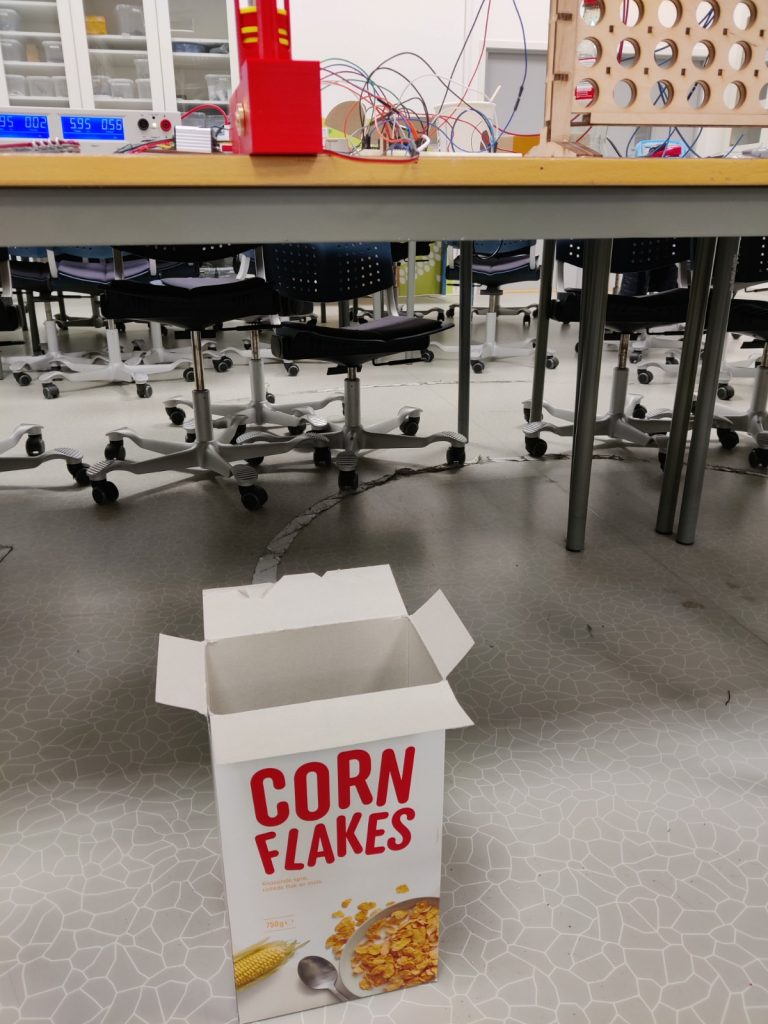
It was tricky getting the right python packages, as the raspi wasn’t connected with internet and we needed to install the packages offline with the package file. That lead to some dependencies conflict but after a “short time” (1 or 2 hours tbh) we got all packages installed. Wiring 3 photoresistors for testing, we got good results. The MCP3008 is a 8 bit adc, that means we get values from 0 to 128. The values in the python program are from 0 to 128000 (the last 3 digits of those values have just no meaning it’s related in how the adc communicates the signals over the spi bus to the raspi). With no coin inside and with red light we got a value about 63000. With a coin inside it dropped down to 55000. That was a huge success because this is a change we can always reliable and safe detect. We directly wrote the software function for the coin detection, it returns the colum where a coin is detected and gives it to our game function.. The threshold for detection is set to 57000.
def get_triggered_resistor(monitored_channels, triggered_value_threshold = 57000):
    if len(monitored_channels) == 0:
        if DEBUG:
            print("no monitored channels, returning error value -1")
        return -1

    while True:
        # getting new values from adc
        value0 = config.chan0.value
        value1 = config.chan1.value
        value2 = config.chan2.value
        value3 = config.chan3.value
        value4 = config.chan4.value
        value5 = config.chan5.value
        value6 = config.chan6.value

        if 0 in monitored_channels and value0 < triggered_value_threshold:
            if DEBUG:
                print("chan0 change detected with value " + str(value0))
            return 0
        elif 1 in monitored_channels and value1 < triggered_value_threshold:
            if DEBUG:
                print("chan1 change detected with value " + str(value1))
            return 1
        elif 2 in monitored_channels and value2 < triggered_value_threshold:
            if DEBUG:
                print("chan2 change detected with value " + str(value2))
            return 2
        elif 3 in monitored_channels and value3 < triggered_value_threshold:
            if DEBUG:
                print("chan3 change detected with value " + str(value3))
            return 3
        elif 4 in monitored_channels and value4 < triggered_value_threshold:
            if DEBUG:
                print("chan4 change detected with value " + str(value4))
            return 4
        elif 5 in monitored_channels and value5 < triggered_value_threshold:
            if DEBUG:
                print("chan5 change detected with value " + str(value5))
            return 5
        elif 6 in monitored_channels and value6 < triggered_value_threshold:
            if DEBUG:
                print("chan6 change detected with value " + str(value6))
            return 6

    print("if this message is shown, something went catastrophic wrong")
return -1- We screwed the electrical components on the base plate which is hidden in the housing. Therefore we made right sized and aligned holes in the wood to use screws and nuts for fixing the raspi, the motordriver and the dc converter.
- With mounted rasperry pi on the base plate, there is no more space for connecting a lan cable. Solution: Using the oboard wifi chip and setting up a wifi hotspot. With that we can connect our laptop to it and still use ssh and control the rasperry pi and our programs. We used following tutorial for setting up the hotspot: https://learn.sparkfun.com/tutorials/setting-up-a-raspberry-pi-3-as-an-access-point/all
- We finally also powered the raspi over the dc converter with the now new soldered 90° microusb cable and found a new big problem. The dc converter only provides 4.7v and therefore the Rasperry pi doesn’t boot and goes into a bootloop. We asked Zoran if we can get a stronger one, we hope we will get it next week where all should be put together and be working..
- Richard provided us a new big wooden plate, where we will mount the whole game on it next week.
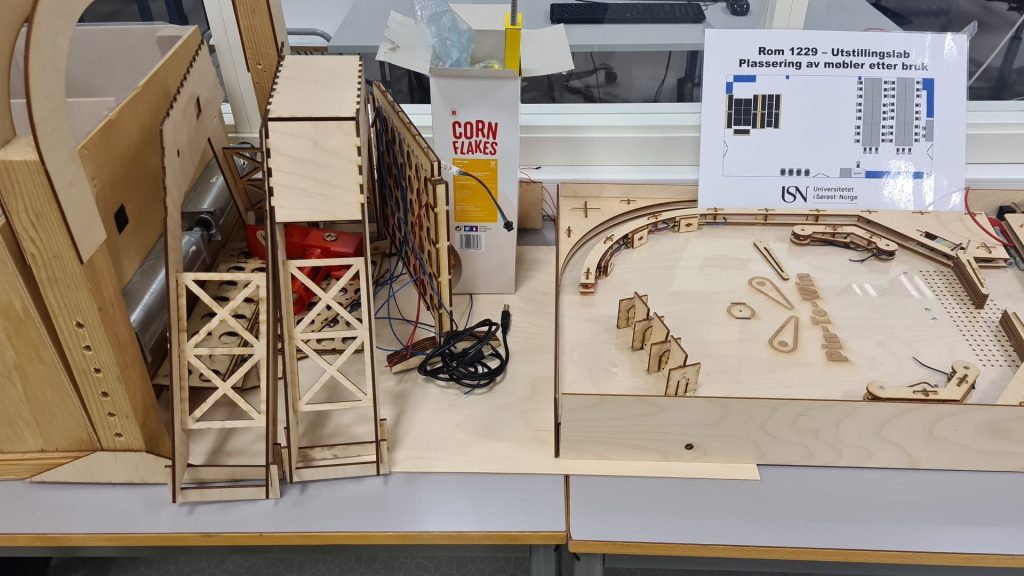
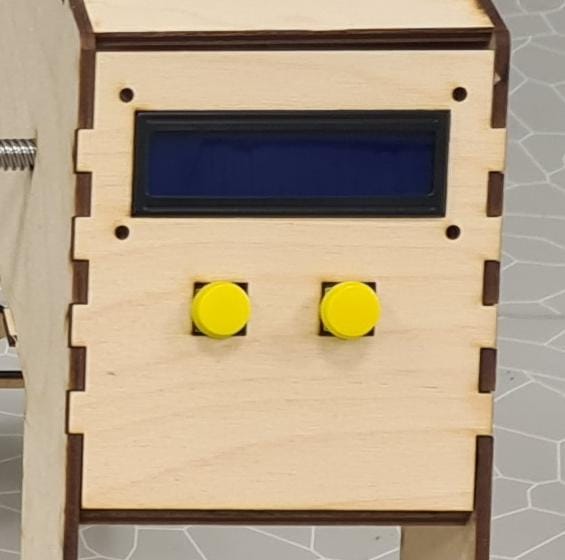
- We made a design for the plate where the control elements get mounted on. That means in detail: the lcd display, the start/stop button and the difficulty button. Also we soldered cables to the buttons that we can connect them next week easily to our breadboard again. Also there is now a backplate behind the buttons glued that you cannot push the buttons into the housing.
- We made a mechanism so that the coins stay in the board and fall out only when you slide it sideways at the game end.
- We made some more feets so that the whole machine gets 18 mm higher, that the coin dispenser is higher than the gameboard.
- We made the mechanism that pushes the coin into the board. A video says more than 1000 words:
One problem here is that sometimes the coins don’t fall down by there own in the dispenser. So we added a 9v block battery on top of the coins for weight. Now 95% of the coins are falling down and gets dropped out correctly.
We also directly implemented the servo motor routine of the coin dropper in our game code as a seperate function.
def push_coin():
    # config.servo.value = -1 # move servo to init position
    # sleep(1)

    for pos in range(-10, 20):
        config.servo.value = 0.1 * pos
        if DEBUG:
            print("Move servo to position " + str(pos))
        sleep(0.1)
    sleep(0.5)
    config.servo.value = -1 # move servo to init position
    config.servo.deteach() # or value to None