Computer engineers
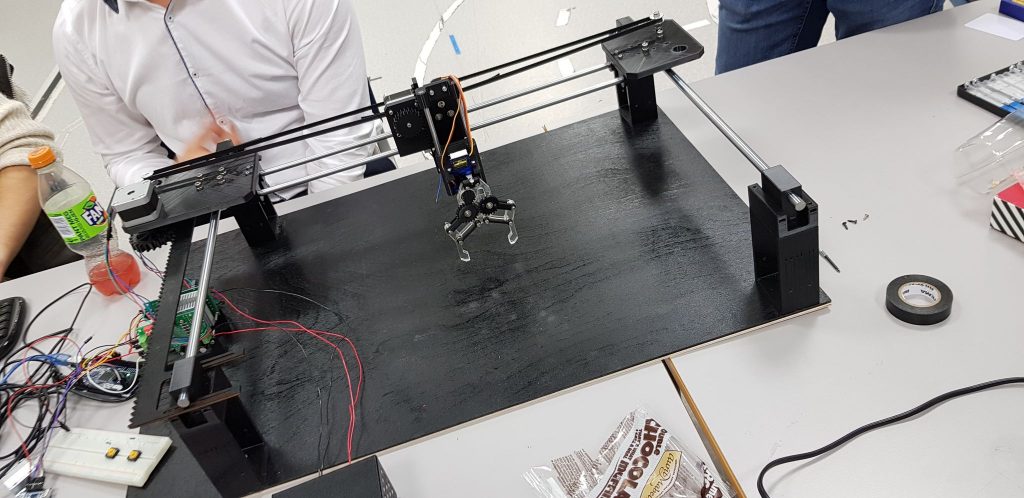
Claw
This week the system is starting to get together. We have finally received our claw and therefore I could test it with the code and find the sweet spot to grab stuff. We still had some issues with how much resistance it had at the end of the claw because it does not fully grab long items. So we will look into this.
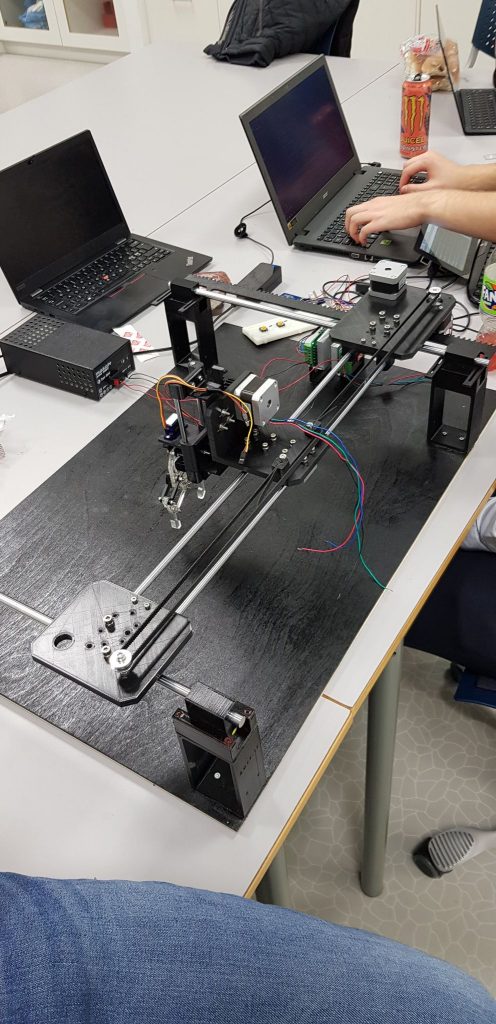
Linear rail system
When it comes to the testing of the x and y motors there were so many weird issues that we faced. First being that the x axis was going slow in the begin and really fast at the end. So we tried to test more and more together with the mechanical engineer to see if it was mechanical problem or software problem. We did manage to see that the motor sylinder did spin inside the gear. So we put some glue inside the gear. Now atleast it stopped spinning but we still had the issue where the x axis went slow at begin and fast at the end. We talked with one of the teachers and he said that it is most likely mechanical issue. Still we had to try to solve the problem with code. After many attempts with testing we found out that we could use 200 speed on y axis and only 30 speed on x axis then it worked smooth. So this was the sweet spot we posted.
Raspberry pi and arduino
For some reason the connection between raspberry pi and arduino showed itself to be pretty damn difficult. Since two of us were finished with the user interface and the connection between arduino and raspberry was the last part that needed to be finished in order for everything to work we all tried to jump on the case. We tried to research the problem from every direction we came closer and closer. So then we decided to ask Joakim for help. He and Dag explained us that there were options that we could use to get this connection but we told them that the IOC2 pins were already being used. So therefore we had to go with the option we had even though it was difficult. So in the end we manage to find the problem. The problem was that the arduino reseted itself fast after it read the code so when we sendt input it was reseted so then it waited for input. Therefore we had to find a way to not let it reset. We saw on the internett that one option would be to put 120 ohm resistor from 5 volt to ” reset ” pin. That did not work so we decided to use another option which was to add 1000 ms delay. That worked! 😀
The reason for this 1 second delay was because the Arduino resets when initiating a connected with serial. This is because when developing on the Arduino it is desirable that it resets automatically in order to be more user friendly when uploading code and reading from the serial monitor. When we wait one second, we give time for the Arduino to enter a ready state.
Mechanical engineers
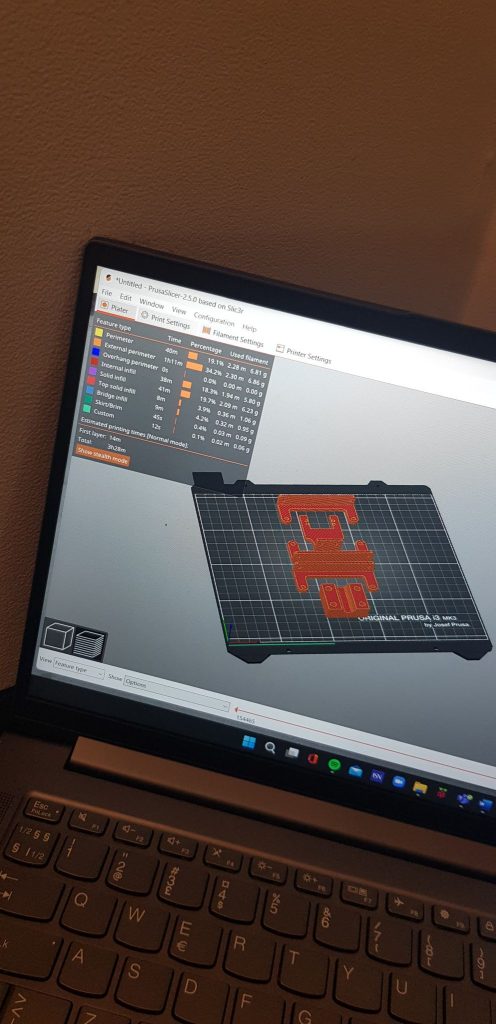
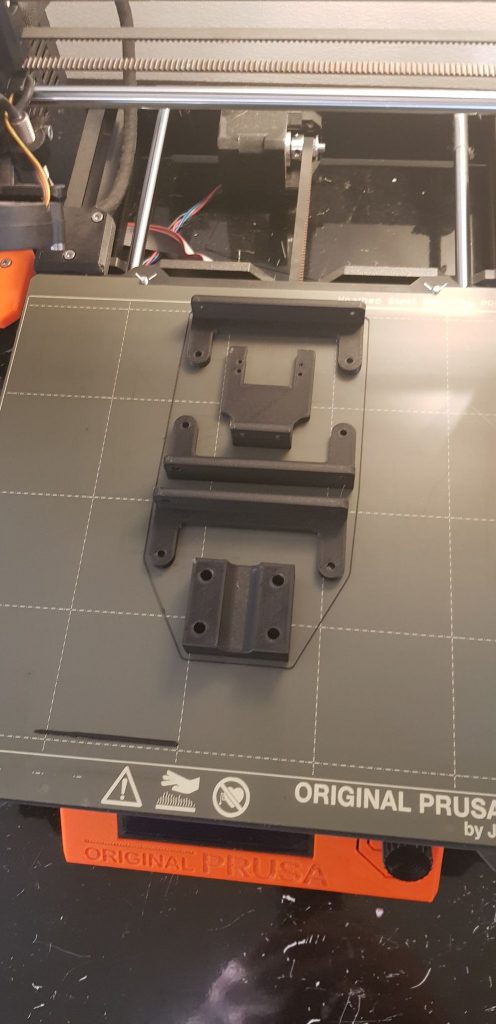
The main job this weekend was to fit and put all the parts together so computer engineers can start to optimize their coding. Me(Kim) and Ole are mainly finished with modelling. But we had a slight change in the “touch-screen box”. We want this in black 3D print modell. So we made the SW-files we allready had in to STL and sent them to Richard so he can print them for us. Kim dont have more PLA/PTG, nor other plastics in black. Just a PC Blend that is very hard to print. PC Blend is one of the strongest filaments that you can find these days.
Ole and I(Kim) have a fine relation and work good together but also complete each other well. We can delegate tasks between us and this goes also very well.
- Kim & Ole
Electronics
This week I am pretty much done with the wiring diagram. I probably will have to make some changes eventually when we see what works and doesn’t, and what we need and don’t. Now the final version of the system has been assembled too, so I could start wiring up all the components and eventually begin with the cable management. I spent some time thinking about where I wanted the stepper motor drivers mounted. We ended up with only one driver needing to move and only moving along the x-axis of the rail system. This is good because then there won’t be that many wires moving too much.
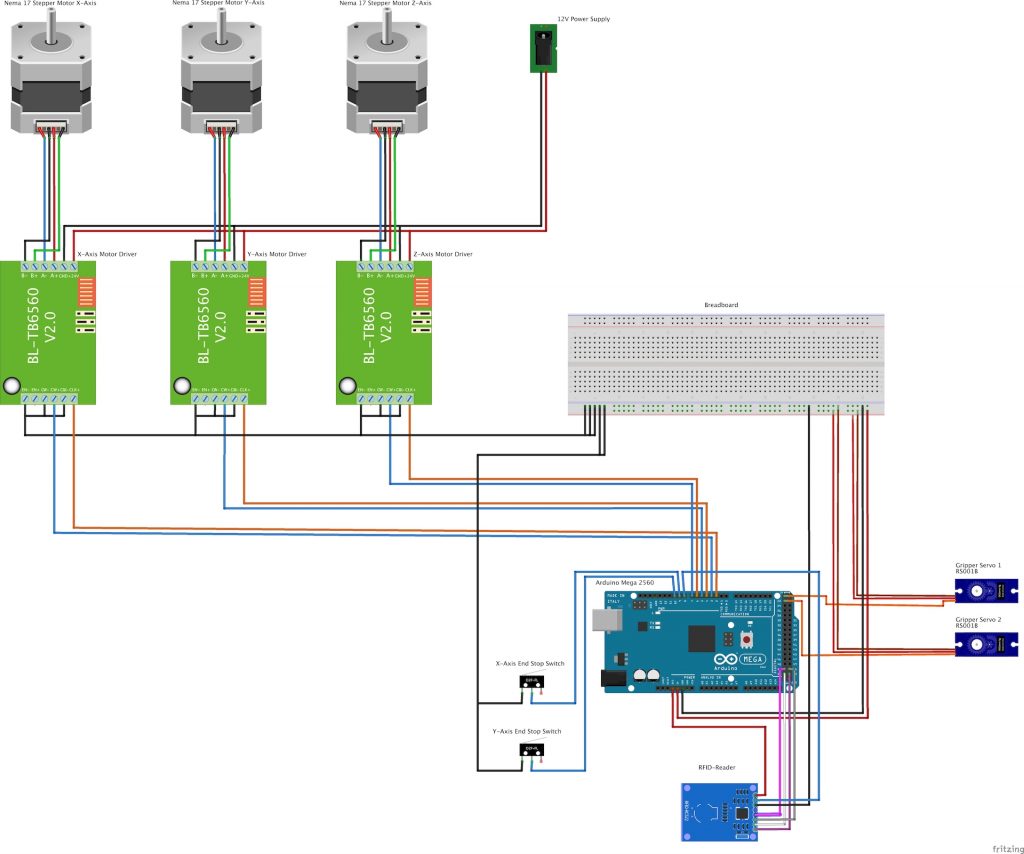
– Mathias