Electrical part:
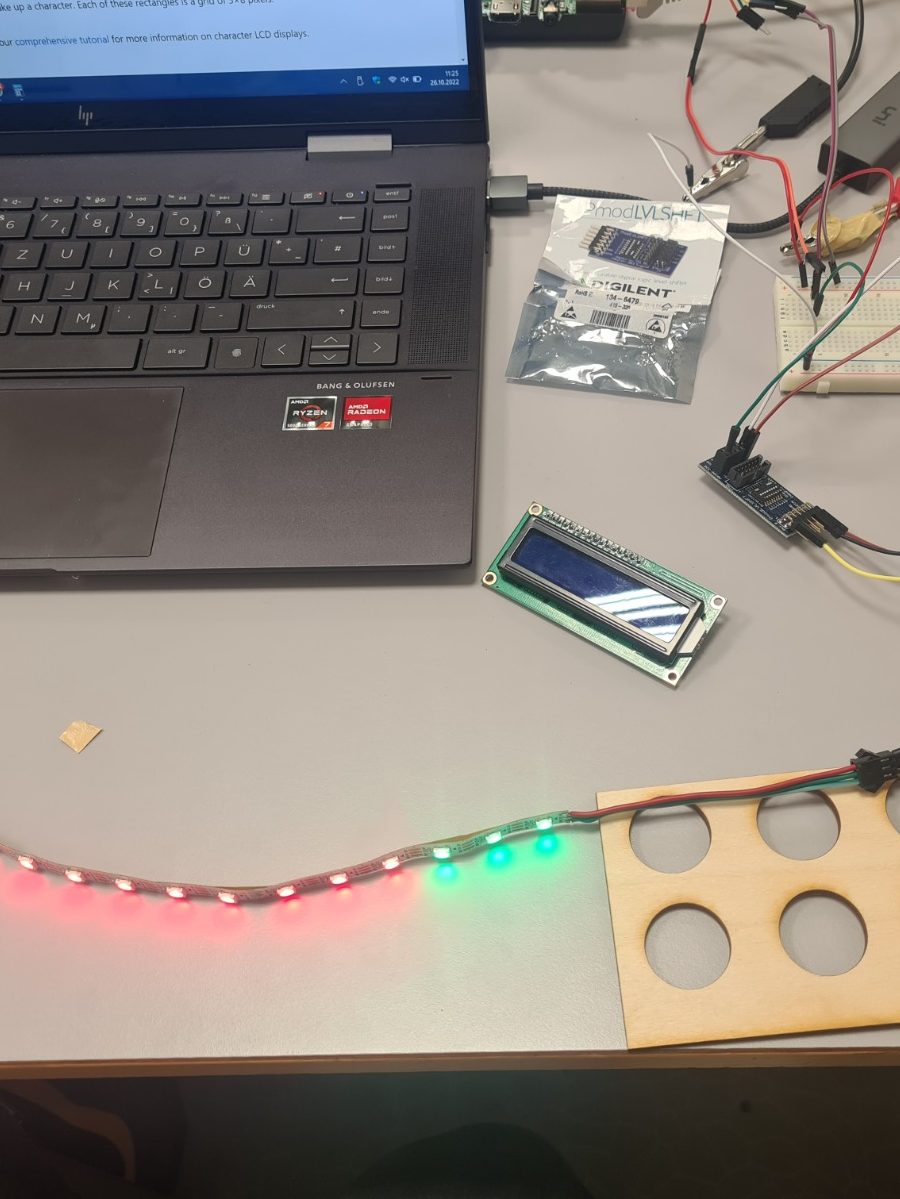
This week got a level shifter from dag to go on with the LED stripe. Also we used a new stripe, because we thought the one from last week was broken. With the new LED stripe all LEDs are working so we know for sure that the old one is broken. And also with the level shifter we got the whole stripe working as expected and could be able to light up the game board in different colors.
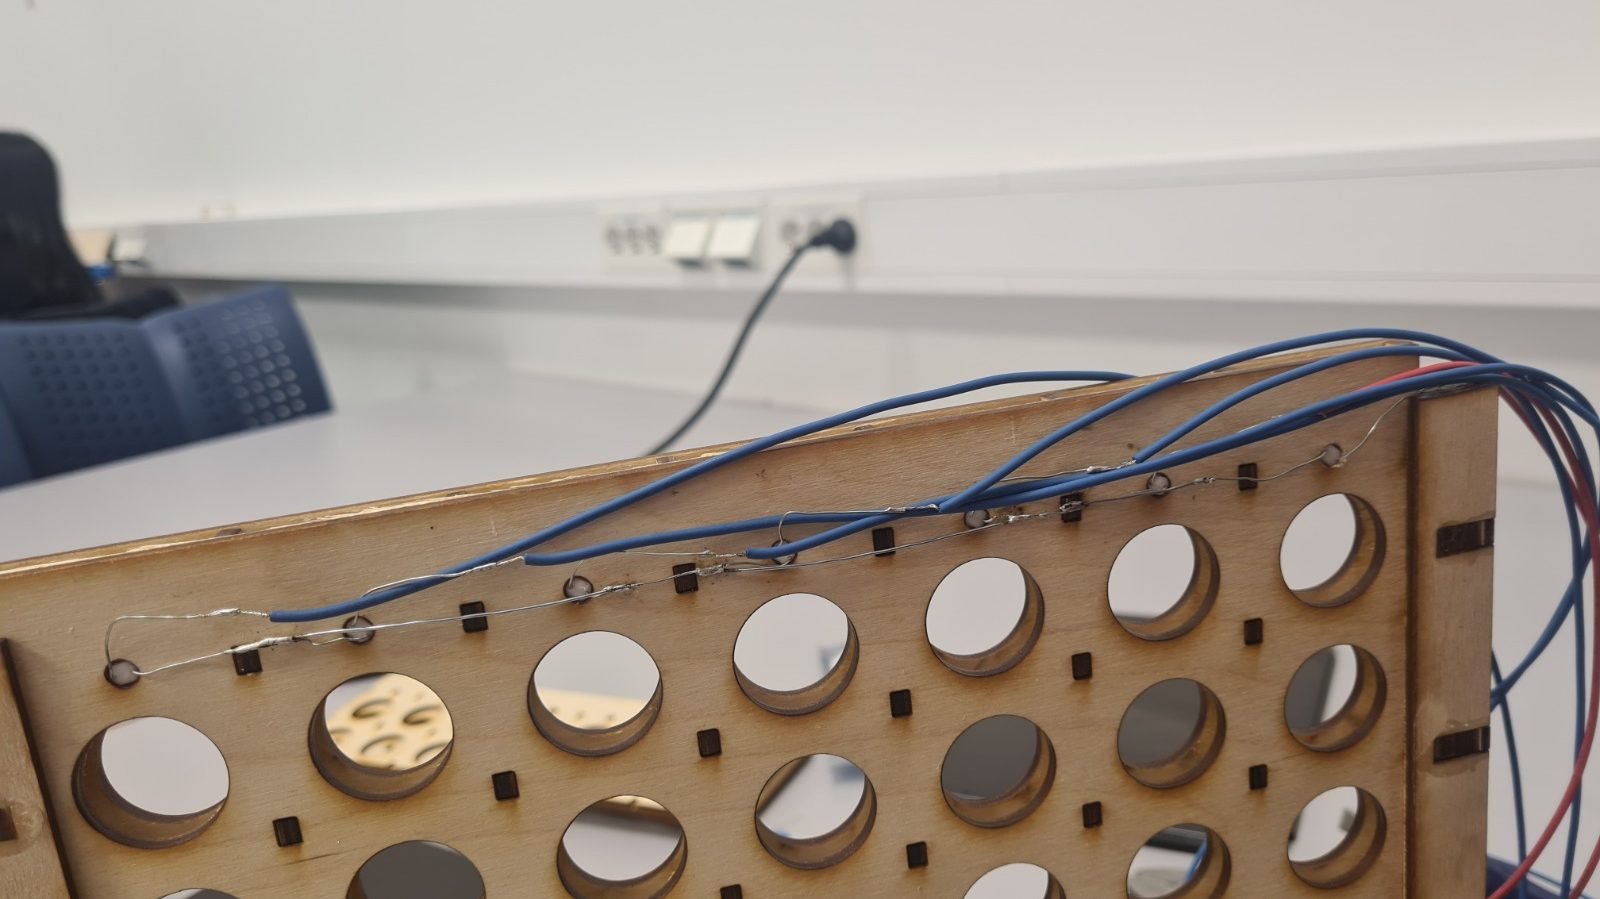
Another thing we did this week was to connect and solder all the photoresisters with wires.
We also connected the stepper motor with information we got from the interent and tried to get it work. We spent a lot of time in it, but the motor was not working as expected. So for next week there is more research needed to fix that issue.
Dag also gave us a display we can use for our project which is the same we used for testing before. Also we got 12 to 5 voltage converter we are going to test next week because therefore we need to solder some plugs to be able to power the raspberry with the 5V power supply.
Mechanical part:
This week we’ve laser-cut all the parts for the game-board, there were some adjustments to be made, for example: The stack of 5 plywood plates for the foot wasn’t perfectly aligned. We’ve adjusted the foot so it has two holes in it, now the game-board is able to stand stably. Also the sticks that holds the two wooden plates together were printed again so that the sticks don’t block the light of the LED lights.
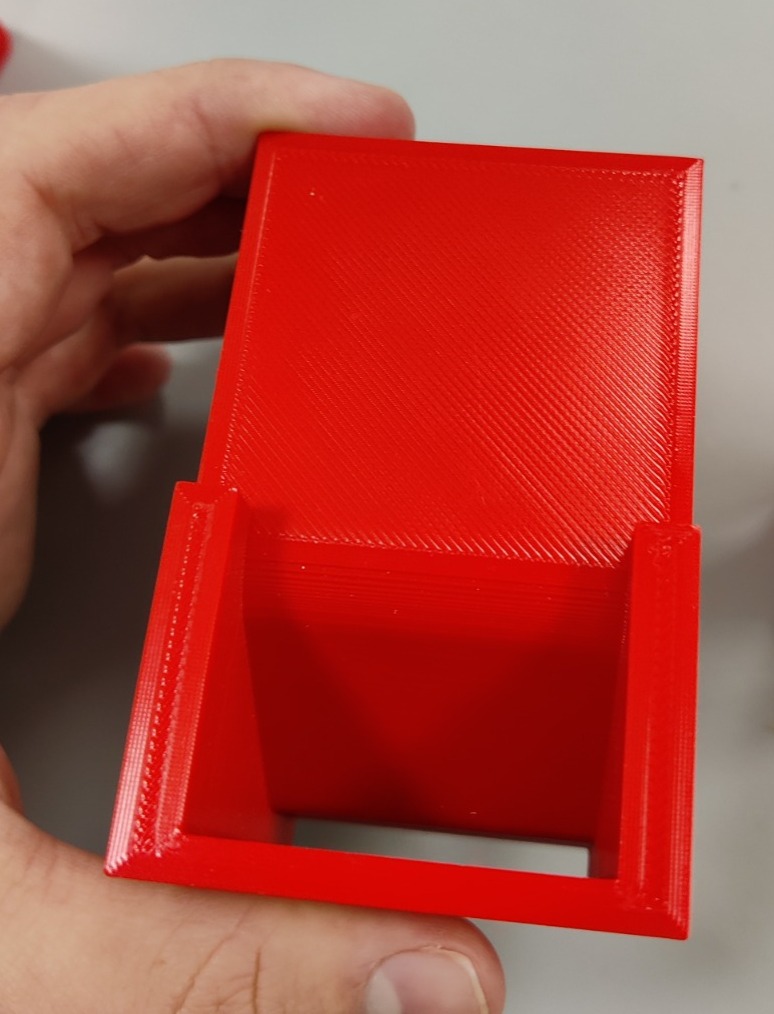
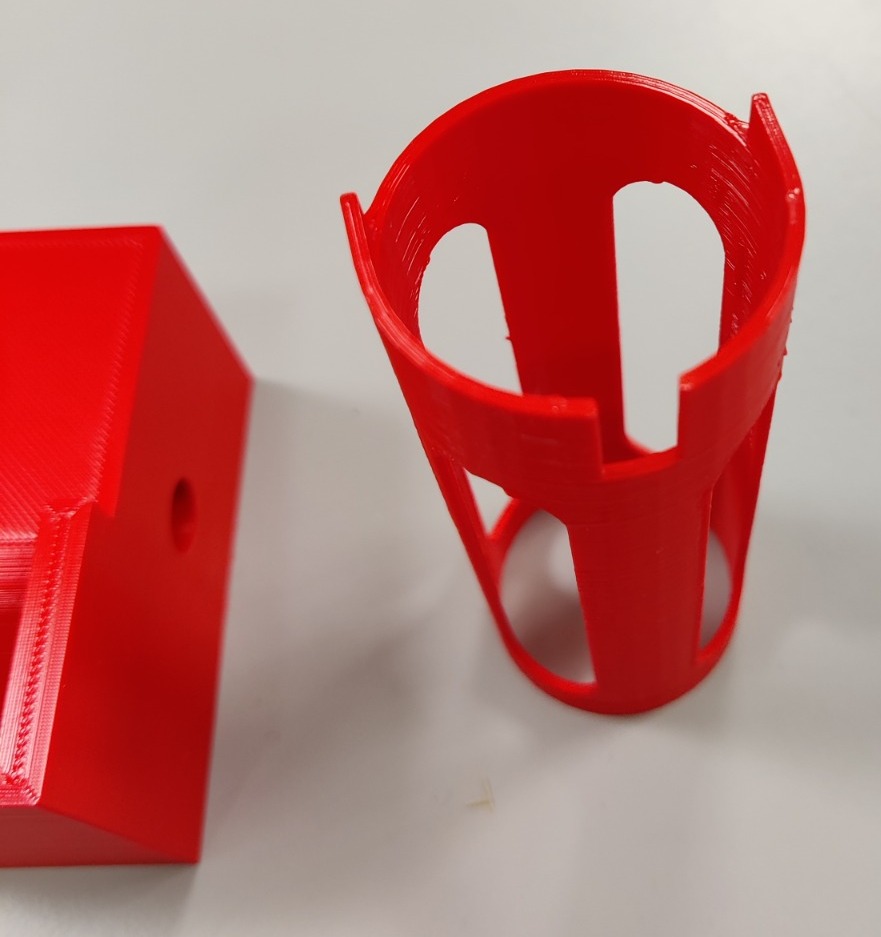
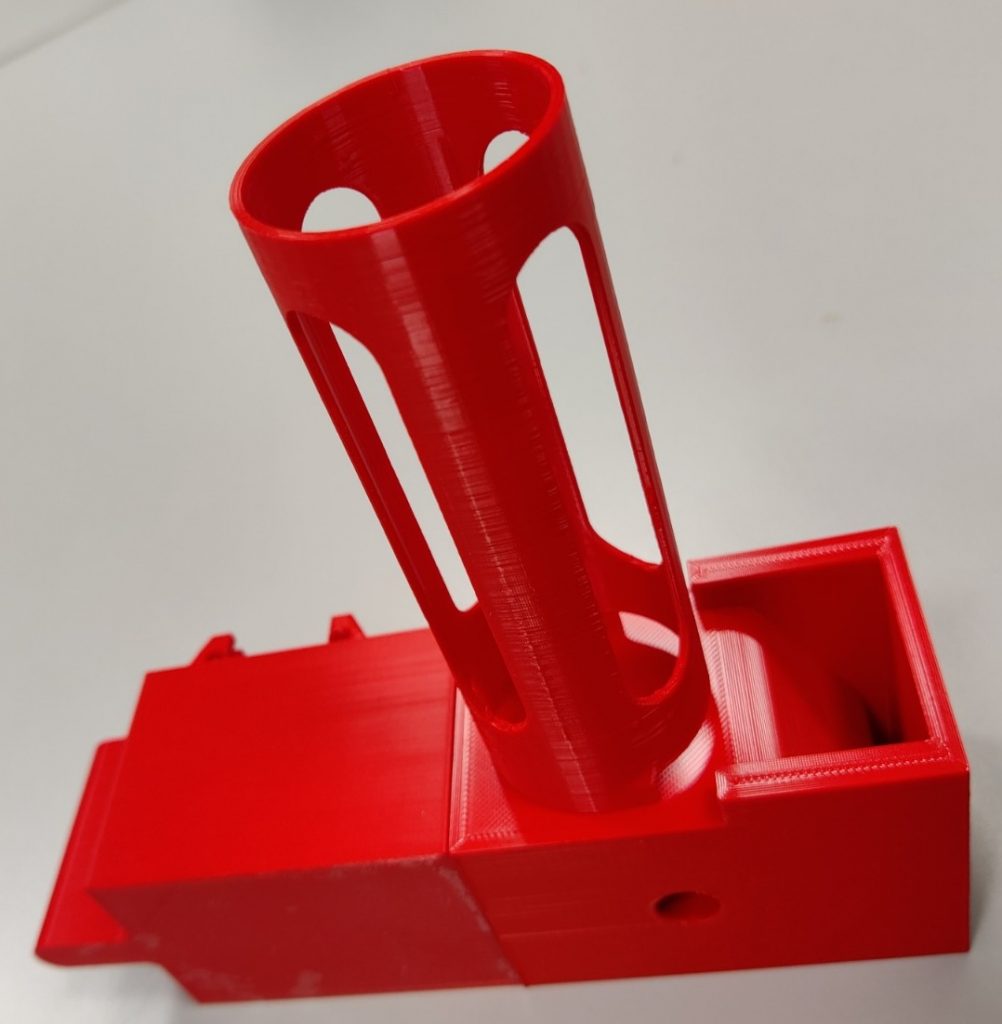
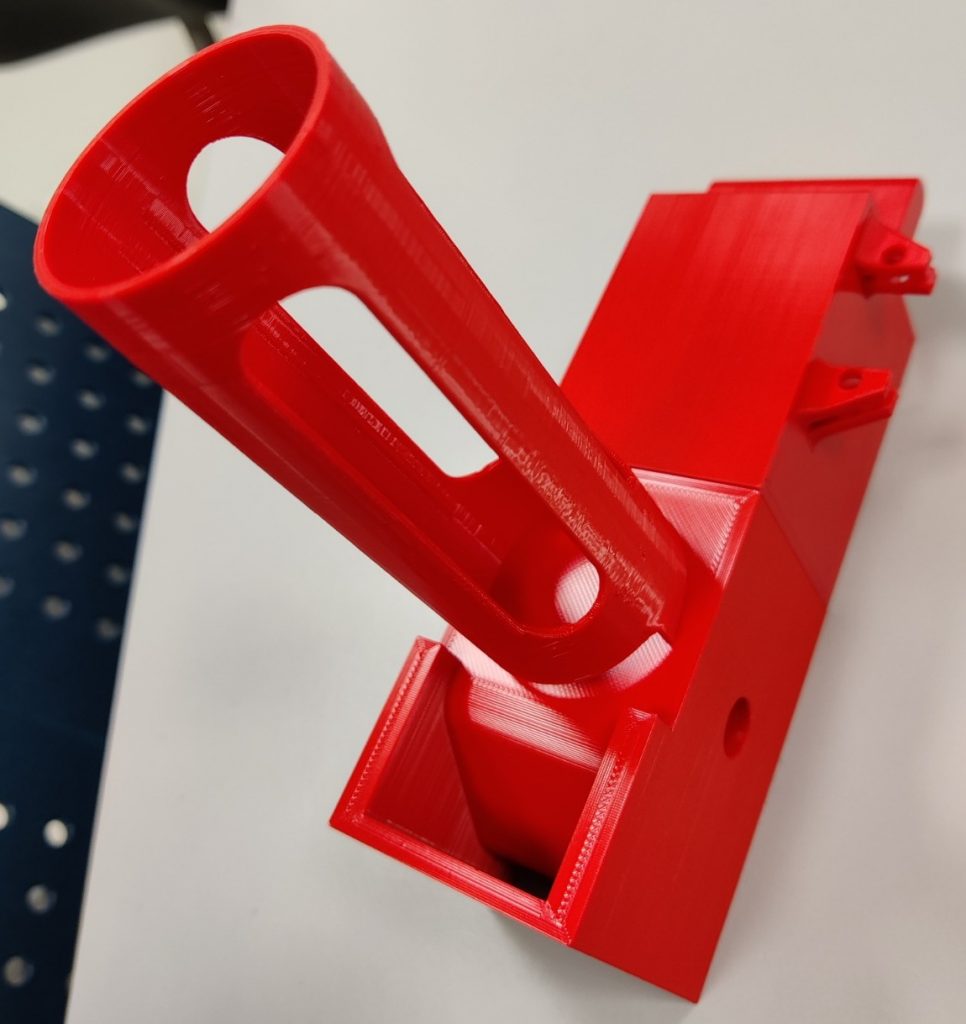
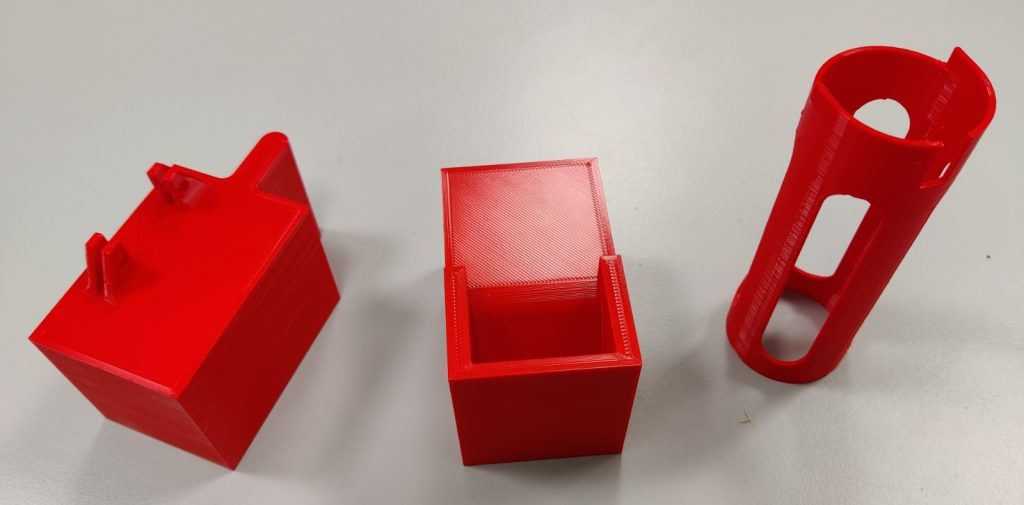
Also the first 3d printed parts were delivered by Richard. The results are really good and with that we can continue working on the coin dropper mechanism.