This week many of the components of the system was close to finished and the focus was therefor on testing and fine tuning these components to ensure they could perform the required function. One of the major activities of the day, which multiple members of the group were doing, was using sandpaper and other tools to smooth the surfaces on the 3D printed parts. This was to ensure that there was as little friction as possible for the moving parts. Once smooth, we assembled the 3D printed parts, motor, and Arduino, and tested that the card dispenser worked.
Here we discovered that multiple cards would be dispensed out together, most likely because of high pressure from the motor and the friction between the cards. Some cards would also not shoot out and instead get stuck. The motor would also sometimes not rotate, most likely because of the high pressure from the weight of the motor against the cards. One of the causes was that the 3D printed walls was uneven, meaning some cards were hard to move out as they were stuck, and this was solved with more sanding. We changed and adjusted some of the Arduino code controlling the DC motor. We then tested the card dispenser on an angle. This would reduce the pressure against the cards and the motor as the motor would go down a slope instead of free fall reducing the force from gravity applied to the cards. This also meant that other cards would be pulled down by gravity so that only the top card would be dispensed. After a lot of testing, adjusting the force from the DC motor and adjusting at which angle the cards and motor were, a good set up was found that resulted in only one card being dispensed at a time, even after over 150 cards were dispensed.
Another option besides using an angle we also considered, was using another weight connected by thread to the motor that would be on the other side of the wall and lift the motor with a constant force, like a pulley system. This would remove some of the weight of the motor and as we could fine tune the other weight, we could make the motor weight as little as needed to dispense only one card. However, the group agreed that cards dispensed at an angle in the air was more fun and it seemed to work the best, so that will be the solution we will use.
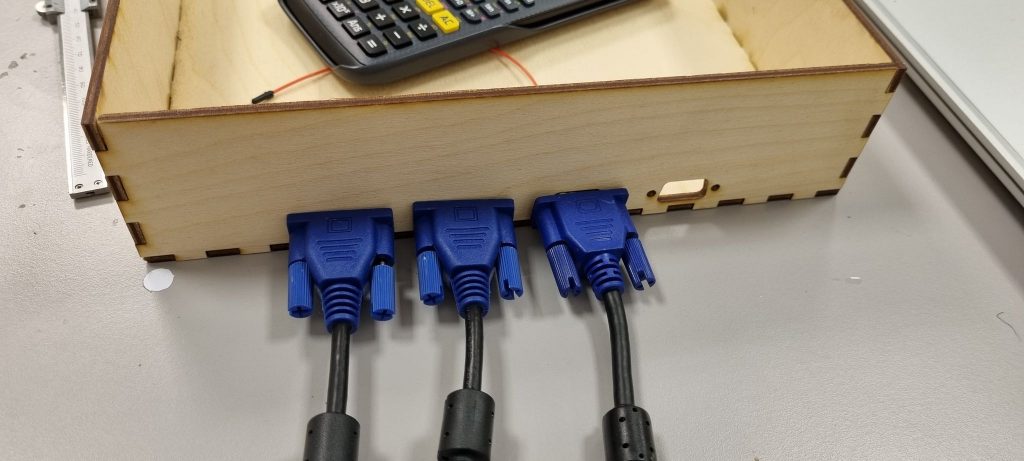
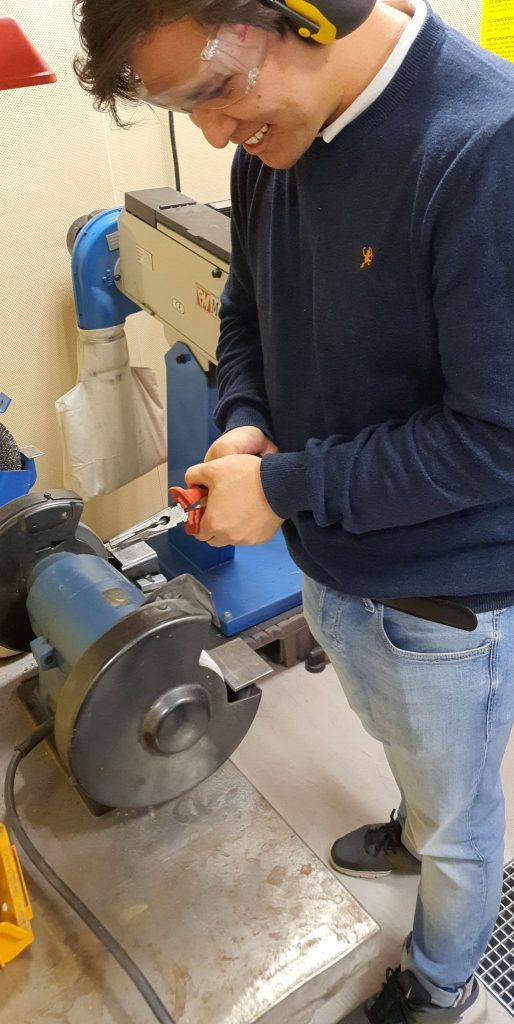
We also continued to work on the base of the system. We filed down the DVI cable screws to fit the dvi cables into the base, which is shown in the pictures to the left.
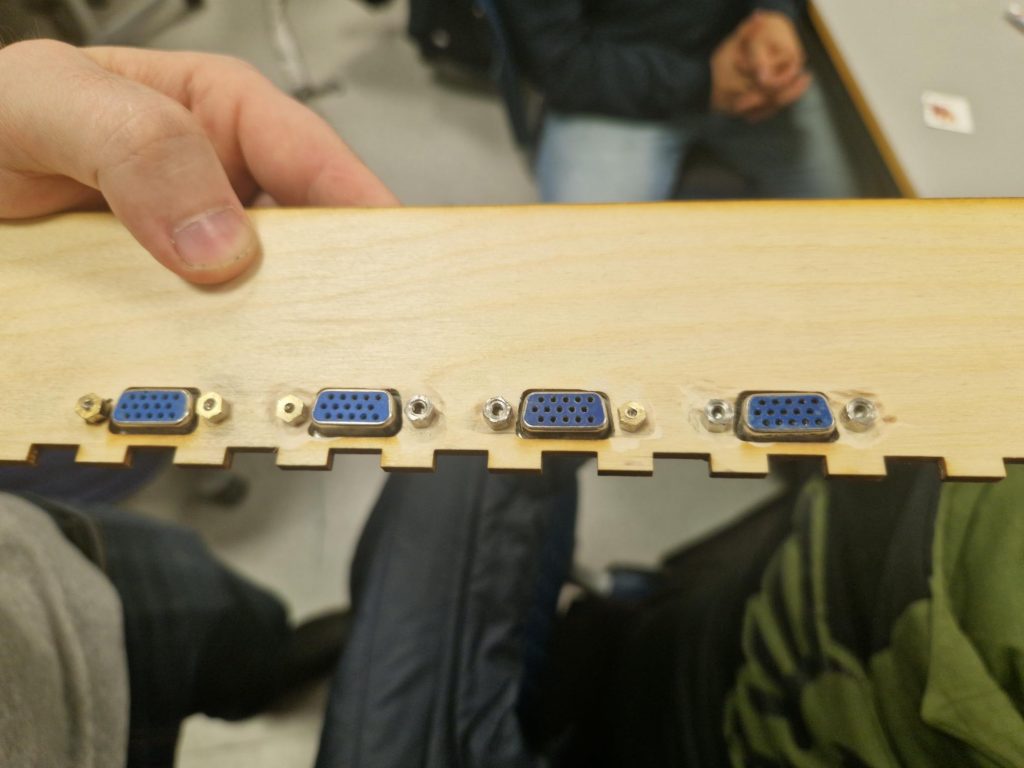
We started planning where different holes would need to be to allow cables to pass trough to the camera and motors, as the raspberry bi and Arduino will be in the base of the system and not at the top where the card dispenser and camera unit is. The base will be rotating so that the card dispenser can send the cards to different players. As we made holes, we therefor had to test that the cables could go trough the base to the card dispenser while allowing it to rotate.
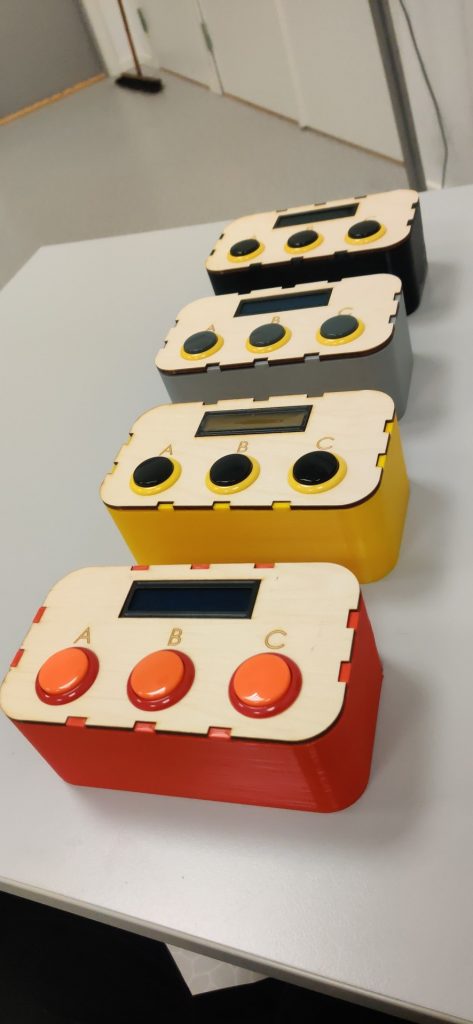
We also 3D printed the rest of the controllers and put them together. As the controllers were 3D printed, the bottom of the controllers were uneven and we therefor had to apply glue that would fill in the gaps and make an even backplate.

For our system to start up correctly without having to use a screen, mouse and keyboard every time, we also investigated running all the programs on boot, which will mean that as soon as the raspberry pi powers up, it will run the programs, like image recognition and game logic. We considered multiple options and ended up making a shell script to run the python code on boot and tested that it worked.
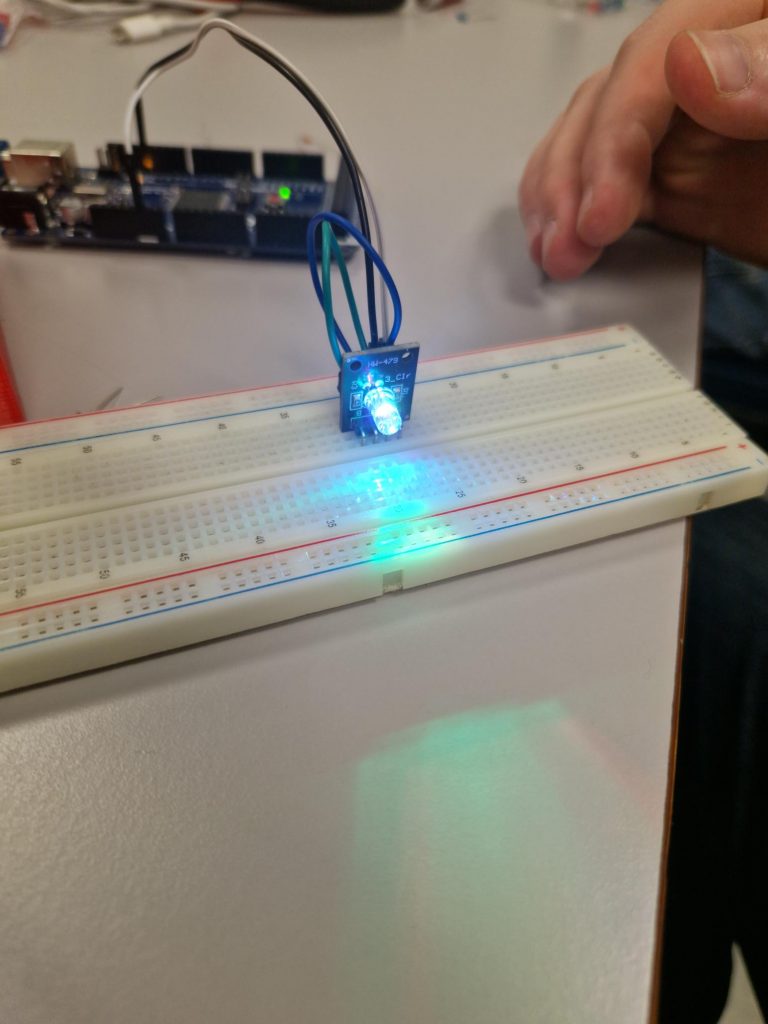
We also noticed that we would need light on the cards so that the camera can take pictures with good contrast and without shadows and therefor investigated how we could light up the card dispenser. We tested with the small lights often used with the Arduino, but found they were either to weak or with a color, which we didn’t want. We concluded that we will buy a Halogen lamp and test it next week.
This post was written by Nikolai Eidheim