Software part:
As wrote last week, we want to start the game in an own new process as soon as a button, the start button gets pressed.
Advantages:
- Easily kill game process when button is pressed again for stopping the game – at every time! It doesn’t matter in which state the algorithm is, it will always clean exit the game process.
- Next game will also start fresh out of the box with resetted variables, gameboard etc.
With following function you are creating a process and assign it to a variable (game_process). You specify the target function, in our case the game_process_function and you can also set the input arguments if the target function needs that.
game_process = Process(target=game_process_function, args=())After creating the game process you can easily start it with game_process.start() and stop it with game_process.terminate().
A little bit tricky is that if you once terminate a process, it isn’t intended and implemented to restart it. So after stopping it we are setting our game_process variable back to None and creating a new process with the next button press. There is the function game_process.is_alive() with which we determine if the process is running or not. Also we are checking if the game_process is already an instance of Process. With that we are avoiding running process function on a None object and running into exceptions..
For the main menu we are doing the same: creating a process and running the main_menu function with at. So the whole code if you are pressing the start/stop button is following one:
    if isinstance(config.game_process, Process) and config.game_process.is_alive():
        config.game_process.terminate()
        config.game_process.join()
        config.game_process = None
        main_menu()
    else:
        set_lcd_text("Game start")
        sleep(2)
        if isinstance(config.main_menu_process, Process) and config.main_menu_process.is_alive():
            config.main_menu_process.terminate()
            config.main_menu_process.join()
            config.main_menu_process = None

        config.game_process = Process(target=game_process_function, args=())
        config.game_process.start()
Electrical part:
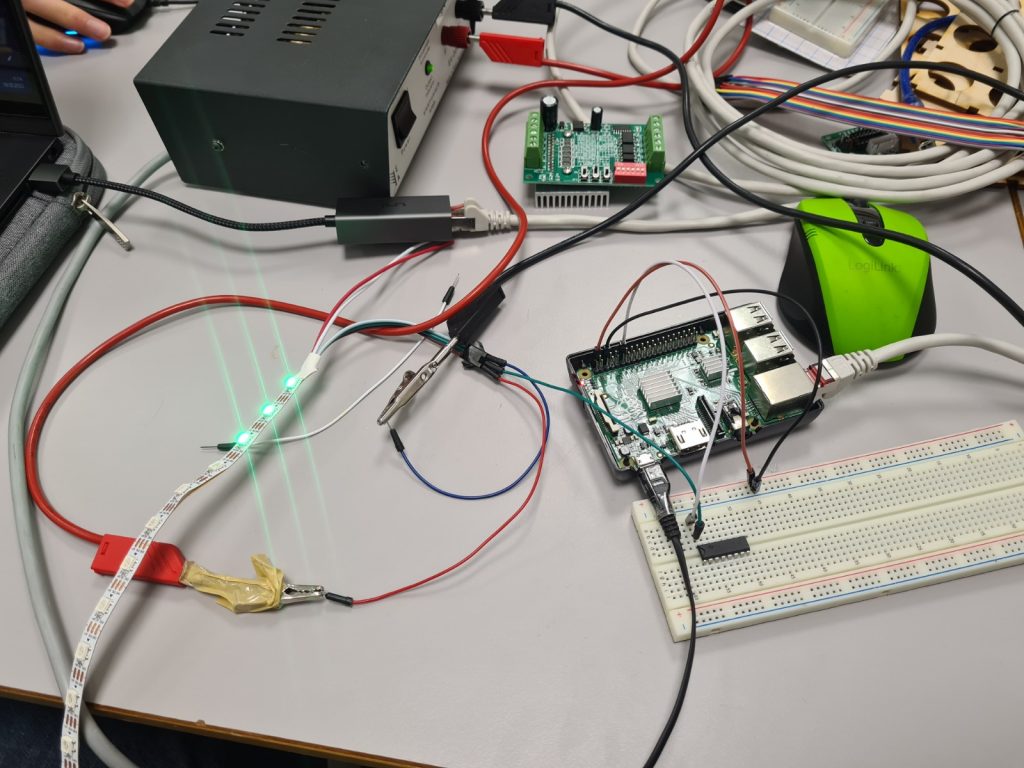
This week we got our ordered parts but unfortunately some were missing. So to get the LED strip working, we needed a signal level shifter, because the Raspberry Pi can only send signals with 3.3v, but the LED strip needs a 5v signals. But unfortunately also this level shifter was missing, so we had to find another solution to get the LEDs working. So together with Zoran, we searched for alternative parts. We tried to use an ULN2003A transistor array, wired it and connected all to our Pi and tried to get it working. At the beginning no LEDs was lit. We found out, that the power supply from the Rasperry Pi was not enough, so we added an external 5v/3a power supply to the strip. After that we got a strip with 18 LEDs working. But in the end during our experiments with the alternative level shifter 15 of the 18 LEDs didn’t work anymore, so we thought that we may have killed that LEDs or that they are just poor Chinese quality.. Zoran is searching for an alternative level shifter, so we hope we can cross test it next week!

Mechanical part:
This week we made the 3D models ready for 3D printing. It needed some changes so it would be easier to print regarding support material. We also adjusted the parts a little bit so it would be stronger. The holes to match the LED strip have also been adjusted to the game board.