Software part:
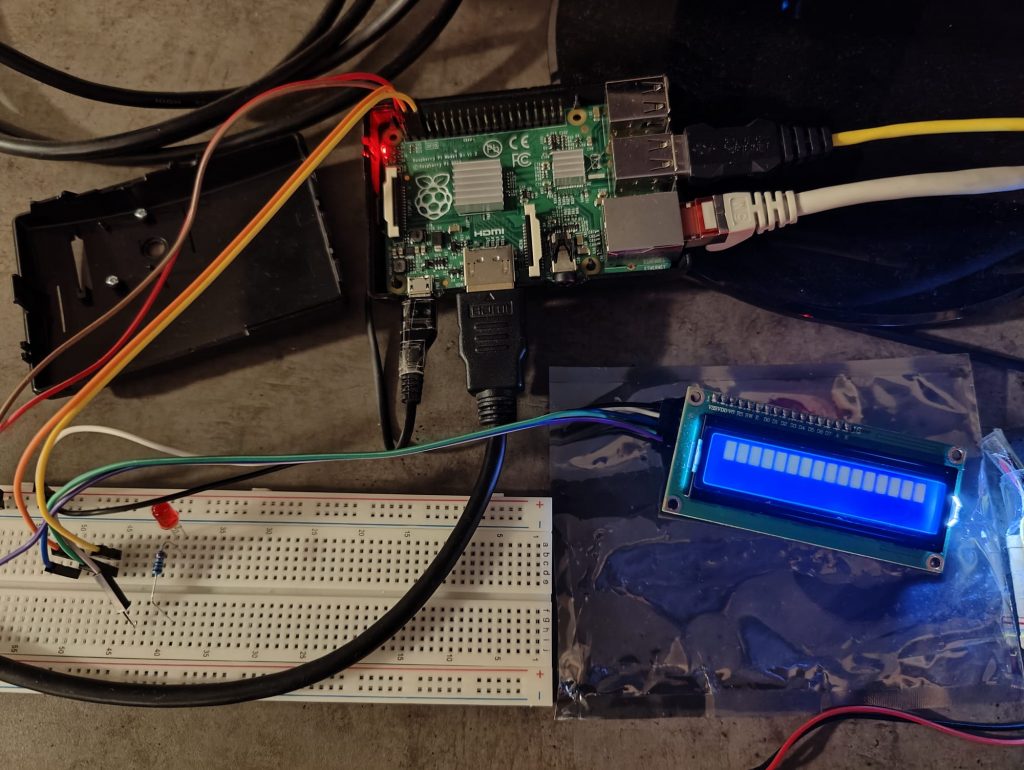
This week we connected the lcd display and a led to the Rasperry Pi to try some basic python programs with it.
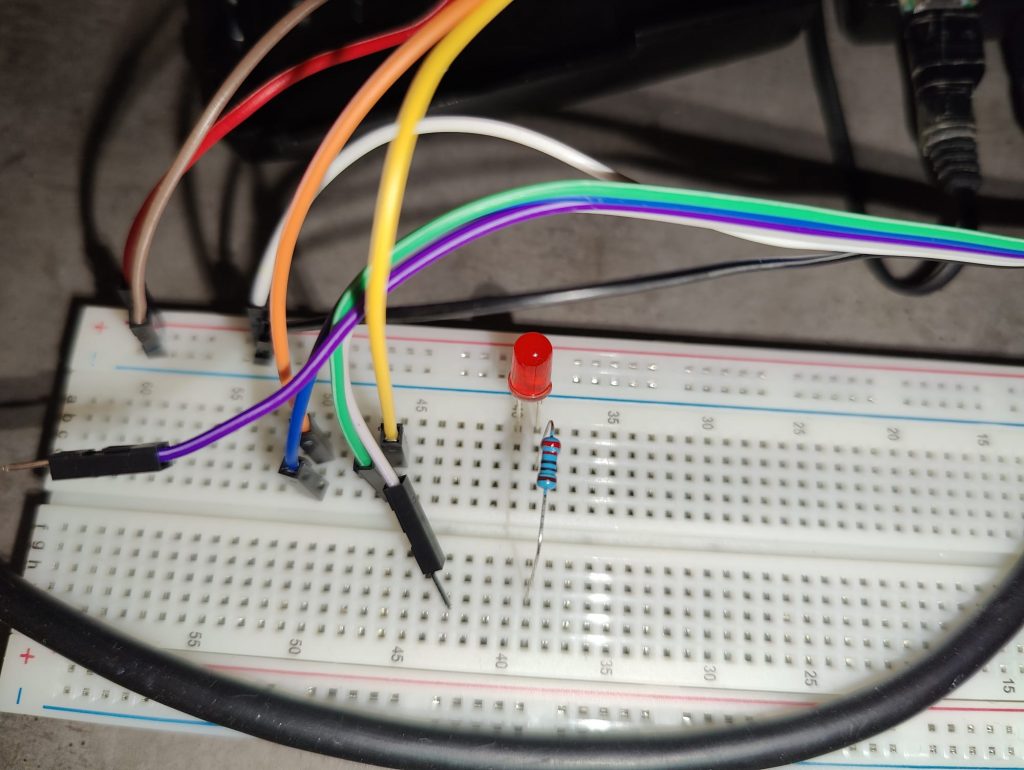
LED and photoresistor works with a normal GPIO pin, the LCD display uses the i2c bus, so therefore you need to connect it to the SDA and SCL pin on the rasperry pi (and of course 5v and gnd to the display).
from rpi_lcd import LCD
from time import sleep
lcd = LCD()
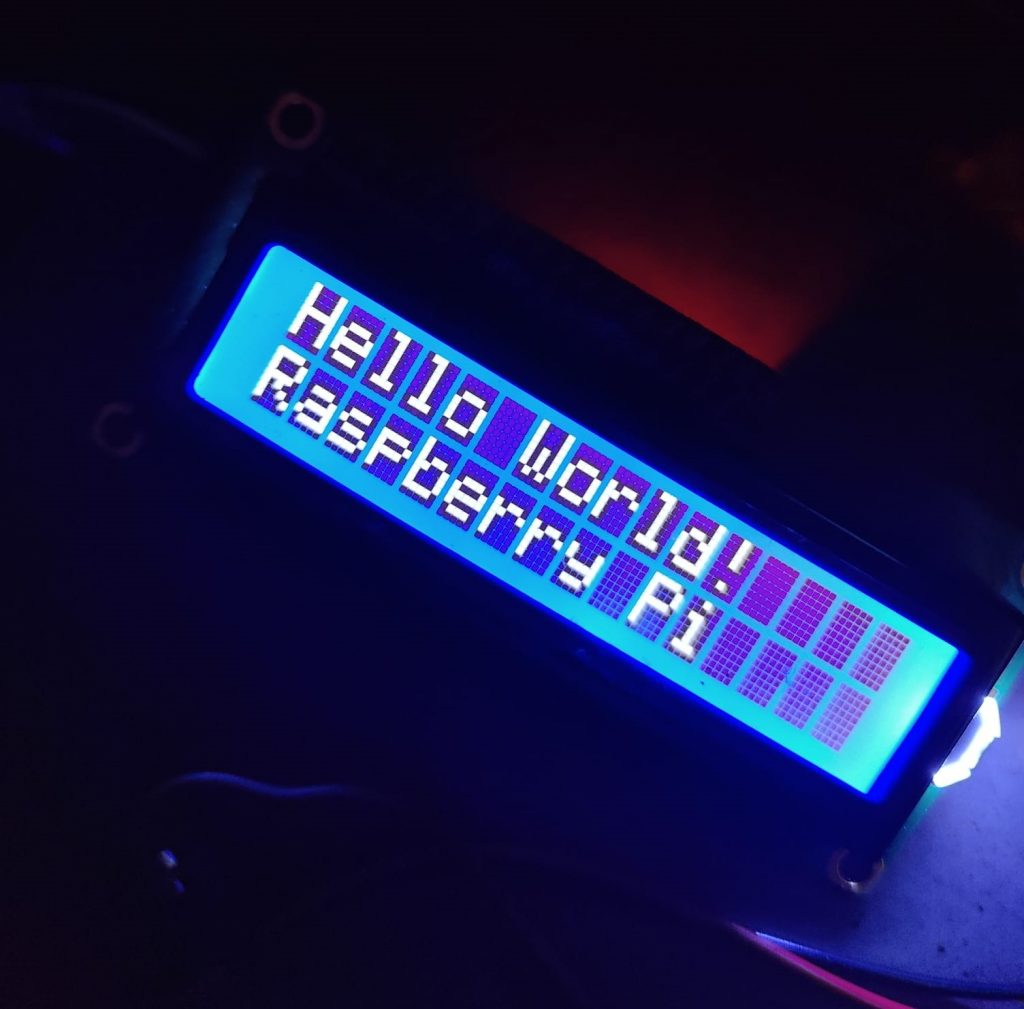
lcd.text('Hello World!', 1)
lcd.text('Rasperry Pi', 2)
sleep(5)
lcd.clear()
I ran the code above and… nothing was displayed! I searched a little bit with Google and found the solution: The contrast was at 100% – so you couldn’t read the text on the all white background. There is a potentiometer on the i2c lcd platine where you can adjust the contrast. After doing this: voilà, the text appeared:
import RPi.GPIO as GPIO
from time import sleep
GPIO.setwarnings(False)

GPIO.setmode(GPIO.BCM)
GPIO.setup(14, GPIO.OUT)
GPIO.output(14, True)
sleep(2)
GPIO.output(14, False)
With this code, I got the led blinking with 2 seconds pause. In the end we don’t need normal LEDs anymore because we have the LED stripe then, but this isn’t delivered yet so we use normal LEDs as counterpart to the photoresistor right now.
Speaking already about the photoresistors:
import RPi.GPIO as GPIO
from time import sleep

readPIN = 15

GPIO.setwarnings(False)

GPIO.setmode(GPIO.BCM)
GPIO.setup(readPIN,GPIO.IN)

while True:
	print (" Read: " + str(GPIO.input(readPIN)))
	sleep(2)
With the code above it should read the photoresistor. We didn’t have the time to wire it and try it – we’re also thinking that it only reads 1 and 0, what isn’t the right purpose we want. We want an analog value where we can detect if the coin is inbetween or not. But we will figure that out next week and report about it then.
The Connect 4 software demo runs flawlessly on the pi, that isn’t a big surprise as it already ran good on the Windows computer with pycharm and python is global platform compatible of course.
Mechanical part:
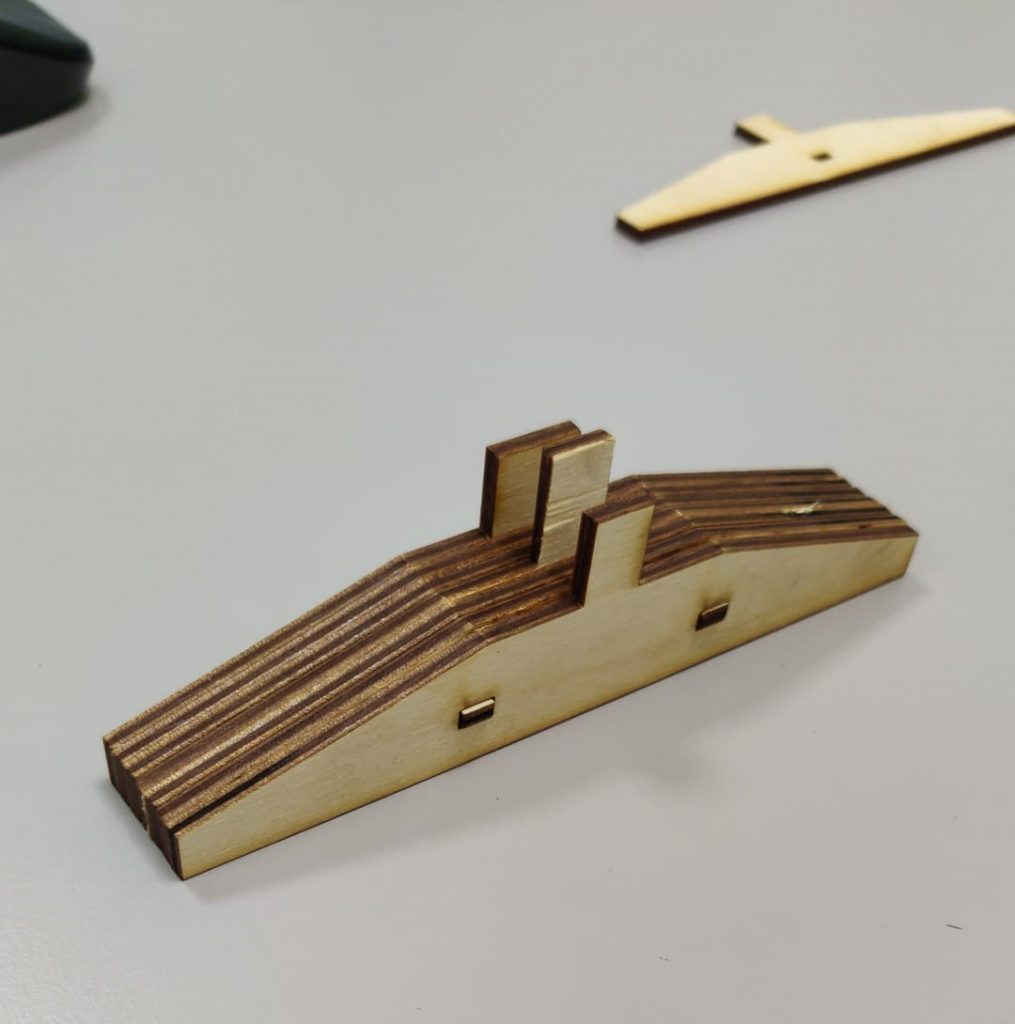
We cutted out the game stand. First time with only one splint in the middle, but then the stand itself was loose, so our second prototype – as seen in the image above – got two splints and with that all wooden plates are securely fixed. Next week we want to print out the complete gameboard and build it togehter, so that you could play with it (of course only as human, no robot and KI already..)