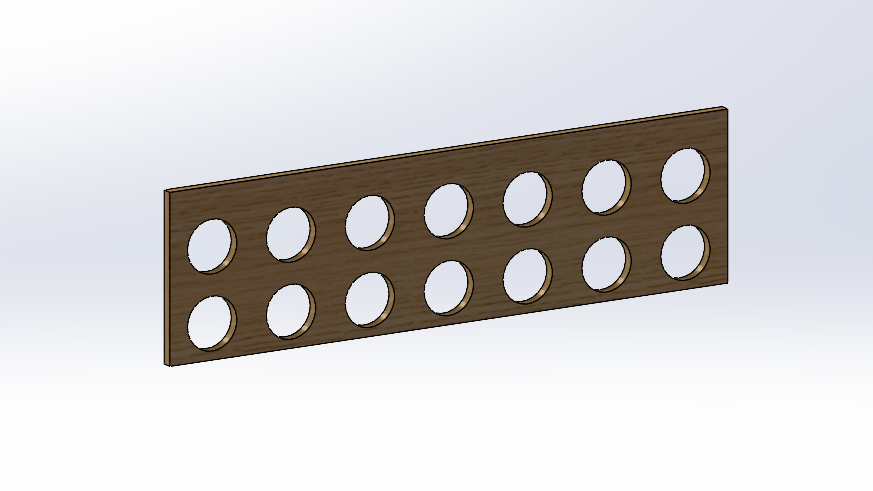
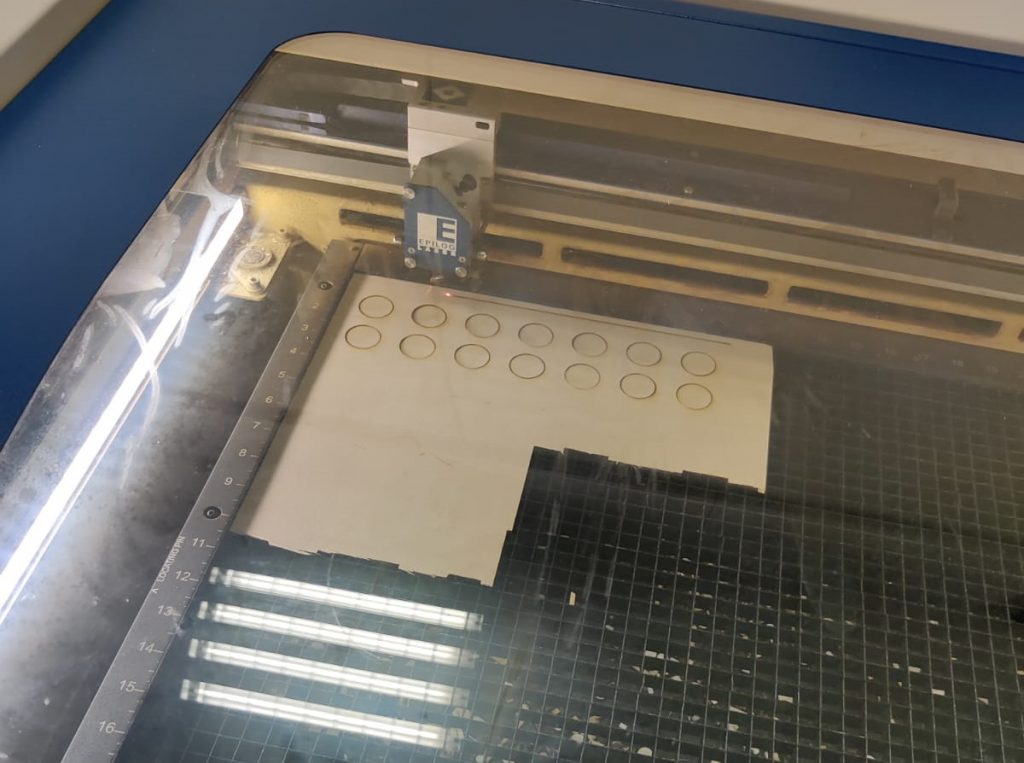
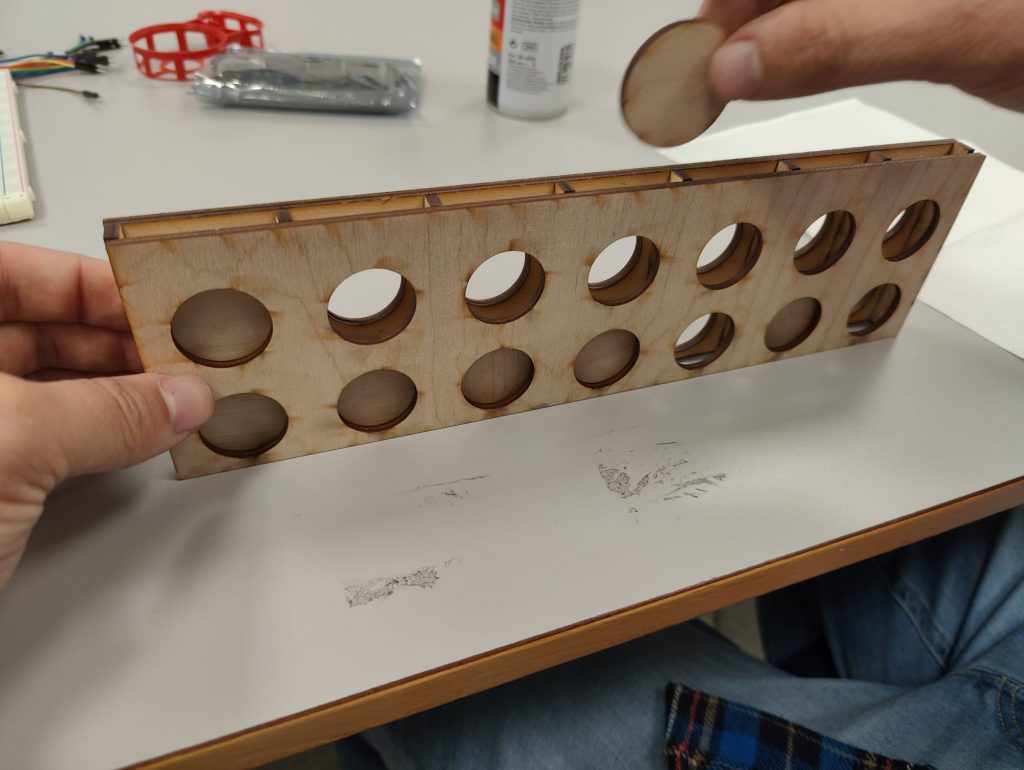
This week, Zoran showed us how we can lasercut things out. We than started to make a prototype of the gameboard, that means only two rows with all colums. And also cutting out 14 coins. Later, we have to paint or mark them in the player color and robot color.
We glued the separator parts on the backplate of the game table and tested out pushing coins into it. We figured out that the separators are too big, there even fits two coins behind each other in the game table! That’s not good because it would destroy the whole gameplay. The coins should only lay on each other, not behind. So we have to adjust the CAD models and make the separators smaller.
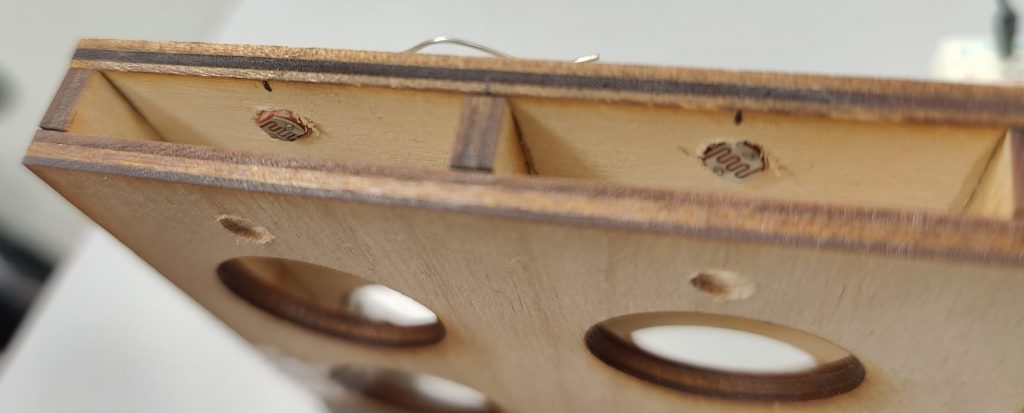
As last step for this week, we drilled out holes for placing the photoresistors and also the LEDs as counterpart on the other game table plate. The holes for the LED were easy, just drill them through the whole table.
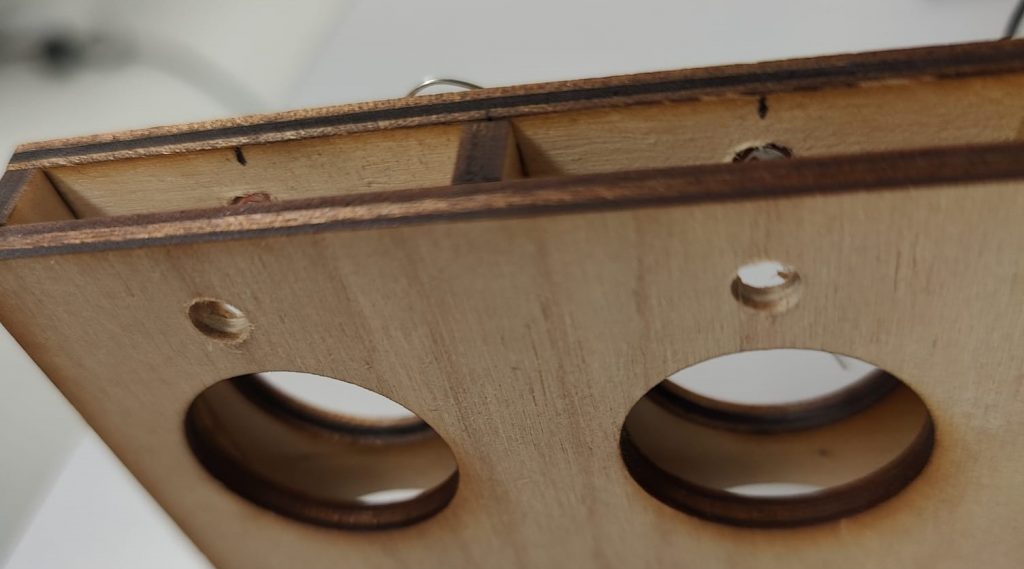
For the resistors it got more difficulty. We only have to countersink them into the wood – so no big hole that goes through the whole plate. So we drilled a little bit with a bigger drill that the sensor fits into the wood. For the two wires we drilled two smaller holes into the bigger one. That was quite difficult because it was so small, but with a little bit time and patience we got a good result!
In our next versions we would also like to cut out the holes via lasercutting because that’s more precise and we also don’t have drills in every size that we need – but for now and especially testing it is fine with only drilling..