Software (Marius):
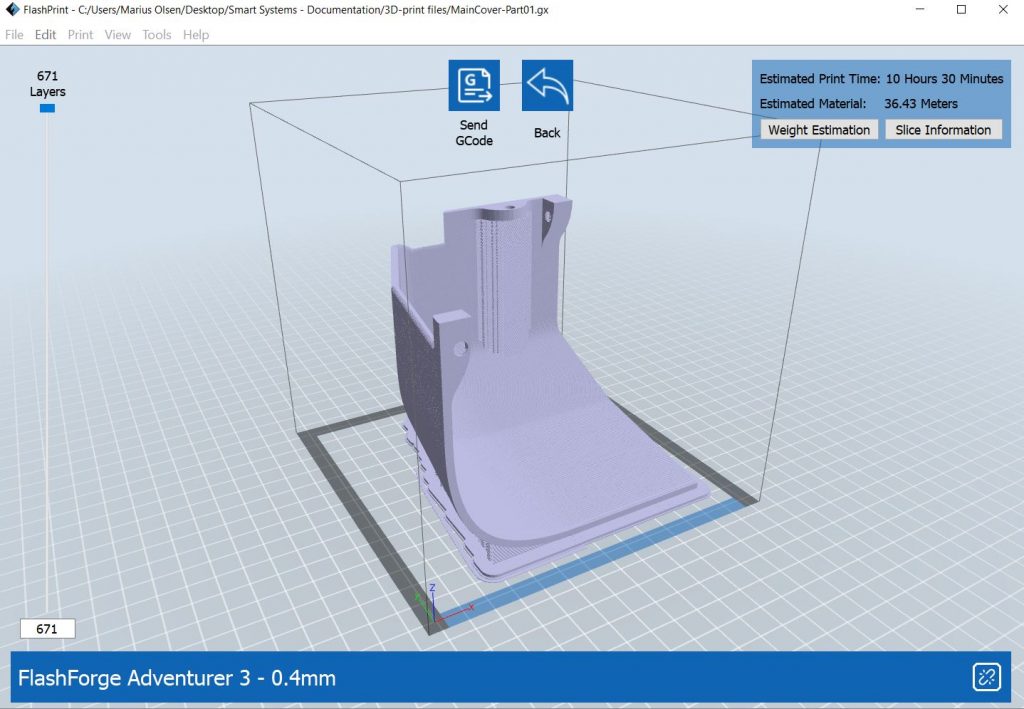
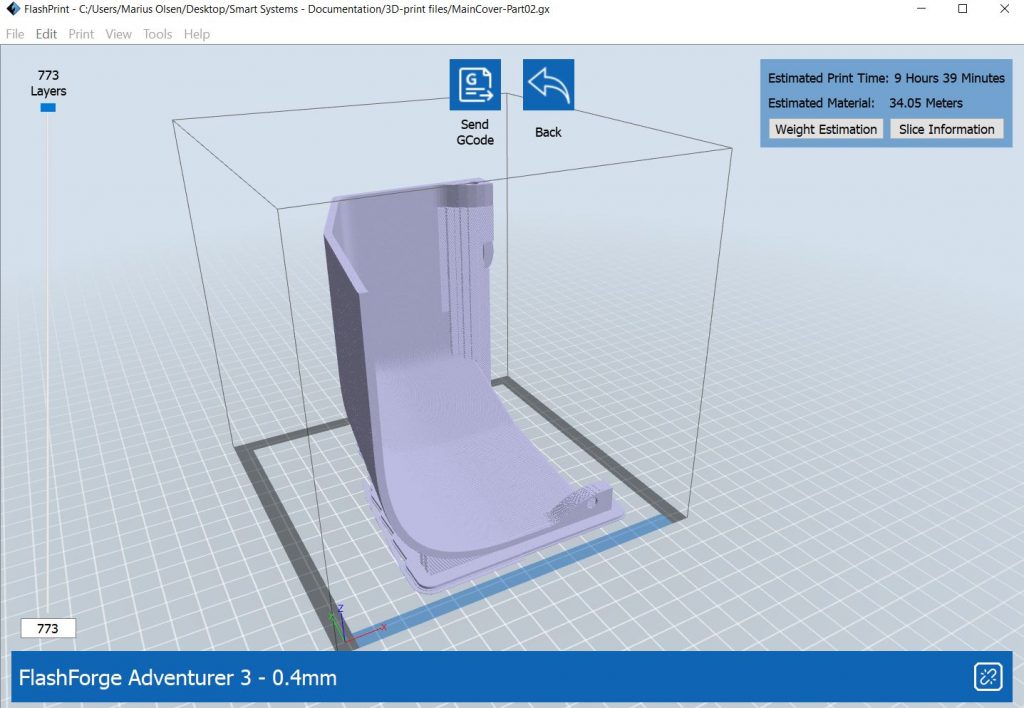
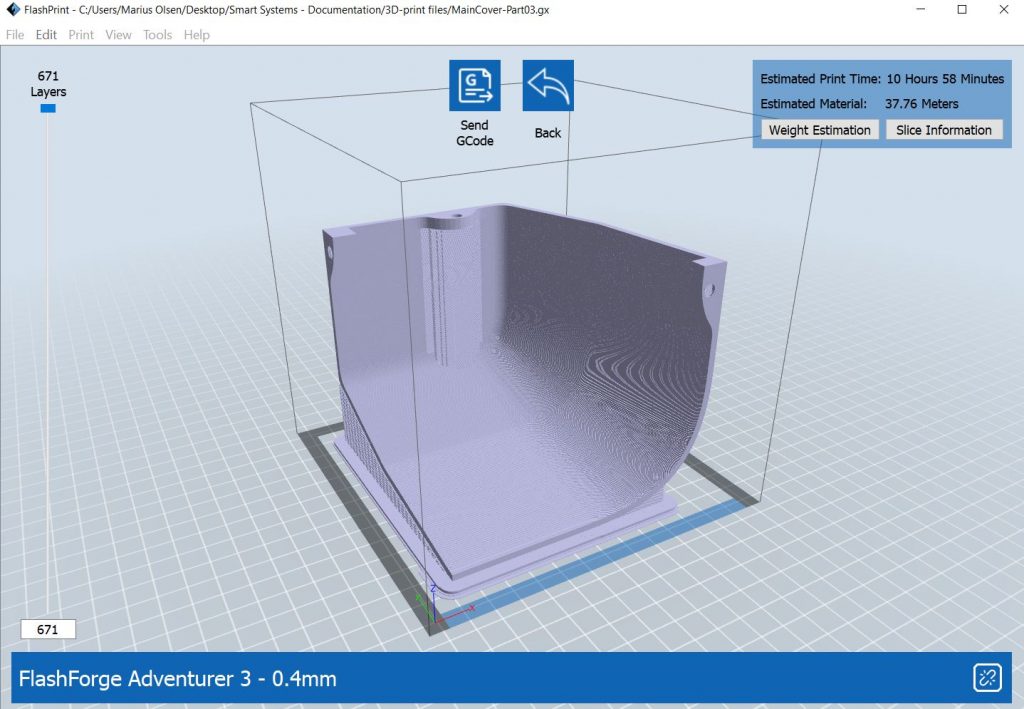
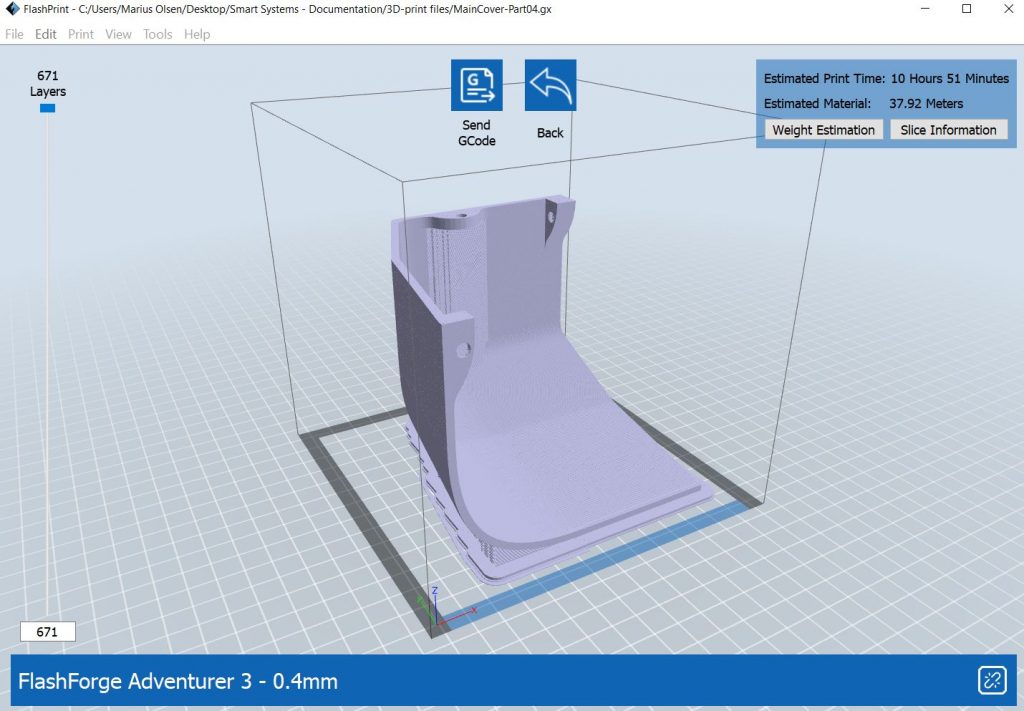
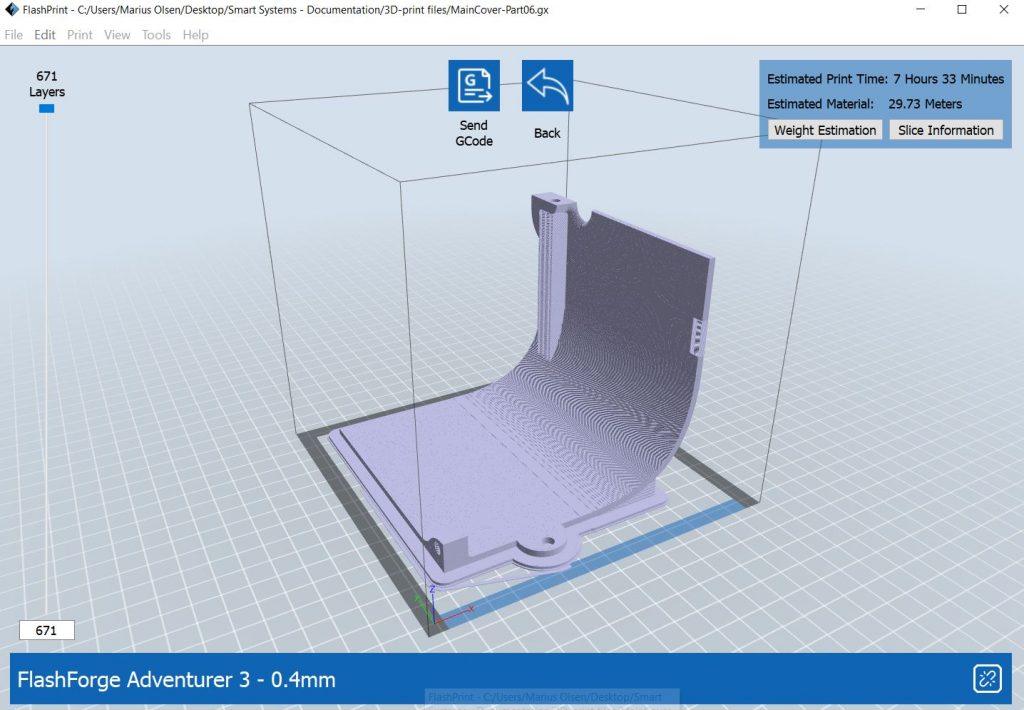
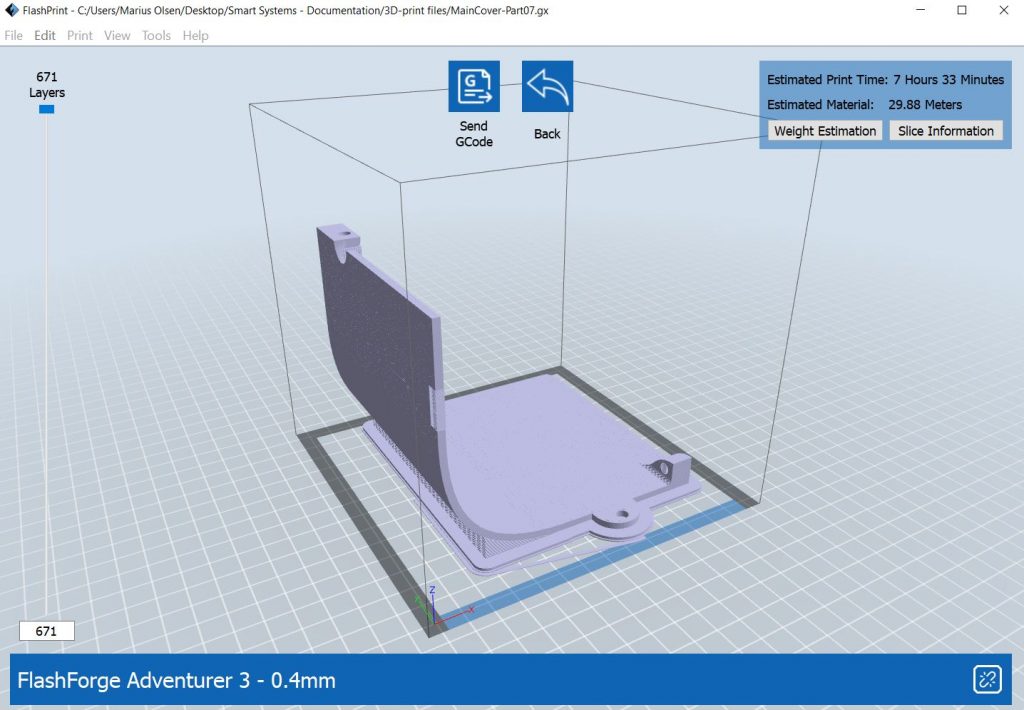
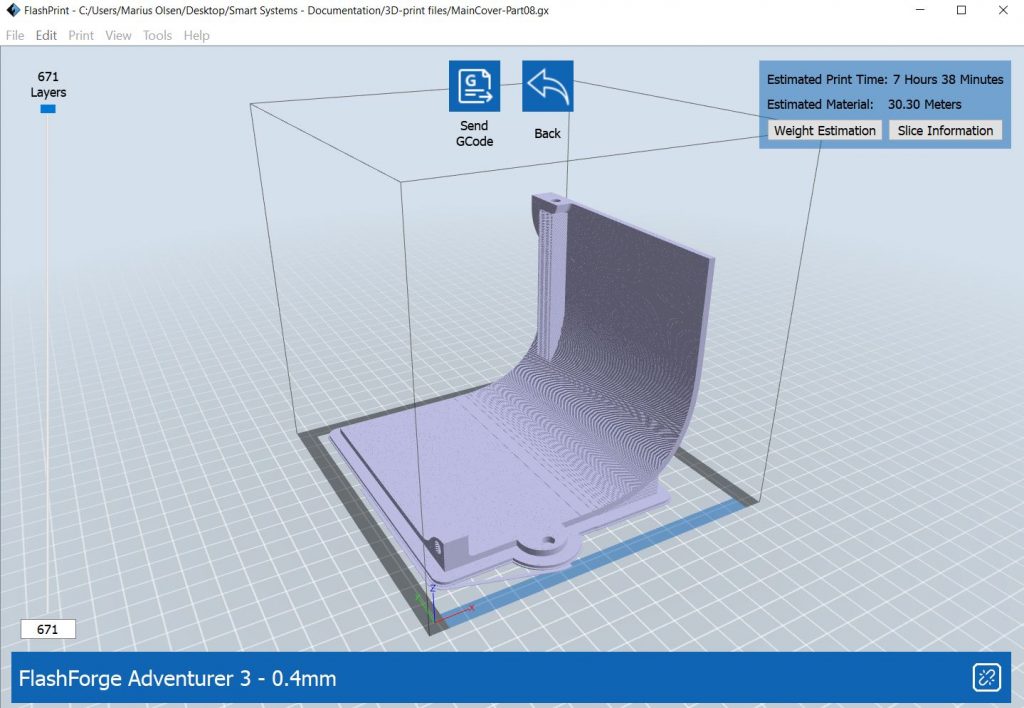
Last night (Monday 30.11) I received the new design on the case for our system from Shadi. Since my 3D-printer is 150x150x150 mm, the case parts had to be divided into eight different parts to be able to print them. I started printing the first part of the case this morning (01.12). All the parts that are going to be printed can be seen underneath and the estimated time to be done with all the parts are approximately 72 hours.
So the next week will be a bit hectic as there are exams in other courses this week and I have to complete the programming of the system as well as getting the case done ASAP. The following features of the system are crucial to get in place this week:
- Adding crane operation feature.
- Adding soil moisture readings feature.
- Adding water pump operation feature.
After being done with the steps above I can move on with adding a feature where the system is able to perform the watering procedure on several plants.

Programming Iteration #3:
I started working on the third programming iteration where I need to implement the code for the crane operation, the soil moisture sensor, and the water pump. Since everything is dependent on the crane going up and down, I started with this. I quickly came upon a problem with the servo motor we are currently using in our setup. The gears within the motor are not operating as it is supposed to. I have taken apart the gears several times and added grease but still not working.
In the video below, I tried to show the problem I’m currently facing. Hopefully, we can get another identical servo motor within the next couple of days, since the servo motor bracket on our system is custom made for this particular type of servo we can’t really use another one. It’s kinda frustrating since all the remaining code is dependent on the servo motor functioning correctly.
Since the servo motor is currently not working, I started working on the soil moisture sensor and the water pump code. This is working as intended so I just have to wait until we can get a hold of another servo motor.
3D-Printing Finalized (Marius):
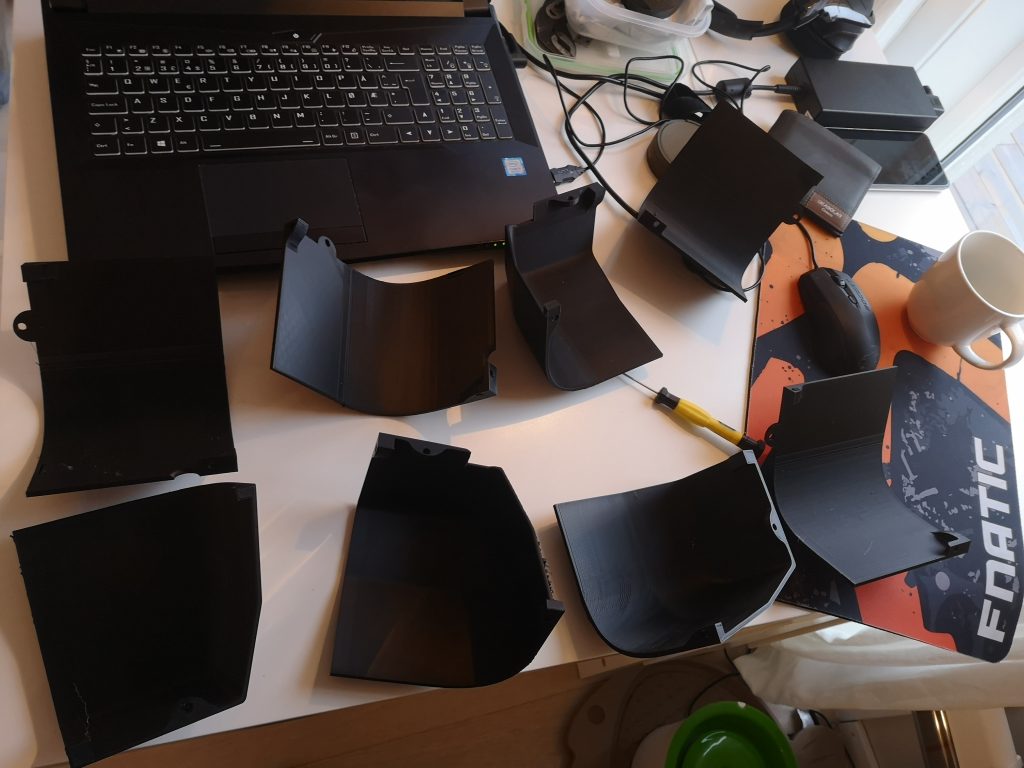
After a few days of continuously 3D-printing the eight parts for the cover, today it is finally done, and I can get some sleep without listening to the printer 24/7 xD The parts turned out fine, but there are some minor sanding that needs to be done where the support materials have been.
Regarding the assembly of the cover and the sanding, I leave it for the mechanical engineers in the group.
Programming Iteration 3 – Continued (Marius):
After trying to apply some WD40 to the gears on the servo motor and leaving it for a couple of days, it is now working again. The gears can now be moved easily and hopefully, it will work as before. I first tried the code I used before, where I used .writeMicroseconds(n) to operate the servo, but this didn’t work and the servo motor just lagged a lot. After doing some research online I found out that the problem is probably caused by the power supply to the servo. I tried connecting the power and ground inputs on the servo to the main power supply of our system, instead of taking the power from the 5V on the Arduino card and it is working perfectly again!
So after a few hours of programming, testing, and buying some plant soil, I got the system operating more or less the way I want it to be.
System Test 01 (Flower Pot w/ Dry Soil):
In the first system test, I added dry soil to the flower pot. Before the system test, I checked the soil moisture sensor readings on the soil and it was between 600-700. In the system code, I have specified that the watering operation should be performed when the readings from the soil moisture sensor are below 800, so I expected that the water pump would be activated in this scenario. In the video below we can see that the system is performing as expected. I did not include any water in the tank during this test as it was to test that everything works correctly.
System Test 02 (Flower Pot w/ Moist Soil):
In the next system test, I added dry soil to the flower pot. When testing the soil I got readings from the soil moisture sensor of approximately 900, which means that the water pump should not be activated in this scenario. In the video, we can see that the pump is not being activated as the readings are above 800.
What needs to be addressed in the last week of the project:
- 01 Assembly of the system cover, to hide all wiring and components (mechanical-related problem).
- 02 Hopefully, we can attach the wheels in a better manner. They need to be tightened almost every time I test the system (mechanical-related problem).
- 03 Need a switch to turn the system ON / OFF after the cover was been installed (electrical-related problem).
- 04 Make minor adjustments to the turning functionality. I think that the turning functionality will be a lot better and more precise if the wheels get tightened and more friction is applied (software-related / mechanical-related problem).