Mechanical (Shadi and Per-Terje):
This week we finished our upgrade iteration for the small parts like Wheels, wheel spacer, ultrasonic mount and motor mounts and sent them to Marius for printing as our replacment parts to fix our 3d printer has not arrived yet.
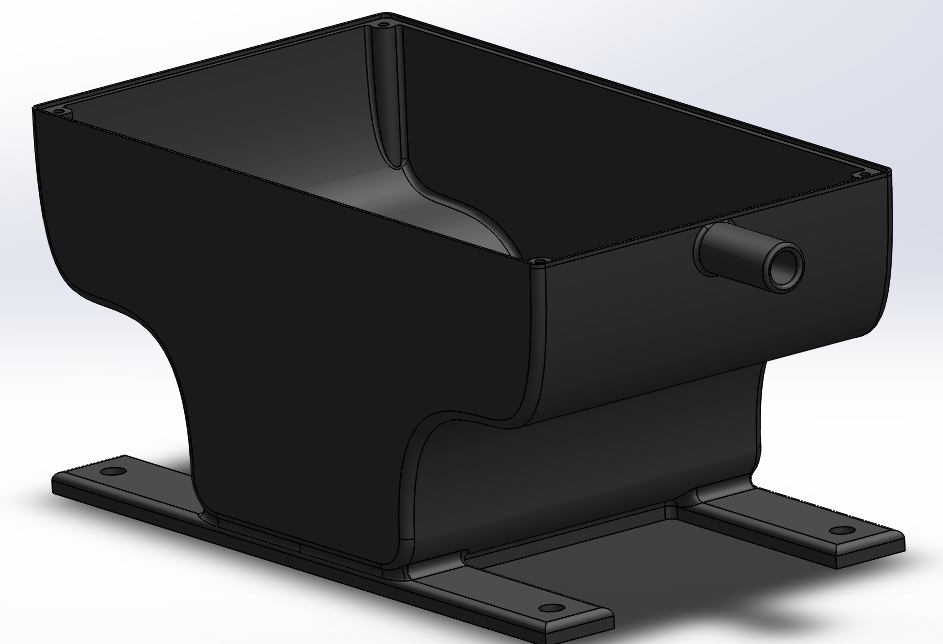
On the other hand, we did the last changes to the large parts, for example, we add a filing inlet for water to refill the water tank. Also, we reinforced the screw holes since the last one had been broken in the test stage. The water tank and the lid will be sendt to Richard for printing
Software (Marius):
We had a minor setback this week when Shadi’s 3D-printer crashed. He’s been doing all of the 3d-printing so far as he’s been the only one with access to a printer at home. Unfortunately, the printer stopped working this weekend and we are waiting for new parts to be delivered and replaced.
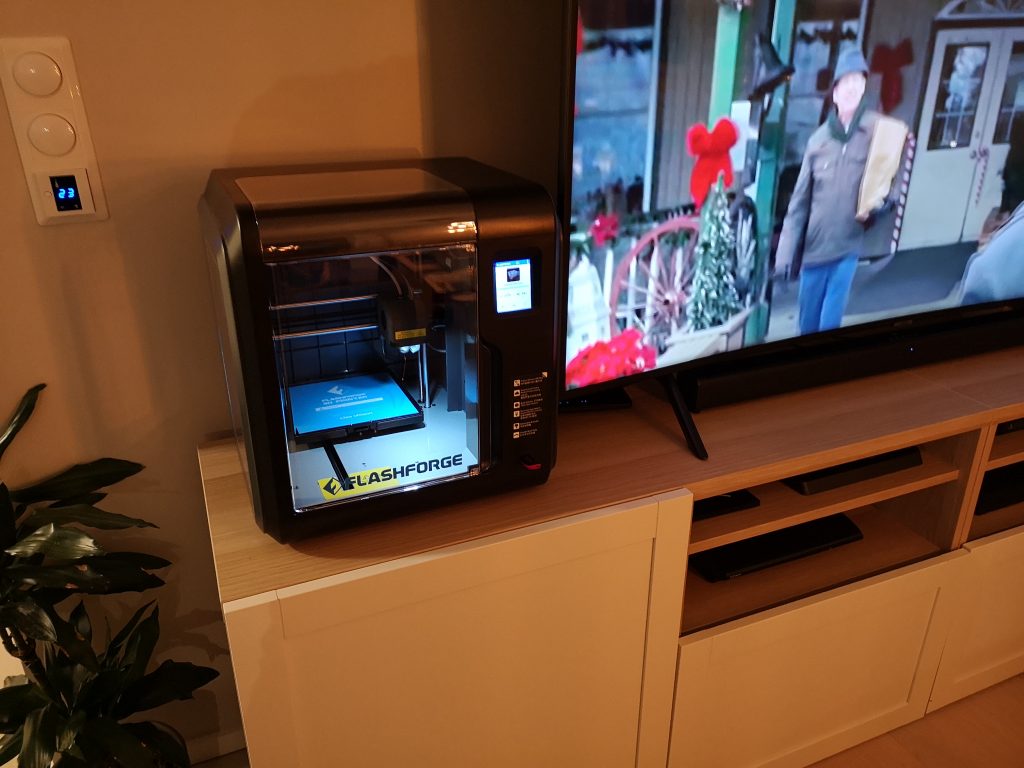
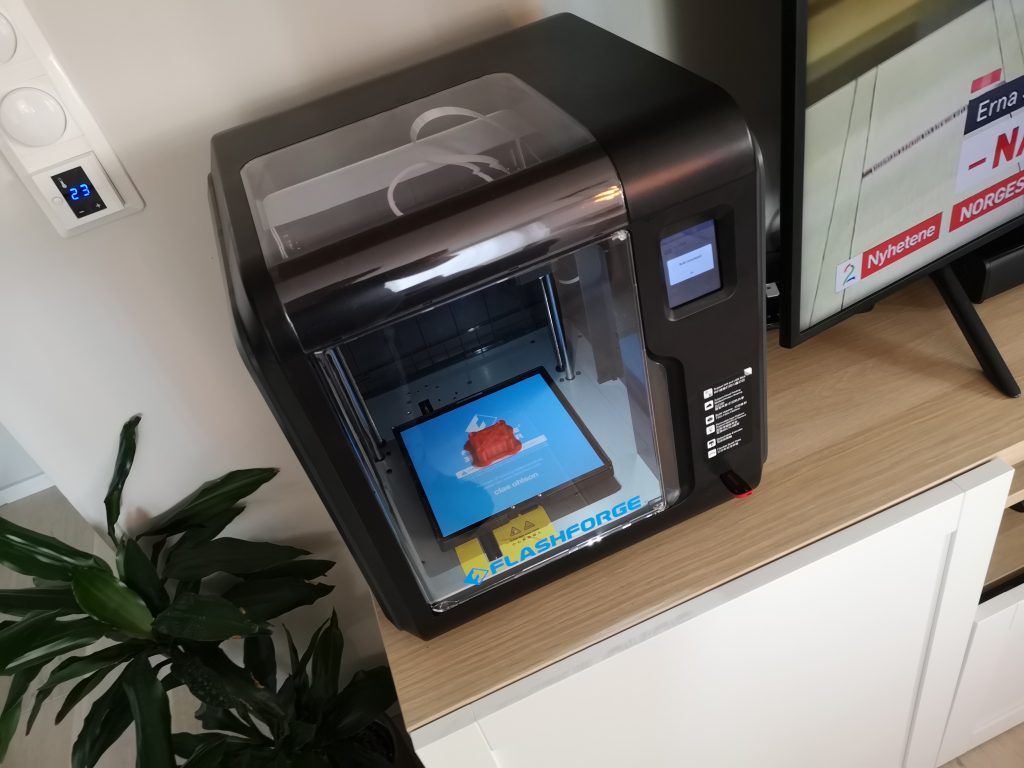
Luckily, I ordered a 3D-printer for myself a few weeks back and this just arrived in the post last night (04.11). So yesterday I had to spend a few hours learning how this works as I’ve never used a 3D-printer before. Due to the 3D-printer problems, I won’t be able to do much programming this week and have to focus on printing the most crucial parts so we can move onwards with assembly and testing.
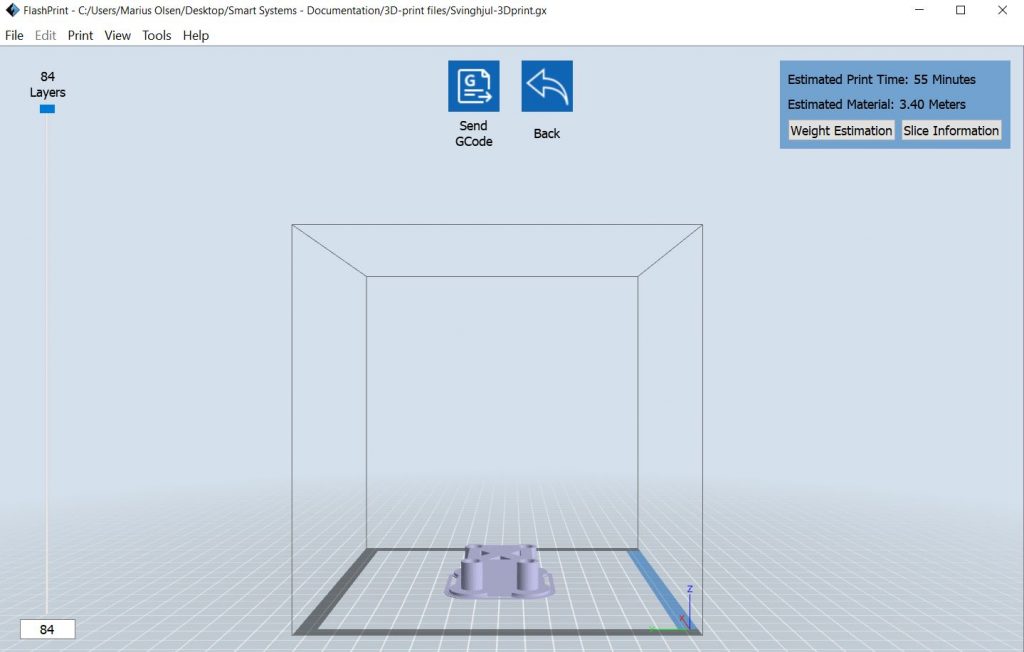
After some assistance from Shadi, I got it working and could start printing some of our missing parts/parts that need to be replaced. I received the STL files from Per-Terje which had done the design in SolidWorks. I will start by printing the brackets for our castor wheels that have been redesigned.
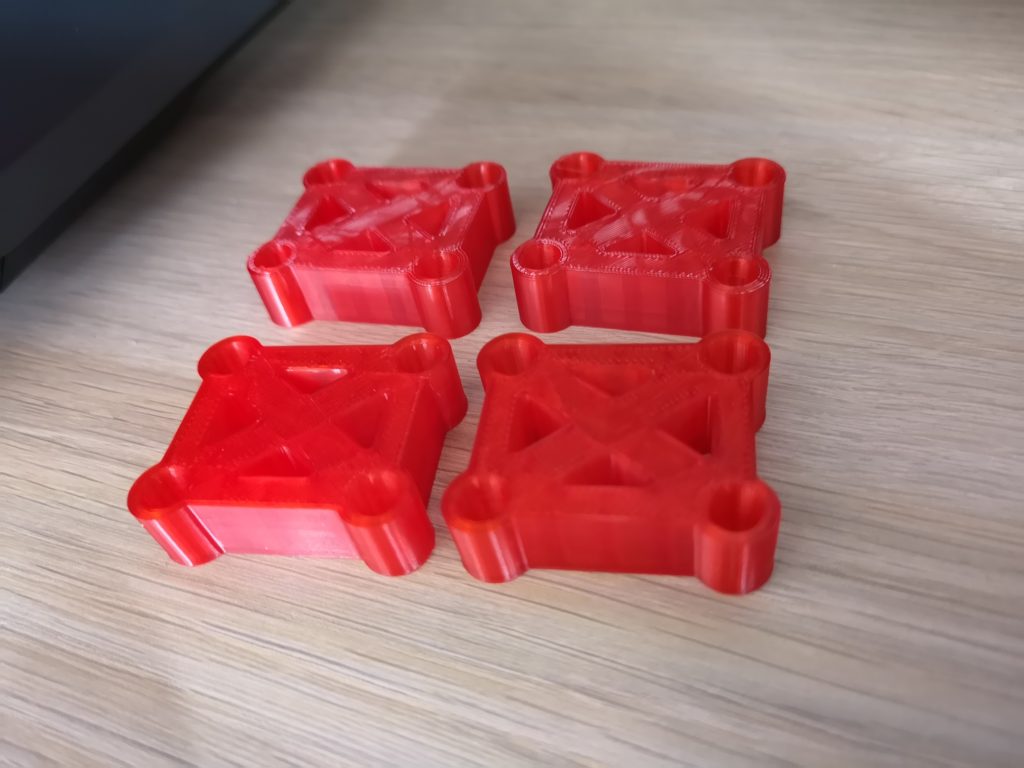
Castor Wheel Brackets x4
In figure 3 the first bracket for the castor wheel is done, and the result after all brackets are done can be seen in figure 4. I didn’t find any flaws in the printing under inspections, so I guess these will work perfectly.
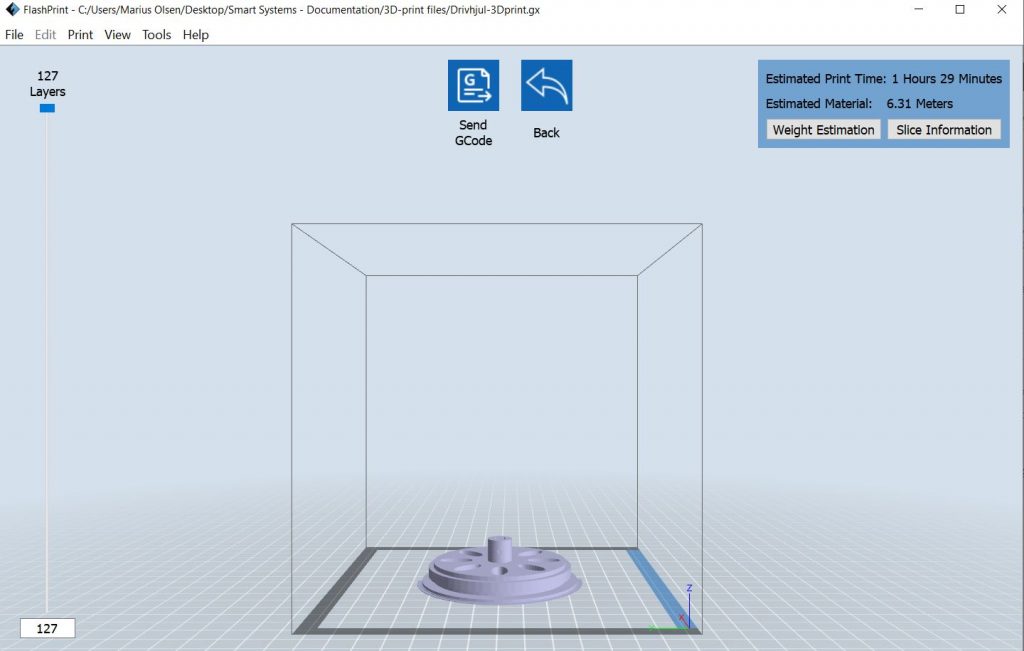
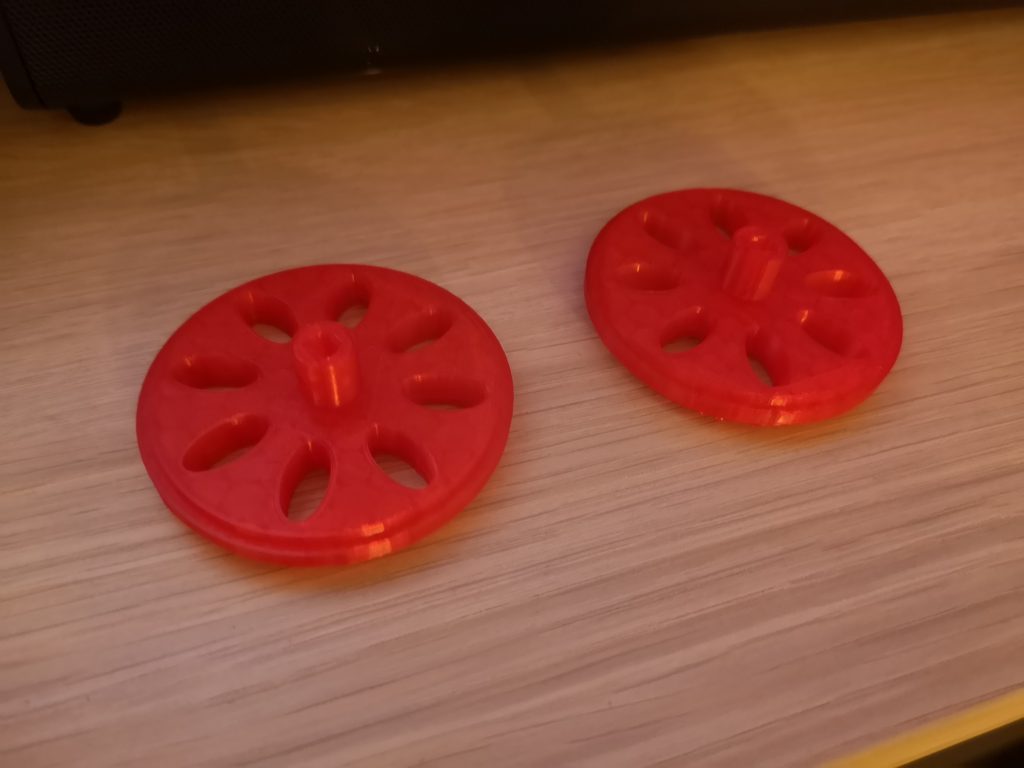
Drive Wheels x2
After being done printing the brackets for the castor wheels, I received the STL file for the new wheels from Per-Terje. We will be needing two of these, and they are currently being printed so more updates on this will come later.
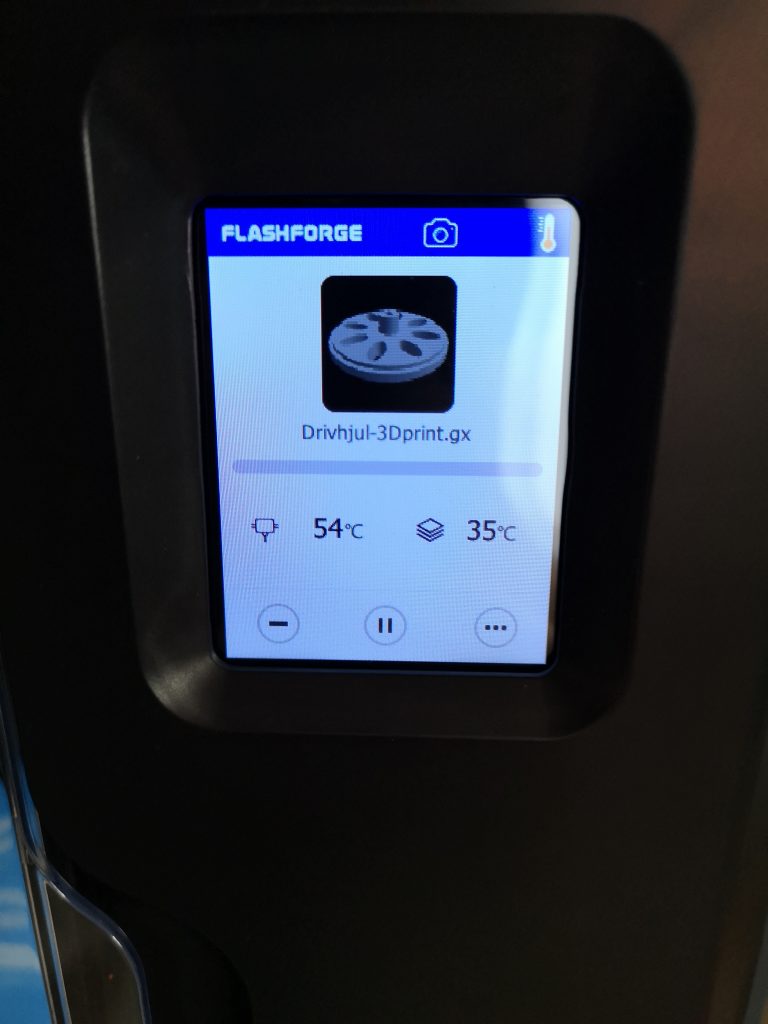
Both drive wheels got finished late Thursday night.
After a lot of 3D-printing throughout the weekend, all the system components (which I can print on my 3D-printer), is finally completed. There is still a couple of components that are too large for my printer, that needs to be printed on the campus.
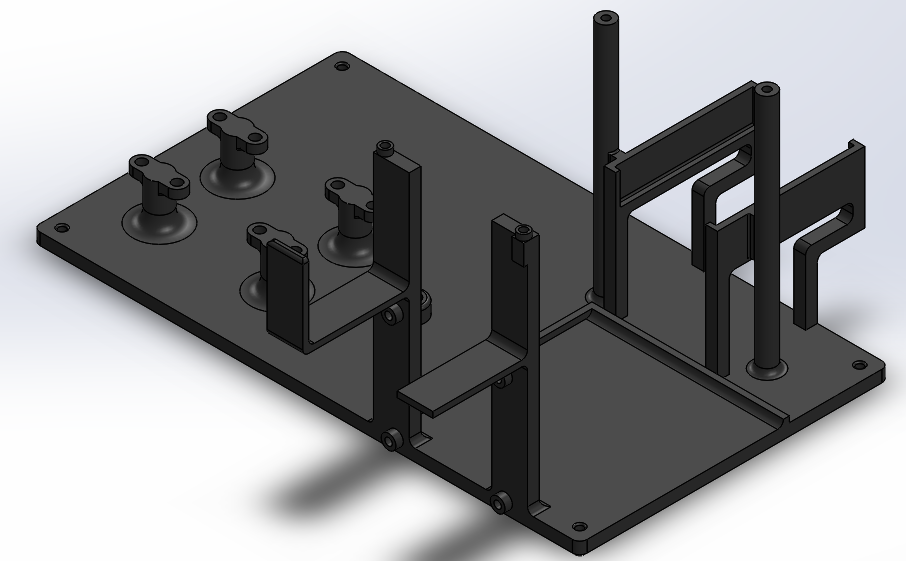
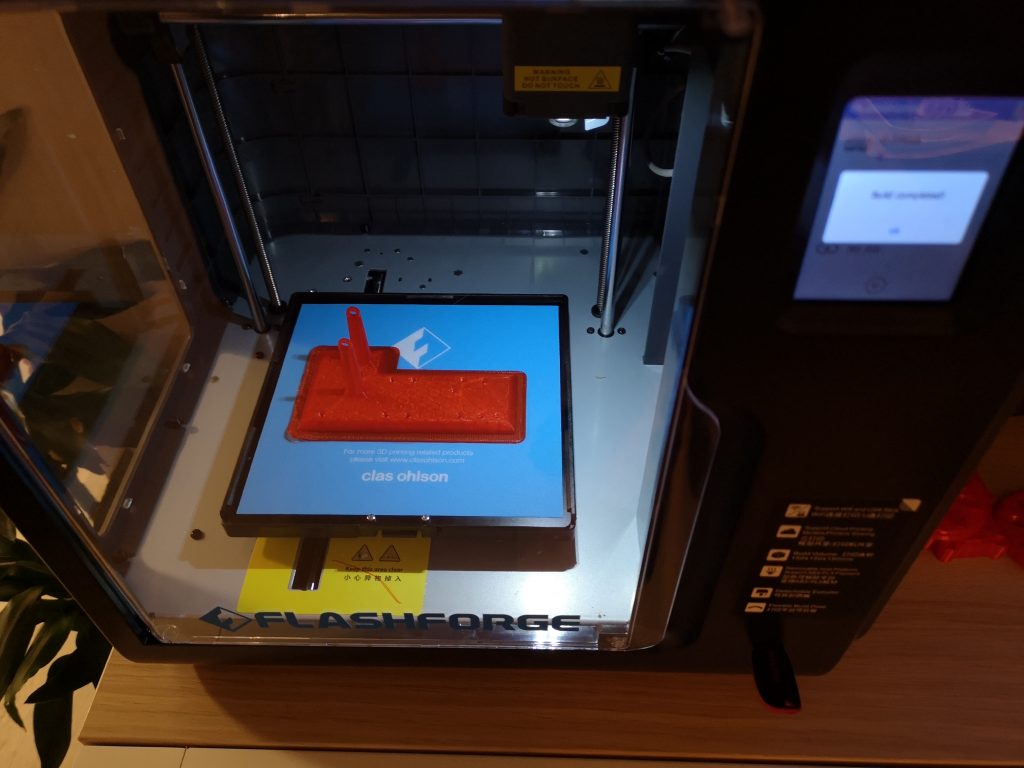
Crane Plate
In figure 8 we can see the plate that will be used for attaching the crane. The crane will be attached to the two poles on the bracket.
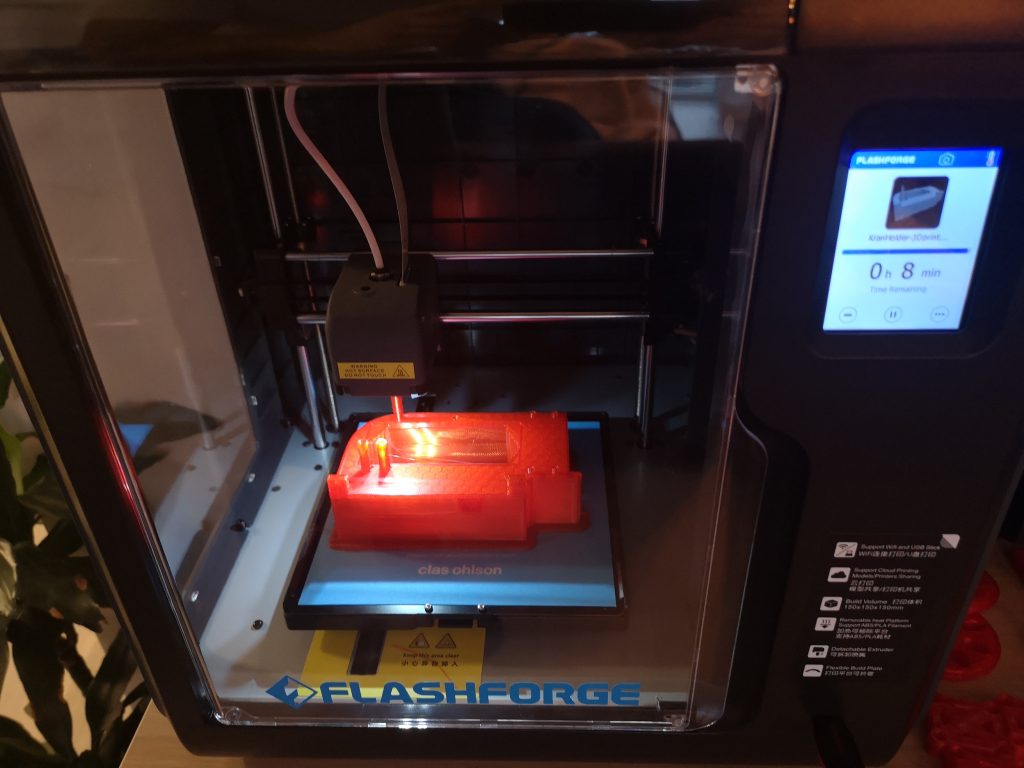
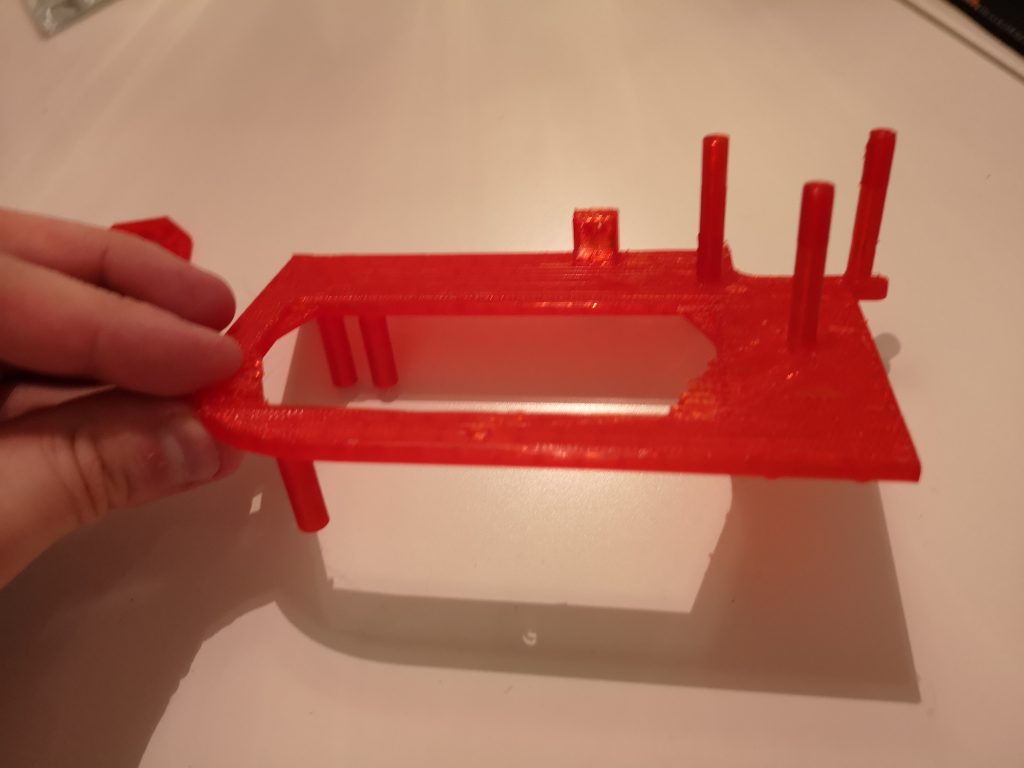
Crane Holder / Bracket
The holder for the crane was a bit tricky to print. It took 7-8 hours of printing and needed a lot of support material since there are three poles on both sides of the plate. I first tried using treelike-structure support material, but this did not work at all, so I had to start all over again. After using a linear pillar support type (as seen in Figure 9) it worked perfectly.
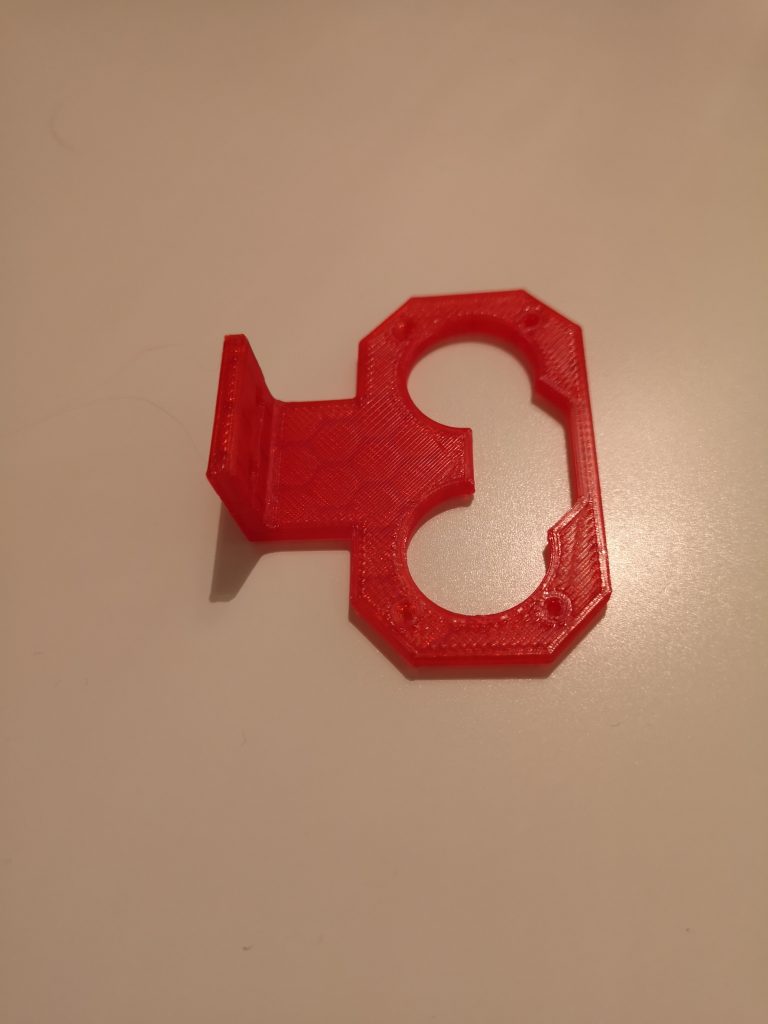
Ultrasonic Sensor Bracket
The last component I had to print this weekend was the bracket for the ultrasonic sensor. This didn’t take quite as much time as the other components as there was no need for support material.
After a long weekend with a lot of 3D-printing, all the different components are finally finished. The image below shows all the 3D-printed parts.
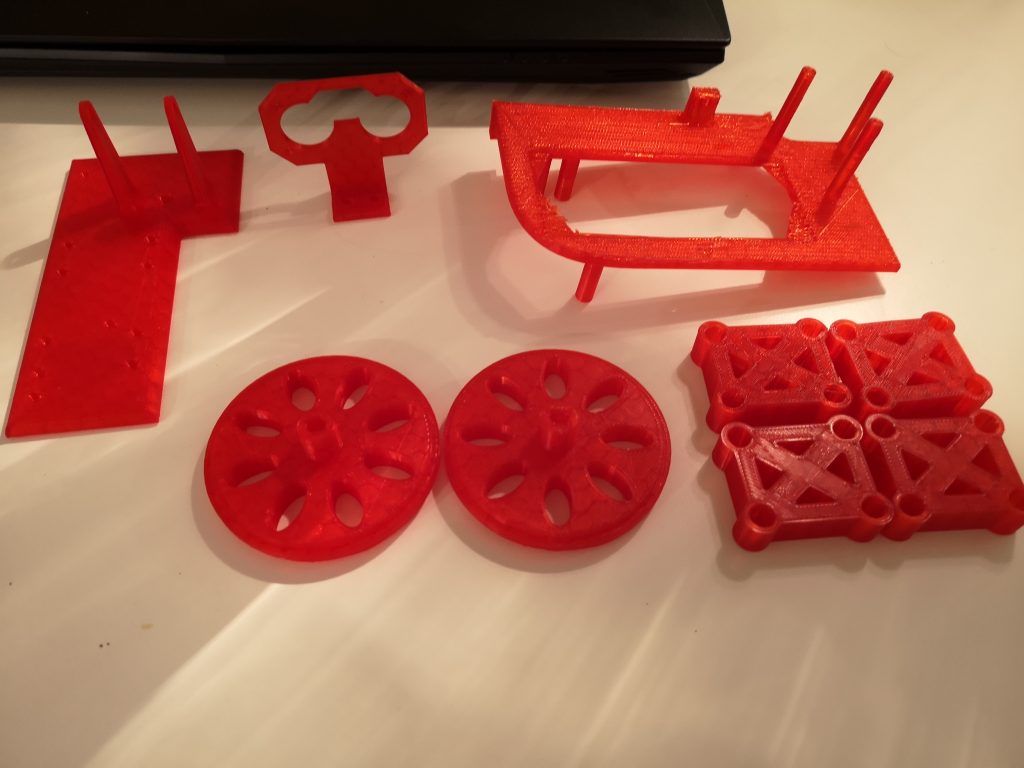
Being able to try some various types of 3D-printing was a fun experience, and the printer will definitely be used a lot more in the upcoming weeks! We are currently waiting for the final design of the water tank to be 3D-printed, and this design ended up being a bit too large for my printer, so we have to figure out how to get this done.
Electrical (Erlend):
Last week I ordered a AT24C32 IIC Real Time Clock Memory Modul. Took a closer look at it this week. Seeing as the watering robot will stand idle for hours at a time a system to save on power would be highly beneficial.