Mechanical & Electrical
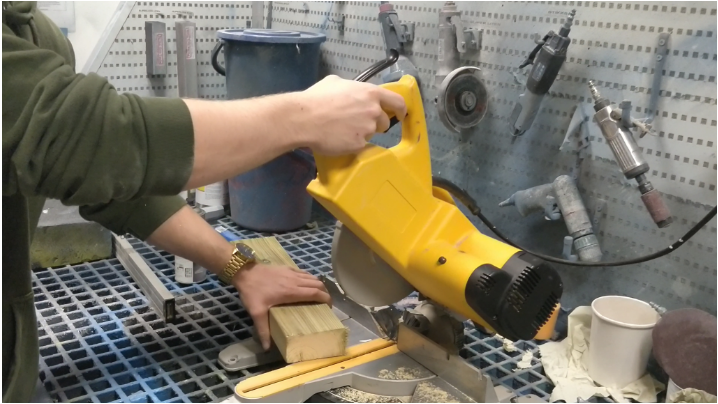
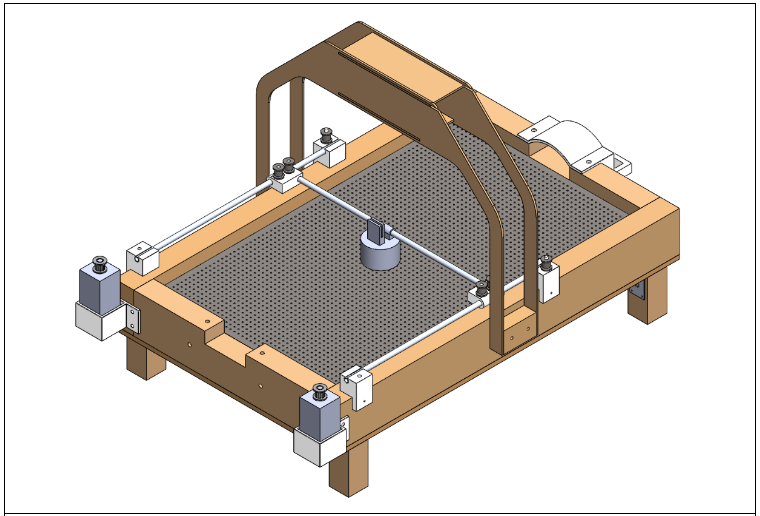
This week we have finally started creating the first parts of the board. We have found that the building part with wood will take a bit longer than anticipated since none of the group members have any carpenter experience.

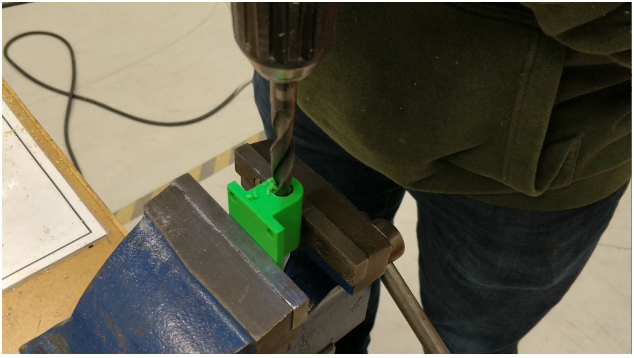
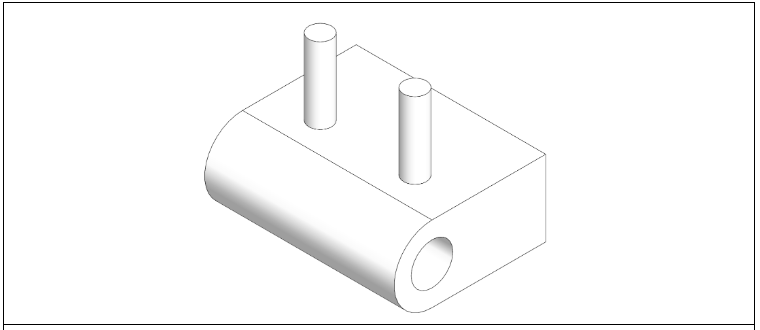
We have also tested out different dimensions for the 3D-printed parts that are going to connect with the Ø10 aluminum pipe, and we have found that different structures shrink at different dimensions. Therefore, we quickly realized after talking with Richard that we should try every fit in a smaller scale first, rather than producing everything at once and then realize that nothing fits.
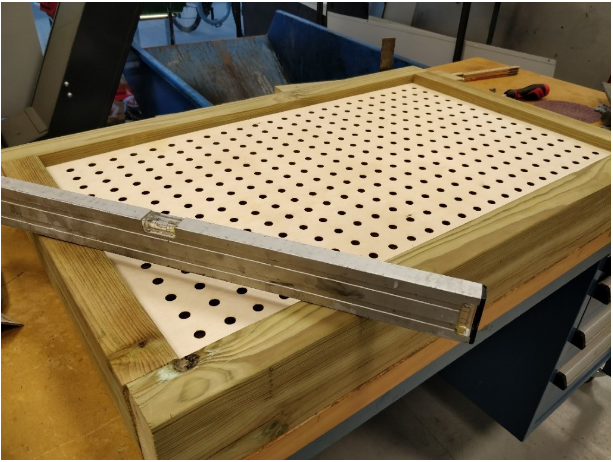
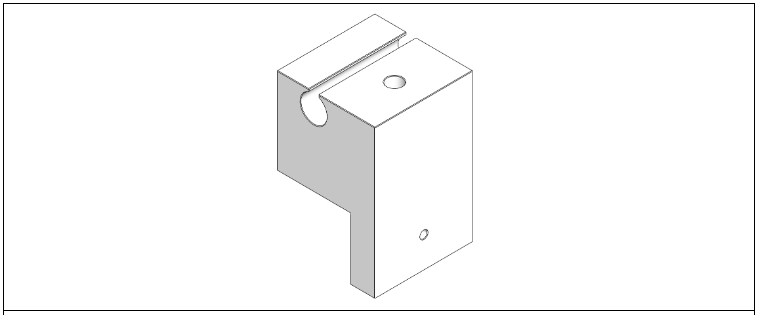
Also, another lesson learned the hard way was that even if everything that is shown in Solid Works seems logical, it might not be in real life. This was the case when we modelled and produced the holed-out board plate. We will now produce a smaller piece of the plate with a more frequent number of smaller holes and check out the pressure we get with the fans when they arrive.
Earlier in the project we have created parts that are meant for testing purposes. This means that they might not be very common or producible. Since we’re now at a later stage in the project we have started to redesign all the components so that they are easier and more economical to produce if they were ever to be made in a larger scale.
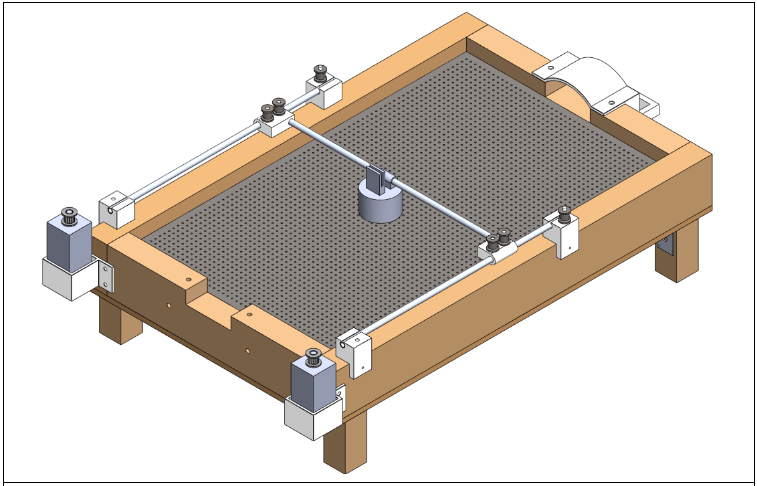

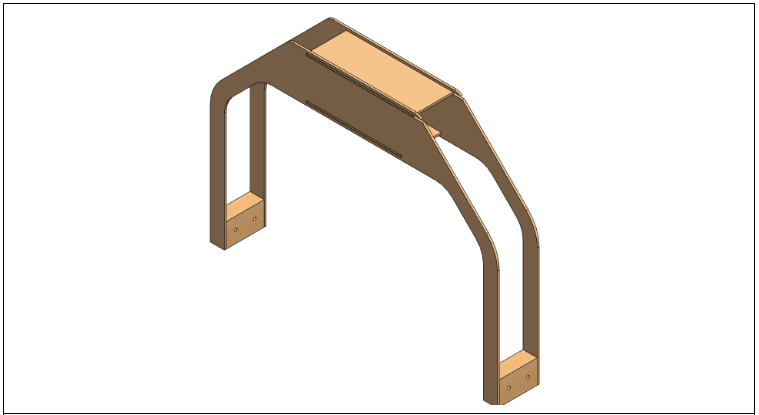
We have also designed and modelled a first sketch of the bridge that will be where we mount the camera used to film the movement of the disc. It might also contain both a scoreboard and a timer.
Computer
Last week presented us with the critical problem of our Raspberry Pi version 3 not being powerful enough to facilitate the object tracking and calculation of the data we need. Consequently, we have divided our attention, where one of us keep developing the program for the object tracking, and the other solves the performance problem.
For the program, last week’s goals have been achieved to some degree, and we believe we have managed to implement both displacement and velocity calculation. It’s difficult to tell whether it calculates the correct values, as the unit is currently in pixels per second, but the values doesn’t appear to be entirely unreasonable, and the value is negative or positive depending on which direction it moves in relation to the coordinate system. Additional testing will be required to verify if this functionality was implemented correctly.
Implementing this took longer than we hoped for. As mentioned in last week’s blog, there were no modern, simple-to-follow tutorials on how to implement this that we could find, and so we had to rely primarily on our own experience and knowledge, and figure it out by experimenting. It is a fairly simple problem to solve in actuality, but implementing and making it work in the context of a relatively complicated program, while attempting to make use of the existing resources within it, was challenging.
In order to implement velocity calculation, two things are necessary:
Velocity = Displacement / Time
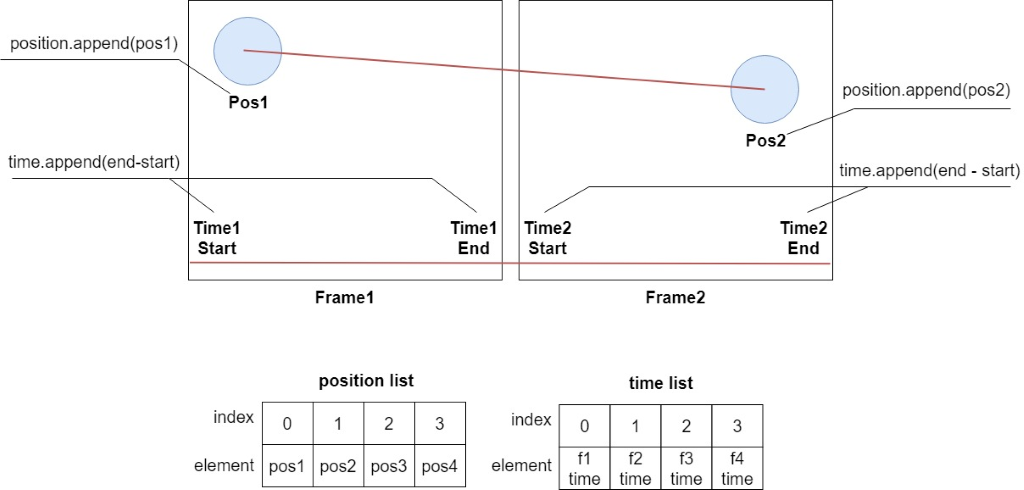
So, we had to figure out a way to get displacement, and a way to get time. In order to obtain the former, we simply had to calculate the delta of its position for each frame; for frame 1, we calculated its position and put it in an array; for frame 2, we calculated the position again. In that way, we can obtain the delta of its position by taking the position from frame 2 and subtract the position from frame 1, and repeat the process for each frame.
Obtaining the latter seemed like a slightly more complicated problem to us, but as it turned out after (too) much deliberation, we could simply calculate the amount of time each frame took, and calculate the delta of the time by subtracting the time for frame 2 by the time for frame 1, and repeat for each frame. The following figure illustrates the process:
In pseudocode, it would look something like this:
getFrame1
start = time()
…
positionX = currentX
positionY = currentY
position.append(squareRoot(square(positionX) + square(positionY)))
…
end = time()
time.append(end-start)
if (length(position) > 2):
calculateDisplacement()
calculateVelocity()
getFrame2
(Repeat the above)
Where the calculateDisplacement() and calculateVelocity() functions simply calculates the deltas between two frames; for the first two frames, using the figure above, it would be:
V = (pos2 – pos1) / (f2 time – f1 time)
As for the performance problems, this week we did some hardware upgrades. As mentioned before the Raspberry PI 3 did not meet our performance requirements, so after doing some testing we decided that hardware upgrade was a must. The best upgrade regarding the performance and by keeping in mind that the new hardware needed to be obtained quickly, we decided that Raspberry Pi 4 was the most optimal solution. We used almost a whole week (week 39) on getting approval from USN to buy the new Pi and the necessary components (microSD card and microHDMI adapter). Luckily, as soon as the purchases were approved we where able to obtain everything locally in Kongsberg, avoiding any delivery time.
After obtaining the new Pi it had to be set up with a OS, OpenCV library etc.
We installed the OS on the SDcard by following the setup guide provided by Raspberry Pi foundation; this did not work and it would get stuck on the “rainbow screen” when we tried to boot it. The problem was solved by “full overwrite”-formatting the memory card prior to the OS installation instead of “quick” formatting as the setup guide suggested.
Next, we had to compile the OpenCV from source. We tried to follow the same guide for installing OpenCV as we did last time on our Raspberry Pi 3, but it did not work; the compilation was interrupted by an error. This type of error did not give any helpful results when googling the problem so we had to try and figure it out on our own. We almost gave up after spending about 8 hours on trying to fix the problem by updating and upgrading, reinstalling dependencies, libraries, optimization packages for OpenCV, recompiling and so on.

The only thing we could think of was to start from scratch (the error could have been a consequence of an error in OS-installation). This time instead of using “the easy OS installer” NOOBS, we installed Raspbian Buster with desktop and recommended software by flashing the Buster .img file to the memory card using Etcher software.
We found a new updated guide on how to install OpenCV 4 on Raspberry Pi 4 and Raspbian Buster [1]. This guide gave us a much better understanding of the whole process by thoroughly explaining every step. The following is the summary of what we did after inserting the microSD card into the Pi and booting it up:
- Expanded the filesystem to include all 32GB of the micro-SD card
- Updated and upgraded all existing packages
- Installed dependences, I/O libraries, and optimization packages for OpenCV
- Created Python 3 virtual environment, installed NumPy and PiCamera API
- Increased SWAP space in order to compile OpenCV with all four cores of the RP
- Compile and install the full, optimized OpenCV library from source
- Restored SWAP in order to not to burn out the microSD card
- Backup the .img file (with OpenCV + Python)
Success! We have now installed the OpenCV 4 on our Raspberry Pi 4.
While working with the new Pi we noticed some serious overheating of the board and we actually had to pack it in ice to keep it cool through the compiling process. The next sprint we are planning on researching this issue some more to find out if the CPU is throttling due to overheating, and maybe consider investing in a cooling system.
References:
[1] https://www.pyimagesearch.com/2019/09/16/install-opencv-4-on-raspberry-pi-4-and-raspbian-buster/