In week 2 we focused more on the project model, which in hindsight we should have done in week 1. We are using Trello as a task management group and plan to work in sprints. Our goal for the next 3 weeks is to have a simple prototype controlled manually using a controller. This is to allow the computer students to test the components. We believe this will act as a good starting point and boost motivation in the group.
Mechanical
Having made a few models in DAK, we used a laser cutter to cut the pieces out of wooden planks. We assembled the product using superglue and ended up with the main body of our tank. This will not necessarily represent the final size or form of our tank, but it serves as a way for us to map out the placement of circuit boards, cables etc.
The design is currently limited to a length of 300mm and a width of 150mm. This is quite big, but it’s necessary because of the previously mentioned mapping. Secondly this will allow us to see what alterations we will have to make in the design with regard to component sizes/compatibility and eventually reduce size for a more compact design.
Computer
In week 2 did we the computer group decide to get the necessary components for our research to accomplish our various goals that we have previously decided in week 1.
Down below have we disturbed every assignment / task that each member of our computer group is going to work on.
Research goals to accomplish by our computer group:
- Camera detection, Object Detection, Lock target (by Kirisan Manivannan and Rahmat Mozafari).
- Aim and Fire system (by Jens Paulsen).
- Autonomous Maneuvering – and Avoidance system (by Arpan Sharma).
- RC, Power (everyone will work on that).
We decided to use Raspberry Pi for our Lock target, Camera – and Object detection. And for Autonomous Maneuvering and Avoidance System have we decided to use Arduino. The Aim and Fire System is being developed under the assumption that the B and C requirements of moving a barrel in the x and y direction is met, and will use two servos to accomplish that. The parts required to shoot a pellet will be made by the machine students.
Thanks to the support and help from our teacher Joakim Bjørk and Steven Bos did we finally get started with our task by getting advice about which is the best option to take and what we should have to take to considering. We did of course get our necessary components for Arduino and Raspberry Pi.
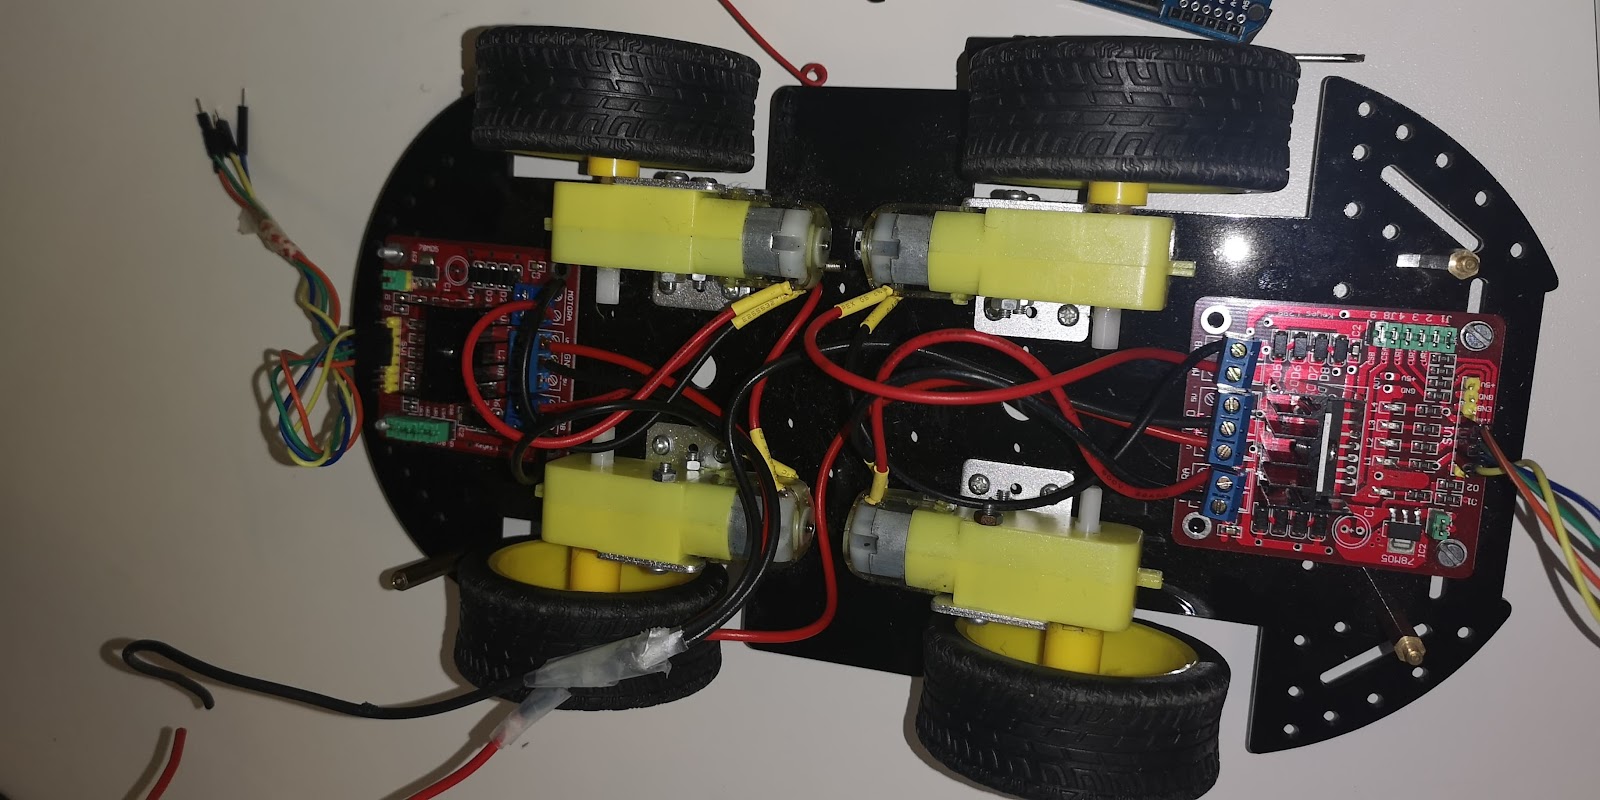
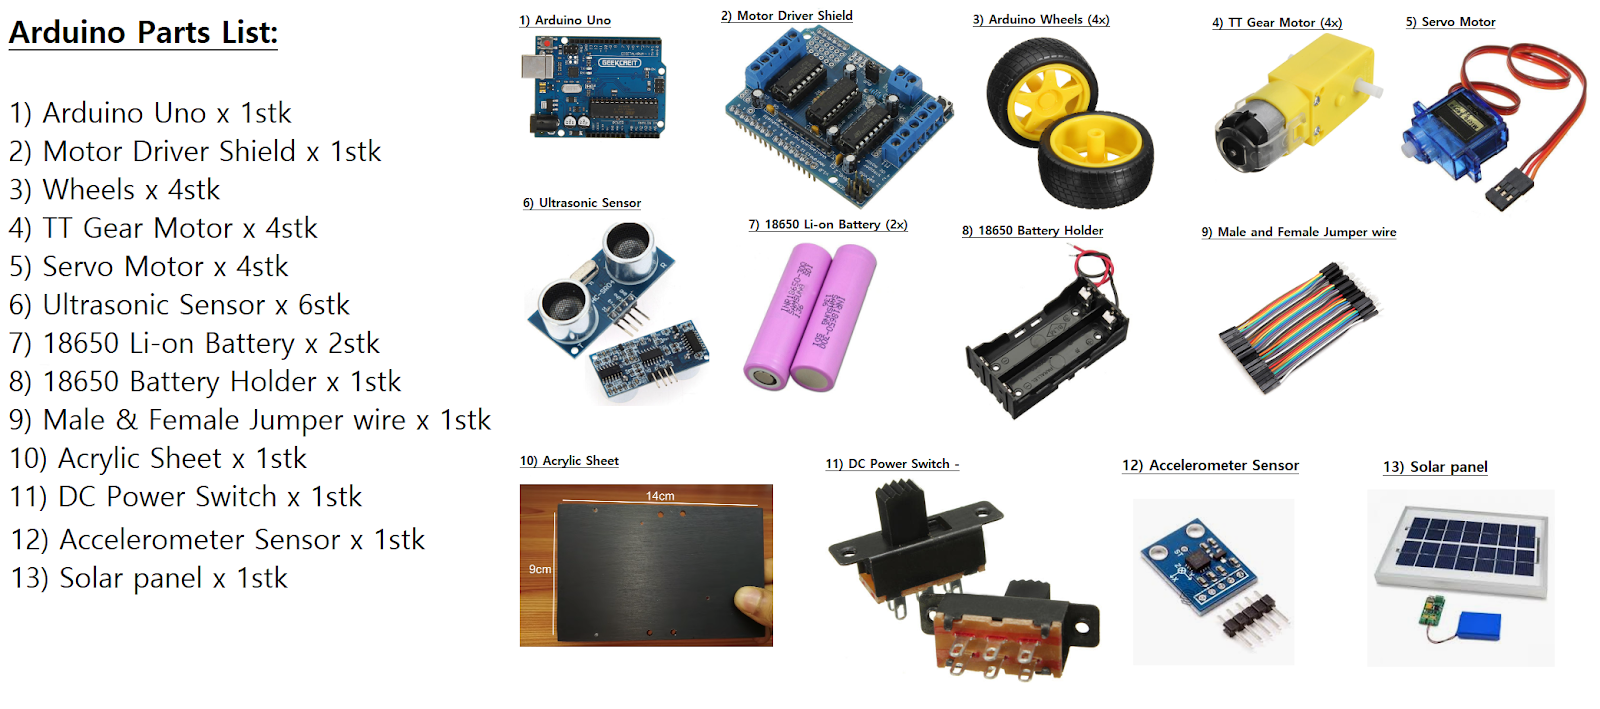
Picture 2: Arduino car with two motor driver that are connected to two TT gear motor. Picture 3: Arduino components we decided temporary decided to go for.
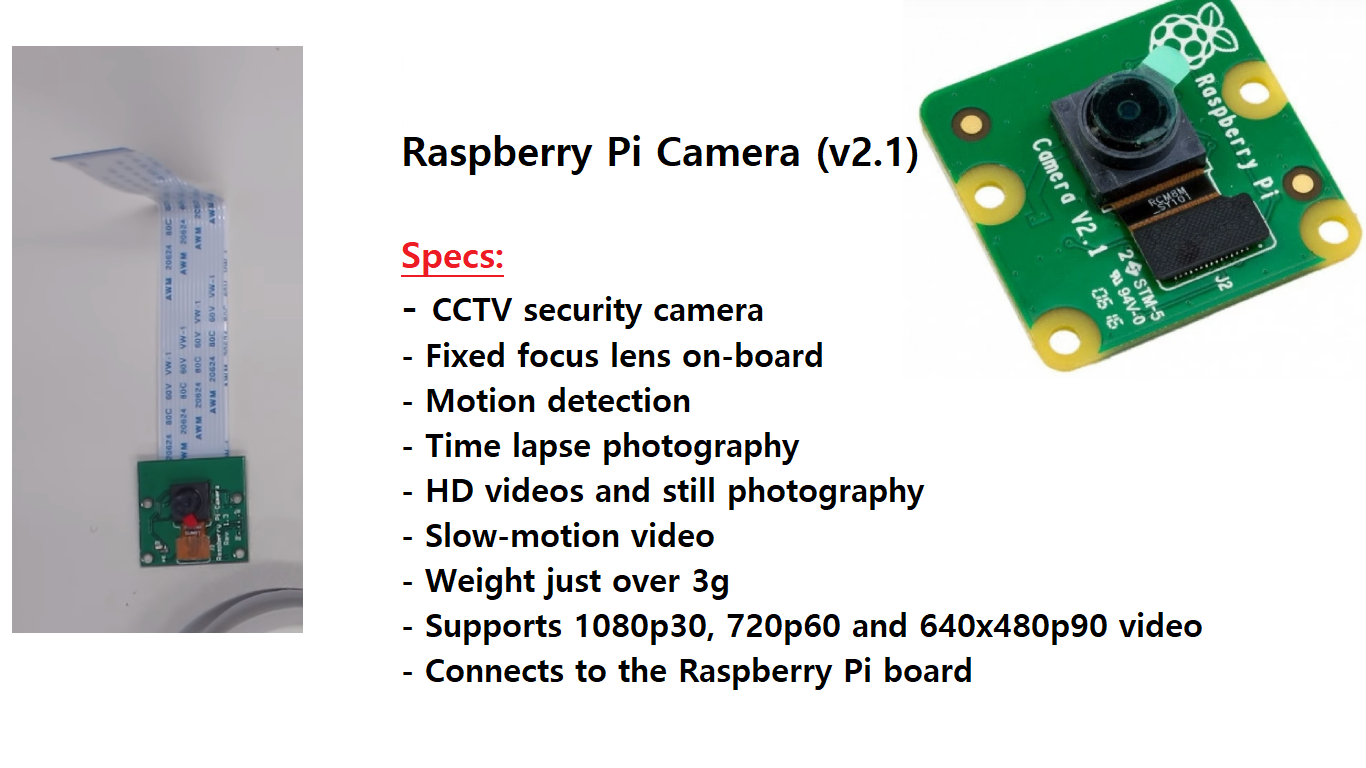
Picture 4: Raspberry Pi camera (version 2.1) we are going to use.
Unfortunately, we did not obtain all the components we planned. But still enough for us to work on together for the whole weekend two.