Azi:
Log of Creating the Task Assignment Table
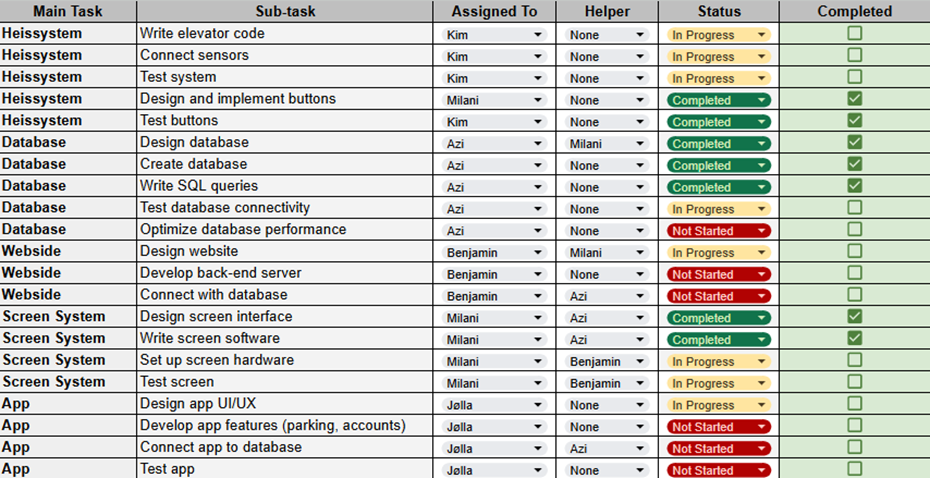
Objective: Create a complete task assignment table for the group project so that it is possible to organize responsibilities, track progress and know who has done what.
Step 1: Identifying Major Tasks and Sub-Tasks
- I started off by creating a Main Task column for each section of the project: Heissystem, Database, Website, Screen System, App.
- I then broke down each major task into small specific subtasks. Using Heissystem for instance, the subtasks were “Write elevator code” and “Connect sensors.” After the breakdown of major tasks into smaller steps, it is important to make sure everything is clearly woven out and nothing is overlooked.
Step 2: Team Member Assignment
- Assigning responsibility was possible through the creation of an Assigned To column where every task targeted a different team member:
- Kim: Responsible for the Heissystem tasks (coding and testing), because of his strong technical background.
- Azi: Database administration, including design and optimization tasks.
- Benjamin: Responsible for the website tasks, such as design and back-end, because of his web development skills.
- Milani: Screen system tasks management, interface design, hardware setup-due to her design and technical experience.
- Jørn Erik (Jølla): Responsible for the handling of app development, UI/UX, and features, based on his experience with mobile apps.
- I also added a Helper column that shows the tasks that required other people’s collaboration. This would encourage teamwork; for example, Milani helping Azi on database tasks.
Step 3: Follow-up of Status
- Added the Status column. This reflects the status for any particular work: Not Started, In Progress, and Completed.
- Used a color-coding method by which team members can easily visually scan and grasp the status of the project at a glance.
Step 4: Confirmation of Completion of Tasks
- A Completed column with checkboxes that confirm when a task is done, by the assigned team member checking it.
Step 5: Review and Sharing
- After having drafted the table, reviewed assignments for completeness of all tasks and appropriate balance, the table was shared with the team for review and final adjustments via Google Spreadsheets.
- The table now serves as a live document where updates are made on the fly to provide transparency and efficiency.
Milani:
Screen Setup
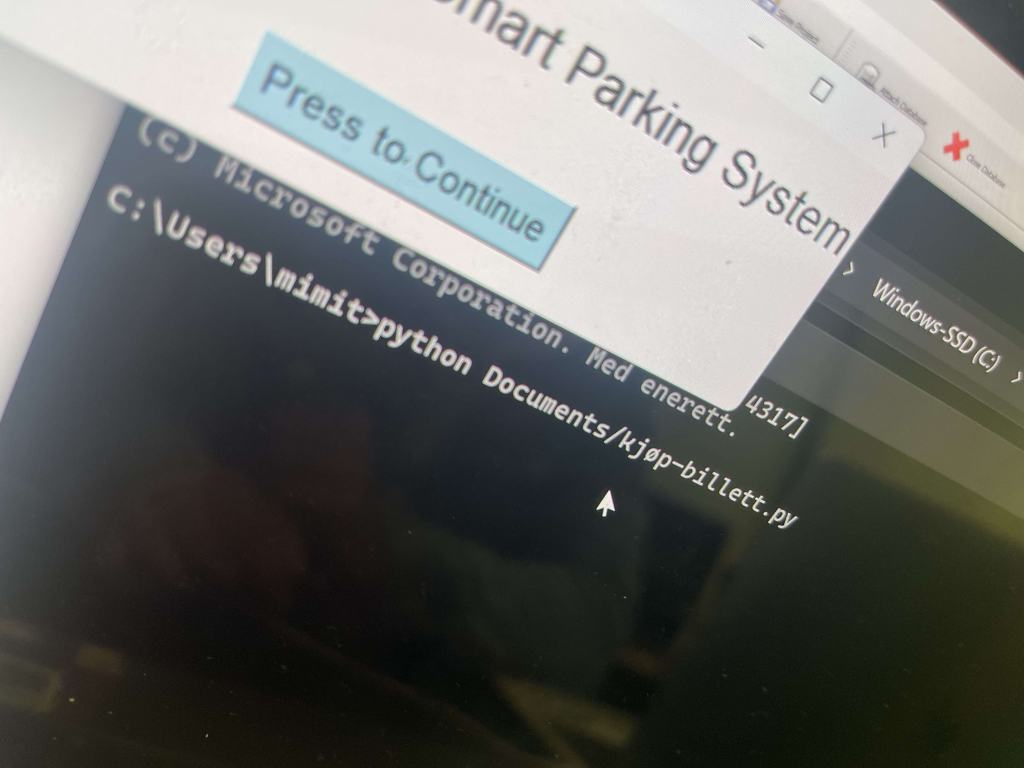
This week, I focused on setting up the screen hardware for our parking system. This screen will serve as the user interface, allowing users to interact with the parking system seamlessly.
I successfully connected the display and ensured that it is powered up and functioning correctly. I also worked on the test screen, which will allow me to verify that the interface displays the necessary information, such as parking availability and the status of the park and retrieve buttons.
Although I have completed the setup of the screen, I haven’t been able to fully test its functionality yet, as the software integration and other components are still in progress. Once the software is in place, I will conduct tests to ensure that the screen displays the correct information and responds to user input as expected.
What I Did This Week:
- Set up the screen hardware for the parking system.
- Prepared the test screen to verify display functionality.
Next, I’ll focus on integrating the software with the screen and conducting tests to ensure everything works as intended!
Benjamin:
I have started working on our webpage for the project, and this week it has primarily been design thats been the focus. I’ve started adjusting the layout of the websites, deciding the different sizes for different sections and started designing some of the simpler button. Backround and colour schemes have also taken up a little while.
Meron:
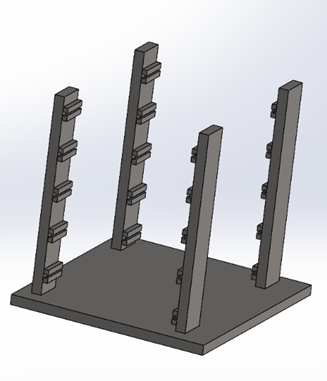
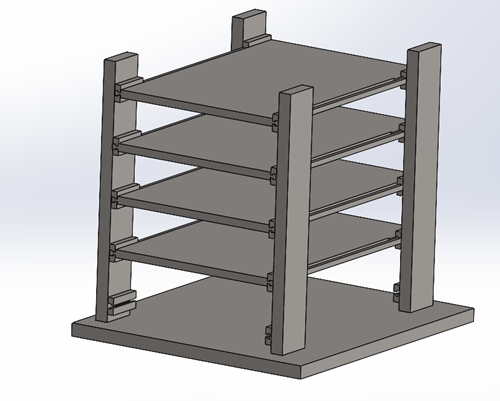
This week, I have made significant progress in the design process. With the help of SolidWorks, I have now completed the drawing of the parking levels. This gives us a clear visual understanding of how the system will function in practice and allows us to begin integrating the elevator system. It enables us to visualize how the levels should be structured to maximize space utilization. The parking levels are designed with the idea that the elevator system will be able to transport cars horizontally to different levels, where they will automatically be moved to available parking spaces.
Shanel:
This week, I finally received the 3D-printed parts needed to lift the elevator. However, due to miscalculations, the parts didn’t fit because of incorrect measurements.

As a result, I faced a setback and now need to redo the project in SolidWorks, making sure the measurements are accurate.
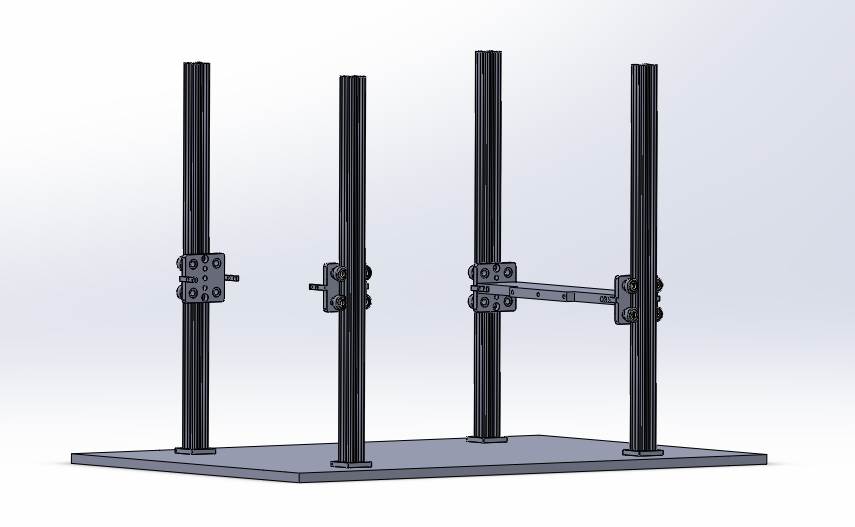
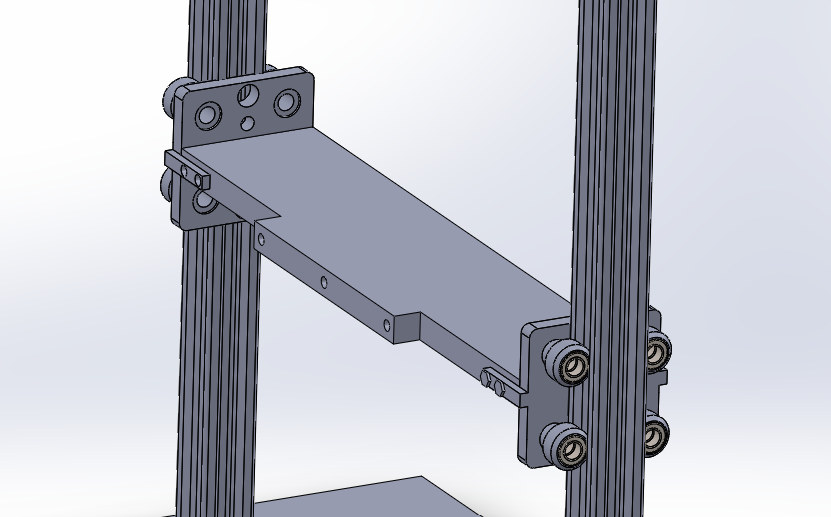
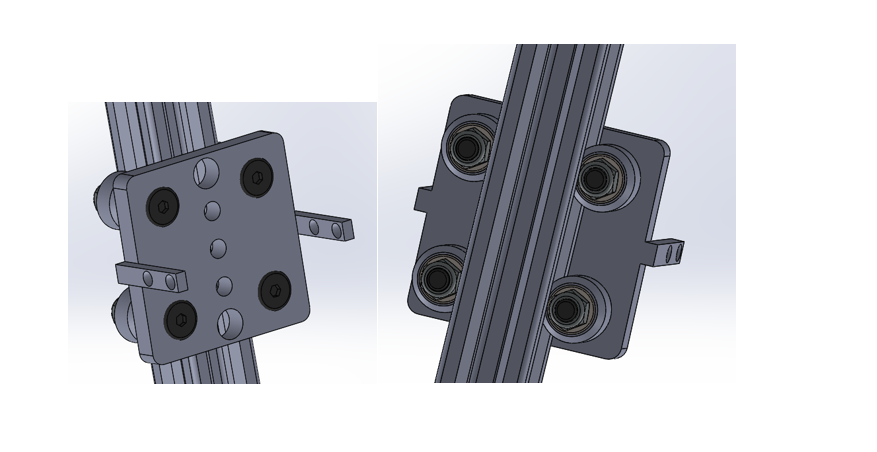
Despite having to redo the project, it gave me the opportunity to fix attachment points that we struggled to figure out in the earlier design. I have now found a solution to connect the beams holding the elevator to the ground and to secure the plate holders that we will use to hold the floors for parking the cars, allowing them to be transported to available parking spaces.