Jon-Eirik – Week 5
Hi, this week I have not been able to do a lot due to not having certain components to work with.
We put in an order for new and bigger Neodymium magnets, with a width of 9mm instead of the ones with 3mm that we already had and tested with. I am also waiting for more sensors.
I have investigated how I can use python together with Arduino IDE. We can use something called pyserial to have python read the serial ports being used, so that it can send signals to the Arduino connected to the serial ports of the computer.
We talked to Steven on Monday about how we should install the sensors, and instead of using 8 Arduinos we are going to use a multiplexer so that we only need 1 Arduino. So that will be our plan with the sensors.
Kristian – Week 5
On Monday I talked to steven and asked for stepper motors and i was given the parts needed to make it work 😀
Parts given:
- stepper motor JK42HS40-1704-13A (small one)
- Stepper motor 23HS9430B (big one)
- Power supply
- stepper driver
What I had in mind: Getting the stepper motor going and use it to test code throughout the week.
What happened instead:
After acquiring parts on Monday, we sat down together and worked with our own tasks. I had never used a stepper motor before and decided to watch tutorials on how to get set it up. Watched a YouTube video and searched for the stepper motor datasheet. I did this to find the motor’s voltage and current limitations. I also found which cables belonged together (later found out the easy way to check this by turning the shaft and putting cable pairs together. Stiff shaft = a pair) I went home to continue the work because i left my Arduino there.
After connection all cables, setting up the correct stepper driver settings and giving it power from the power supply it did not move. The only thing I could hear was a humming like it tried to turn but couldn’t. I tried to switch to the big motor and the same exact thing happened. The troubleshooting began🙂
I watched a tutorial again and checked if cabling was done correctly, I tried to use other cables in case they were bad, Still the same. Tried to alter the first three options on the driver, different code set up. Watched other tutorials with different cable management but that did not work. The next day I tried again, but I still couldn’t get the motor working. After many frustrating hours I asked Emil for help hoping he/we could find a solution to the problem. We sat down and tried everything we could think of, but still just humming. The troubleshooting was not successful. On Monday the group can give it a shot together for a while, but if we can’t find a solution, we will ask for help 😀
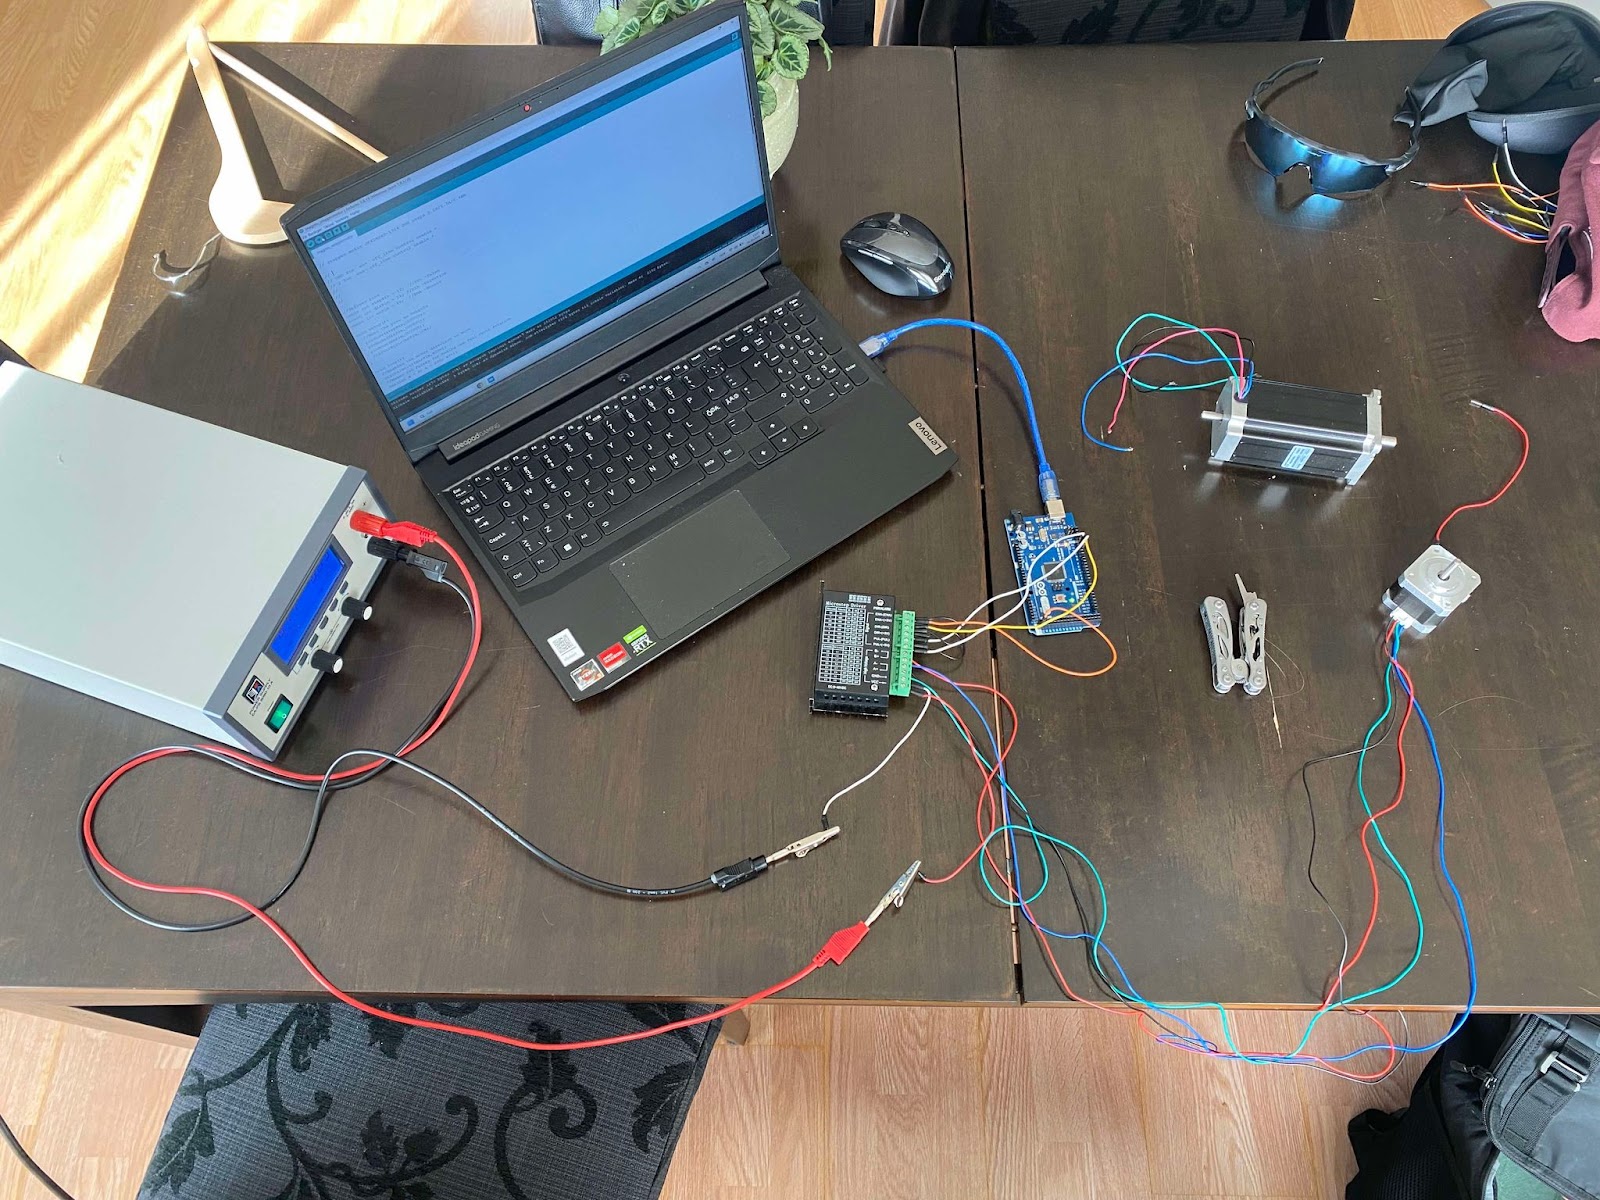
Living room table aka. workbench 😀
Emil – Week 5
For this week I had planned to investigate how to code the stepping motors and how this works. I looked mostly into how we are going to wire them up since this was found later as an issue we could not resolve. I used both YouTube and the internet for information around this area. Sites like (https://docs.arduino.cc/learn/electronics/stepper-motors/) was used to have some understanding on how this was going to work.
Me and Kristian went together on Wednesday and looked at how to wire this thing up and how to use it in Arduino. I feel like we tested mostly everything that we could think off. We tried multiple YouTube tutorials with both wiring and coding that we used. After looking for a bit we found multiple videos that used pretty much the exact same components that we used. Like this (https://www.youtube.com/watch?v=FggSRQqB_a4) and (https://www.youtube.com/watch?v=nLV0fjUWI-g) but with all this we where not able to do it. We decided to wait and get some help from Steven since this we were banging our heads into the wall at this point. Kristian put up some photos on how we connected the components, and we will show Steven on Monday to get some feedback and hopefully figure it out.
Ulrik – Week 5
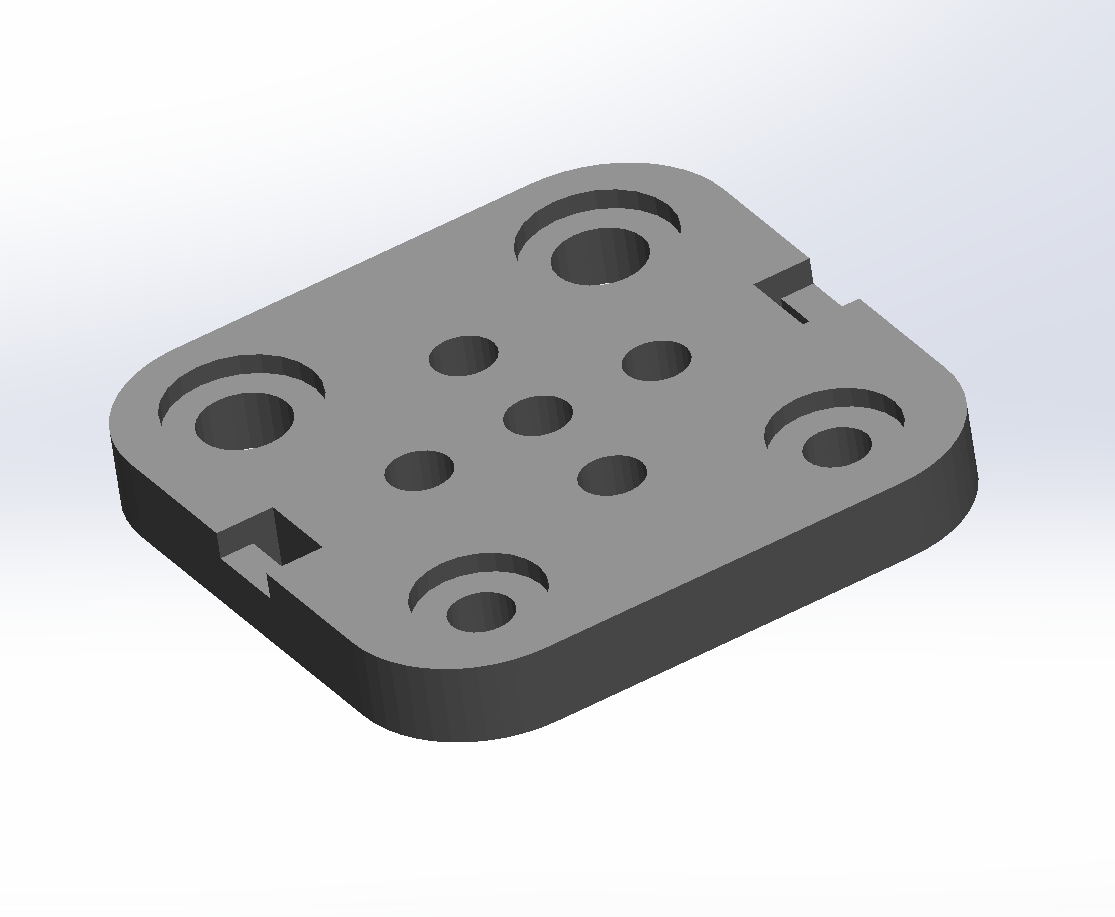
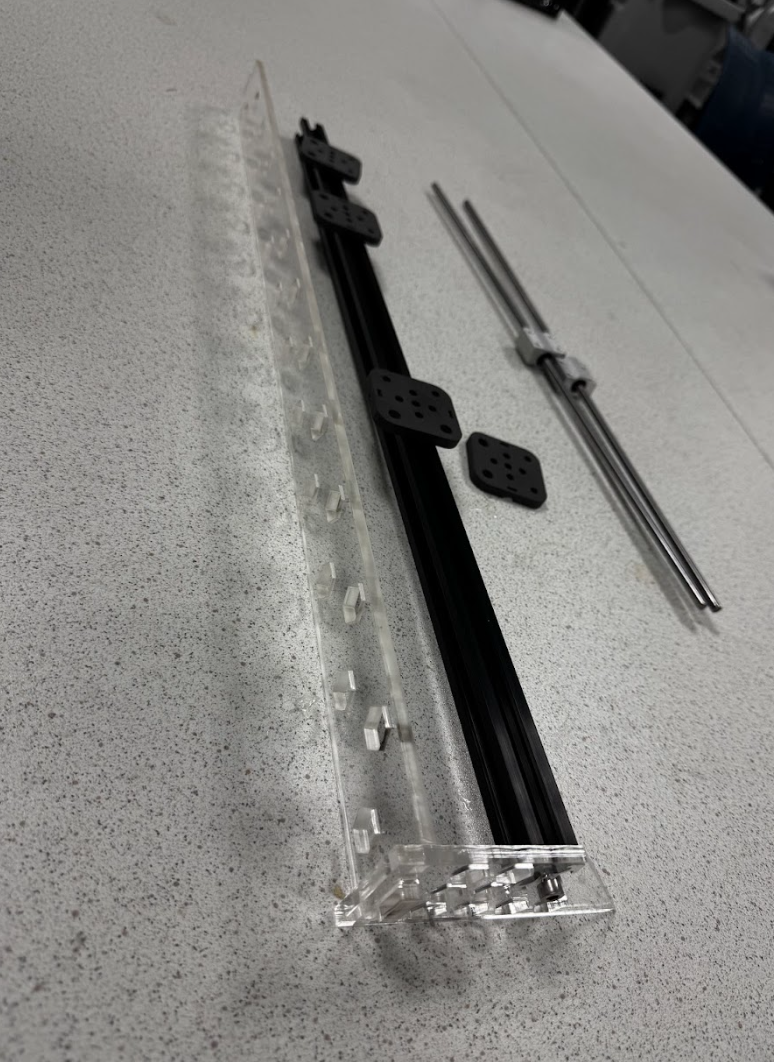
The week started with some design-changes in the propulsion system for the Z-direction. I acquired slide-bearings for the upper and lower gantry, but the steel rods that was supposed to make movement in the Z-direction possible was unavailable.
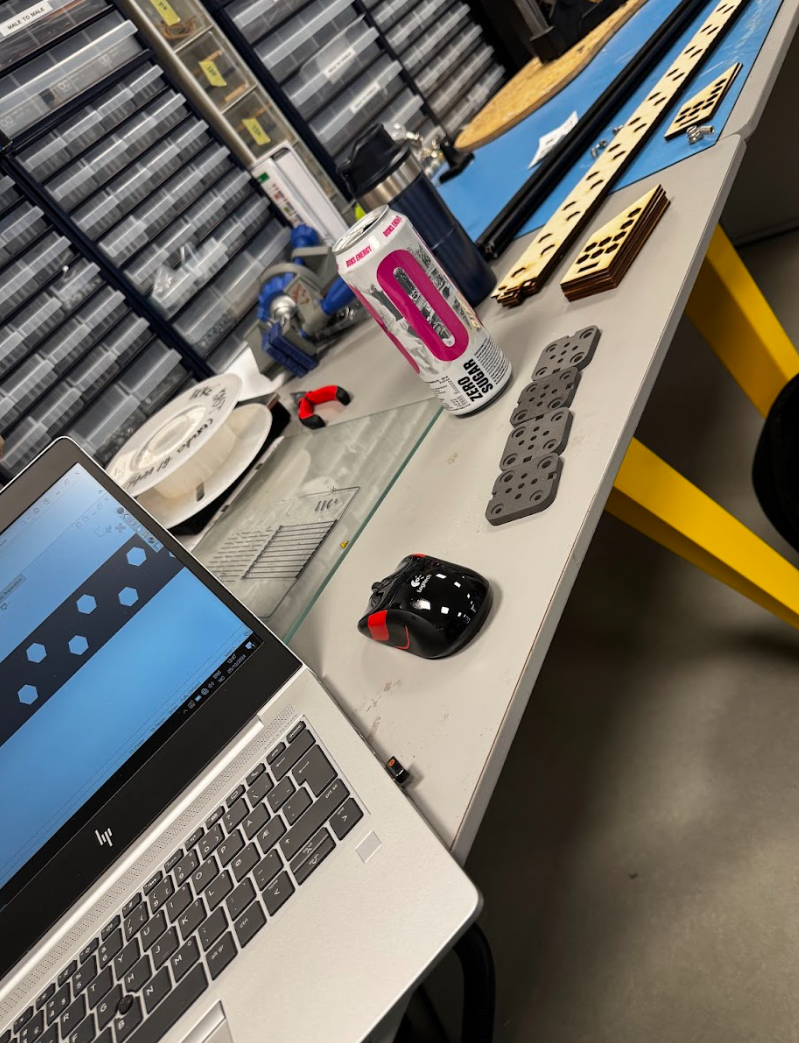
The decision to go with a V-profile with a carriage was made. The carriage has been 3D-printed this week, and some of the parts has been laser cut. I am running into several problems with the laser cutter at school, and I have not come as far as I had hoped. Many of the parts is ready to be cut, but the laser won’t cut through the material.
All-in-all it has been a busy week.
Next week’s focus will be mainly on getting the parts cut and mounted together.
Sondre – Week 5
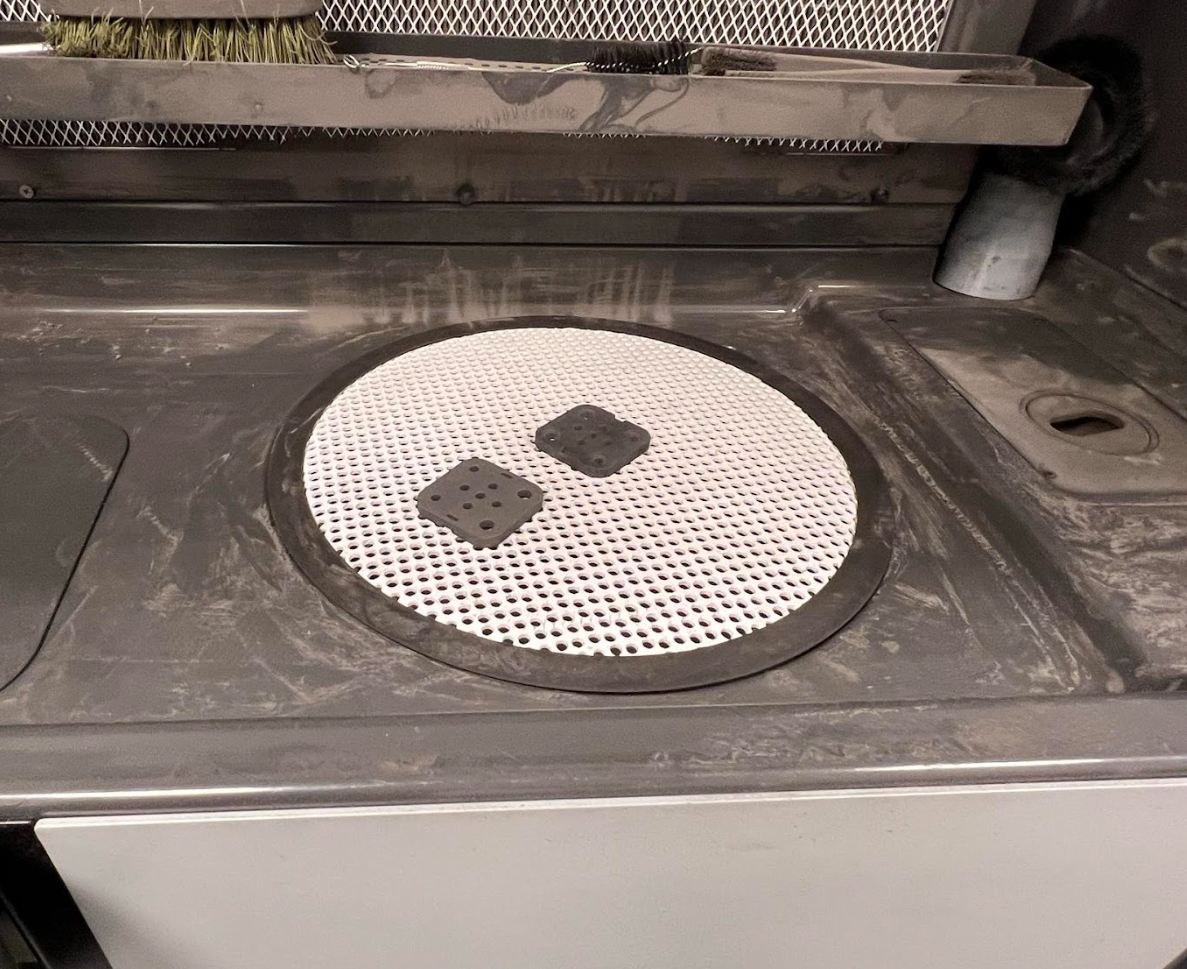
Continued to work on and improve the design of the chessboard and pcb board. Decided to leave out the supportboard under the chessboard as we got a new material for the chessboard which should be stiff enough and have more uniform properties. This should make it so it shouldn’t deform under intended loads.
Started to make an assembly to check dimensions, placement and fittings for the “chessboard with belonging parts”.
Laser cut some of the parts with Ulrik for the base.