Week 2 – Kristian Thorsby
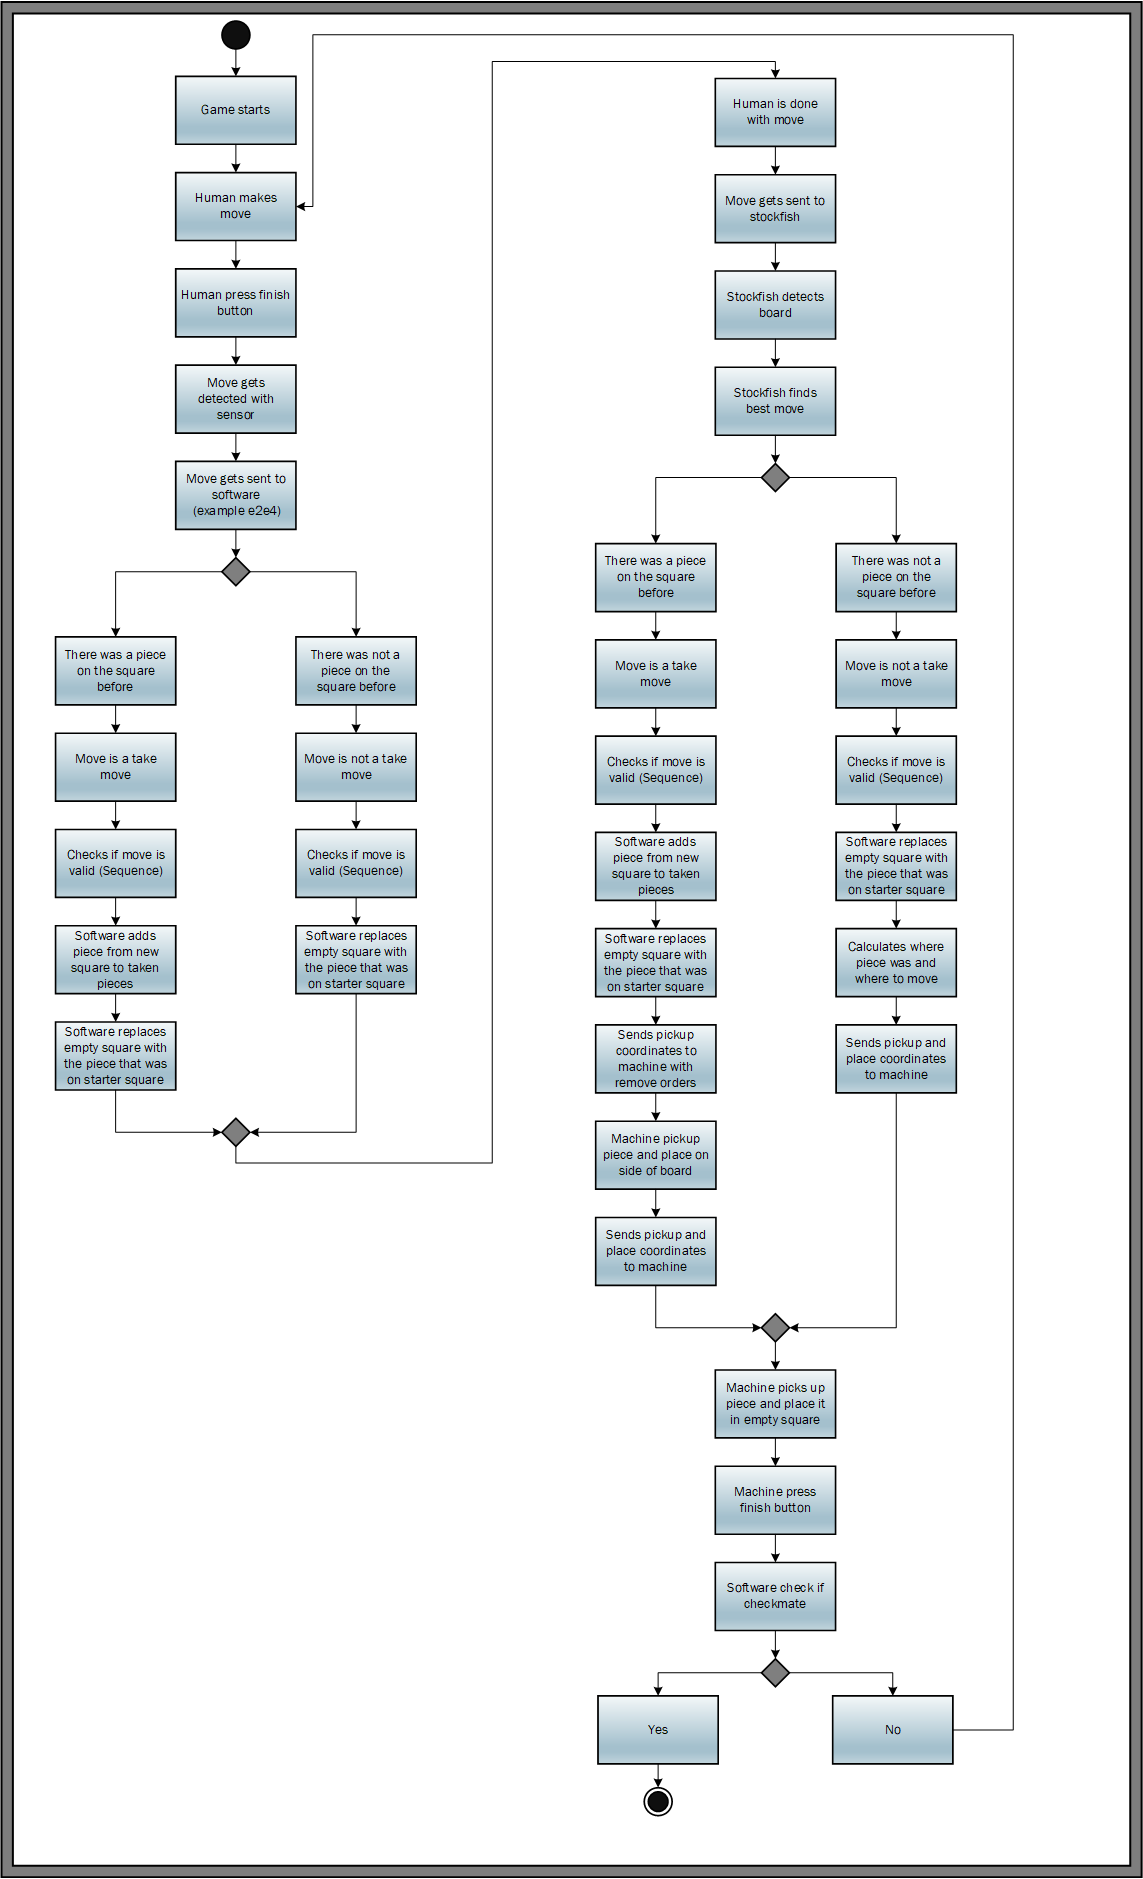
This week I focused on two different tasks, code visualization and a chess engine. When we are gonna start creating a program that can handle all the tasks it has to do, we must first realise and understand what these tasks are. After some writing, thinking and some sketching I created a sequence diagram for our program. I believe the diagram needs some further refinement but I will add it to the vlog nevertheless. The diagram will probably be divided into several tasks that combined makes the program work.
After researching previously made chess robots on the web, I found an engine that might suit our goal. The stockfish chess engine! which is already a well known chess engine. Stockfish is known for its incredibly skilled chess gameplay. It is almost impossible to beat, however we can decide on what level we want it to play on. I wanted to test the basics of stockfish and decided to download it and start it in python, using python’s console window. I did this to find out if this was suited for our goal and I believe it should be a top contender, even though it’s not decided on yet. The program is written in python even though we earlier considered c++ to be our main language. We shall consider python as well. Stockfish can be implemented in c++ but python seems to give us less troubles.
PS: code is borrowed to understand how the game works and if we could use it!!
Week 2 – Emil
For this week we planned to be able to start coding the virtual chess board and game, so our machine has something set in stone to take information from. Our plan for this is to make it easy to understand and structured with coordinates for all squares on the board and then later sync this up with the actual machine.
To do this the best way possible we decided to do some research to see what other people has built and we found some good examples. This looks like something we were looking to create for the program, around 8:56 in this video on the bottom of the site (https://www.instructables.com/Homemade-Chess-Robot/).
For starters we had to figure out how we wanted the system to work. So, we each made a diagram for reference on what we should code and to know what needs to be done.
Activity diagram:
With this activity diagram we can see what the timeline we expect should be when we are done with the machine. Its simple and easy to understand. A few things we also need is another diagram for how to “check if move is valid” and to “check if checkmate”. With these 2 last diagrams we have everything we need to start the coding part and create what we need.

I also am making the blogposts for the team. We have deiced to write our own parts and ill put them togheter everyweek. And for the next week we will figure out how to make the last 2 diagrams or implemet them in a good way to start the coding prosses.
Week 2 – Jon-Eirik
For this week what I’ve been focusing on is some research into if we should use a camera to track the moves on the chessboard or if sensors are better.
The sensors if read the most about is reed sensors, where we then can use magnets to activate and have it read every position on the board where there is a chess piece. If we go with a camera, we need the program to be able to read the moves on the board, so what I notice is that we need to have a library of photos where the pieces can move.
I think moving forward we will look some more into reed sensors to see if they are the best solution over a camera. Both when it comes to easy installation as well as easy of use in differ to a camera.
I have also read up on different working methods, where we chose scrum. We are using Jira to keep track of what we need to do in the sprints moving forward. The plan is to plan some of the sprints on Monday morning, and then finish the tasks within the time limit set.
Week 2 – Ulrik og Sondre
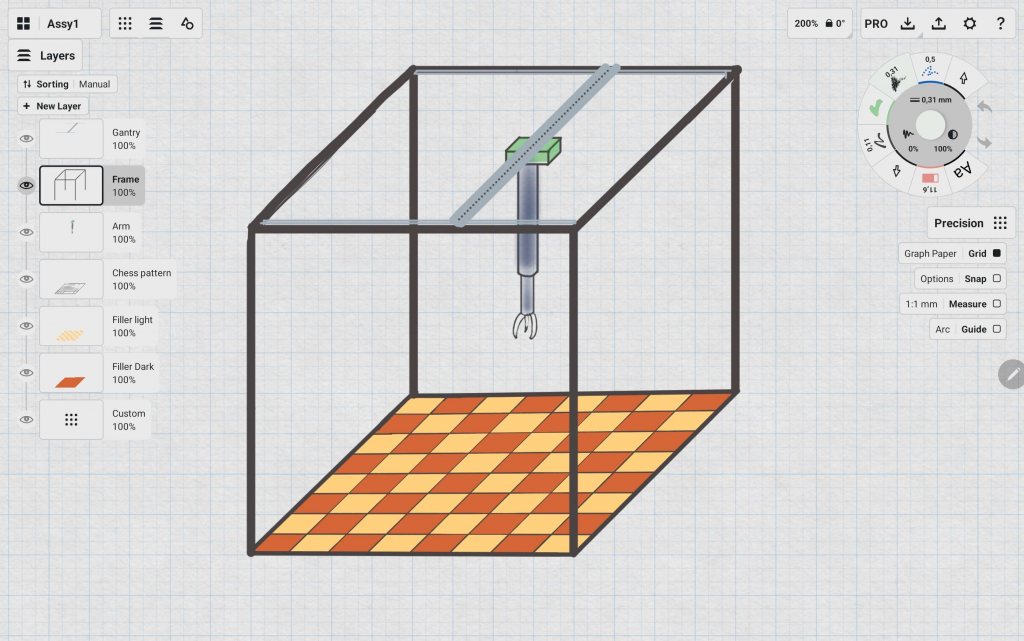
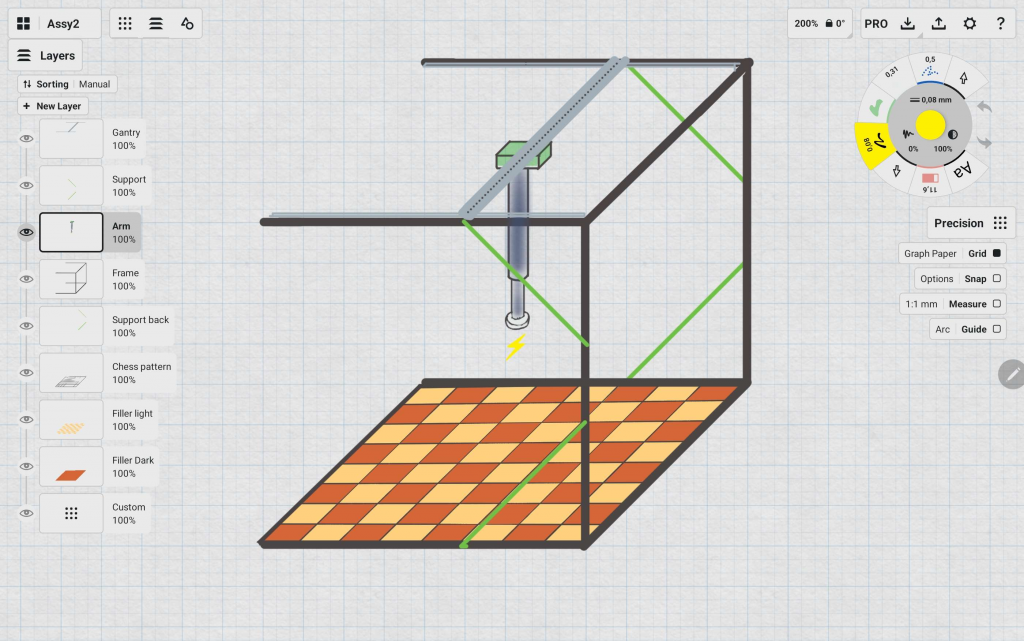
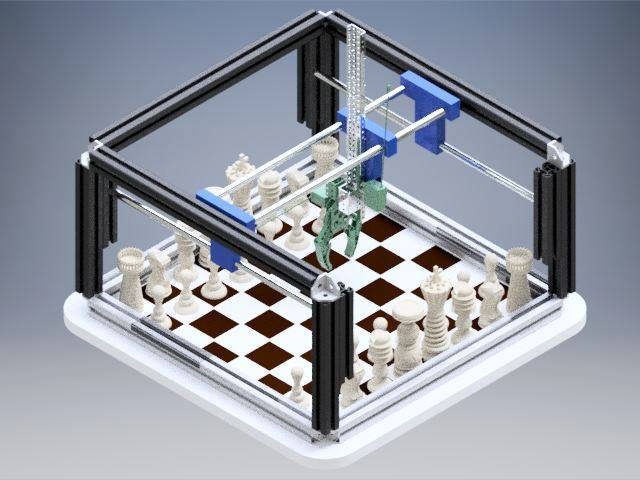
During this week, the mechanical engineering students went through different designs and ideas. A robot that is able to challenge a human in a game of chess can be done in different ways. The one we decided to go for is a hybrid gantry crane-design, with one ‘open’ end. This is for the ease of access on the human side. Some sketches have been made and we have landed on laser cutting as the primary production method, supplied with 3D-print if complex parts are needed. We have also sourced information accessible shelf stock parts and equipment available from USN. The crane must be able to move in the X, Y and Z-direction, so a mechanical system with wires, power screws etc must be implemented.
Plan for next week: Continue the CAD-process involving framework and chessboard.


