Abdiqani:
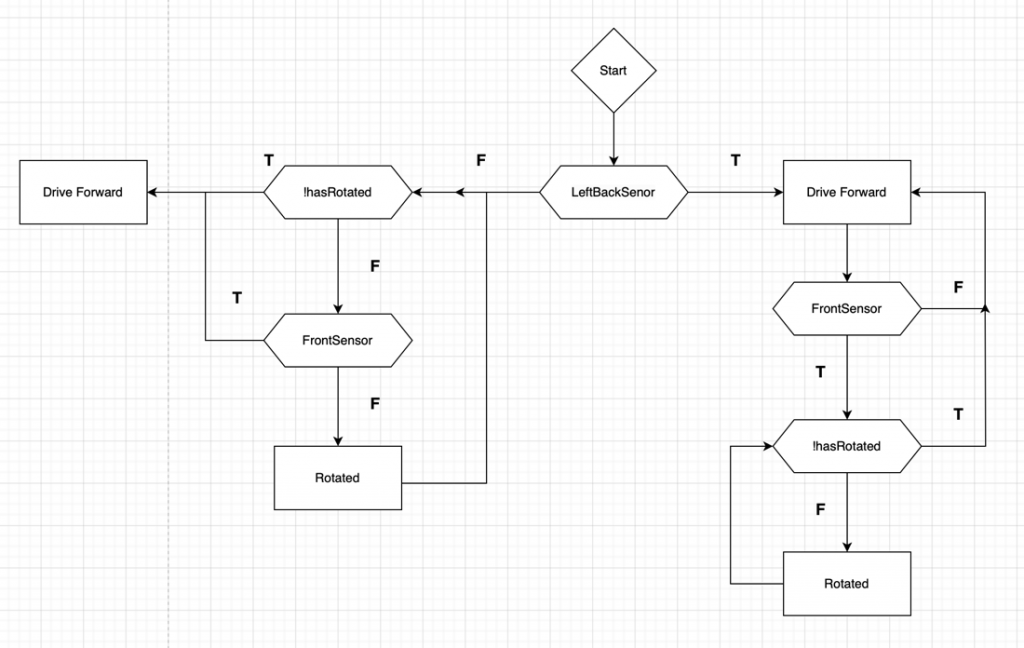
I have spent this week fixing the algorithm for the navigation of the maze. Last week the car would always drive forward, drive left if forward was blocked and right if both forward and left were blocked. I have changed the algorithm so that the car will always follow the left wall, also it should always be able to detect the left wall while moving forward. I almost managed to do it last week, but the problem was that the car would turn before it had moved past the wall, this would cause the car to go through the wall making it unable to sense it or it would glitch if it moved past the wall. That is why I added to sensor that would be able to sense object in the 45 degrees between the left and forward and the left and backwards sensors. This would make it possible for the car to sense the left wall ahead and behind, when we approach a left wall and when we move from a left wall.
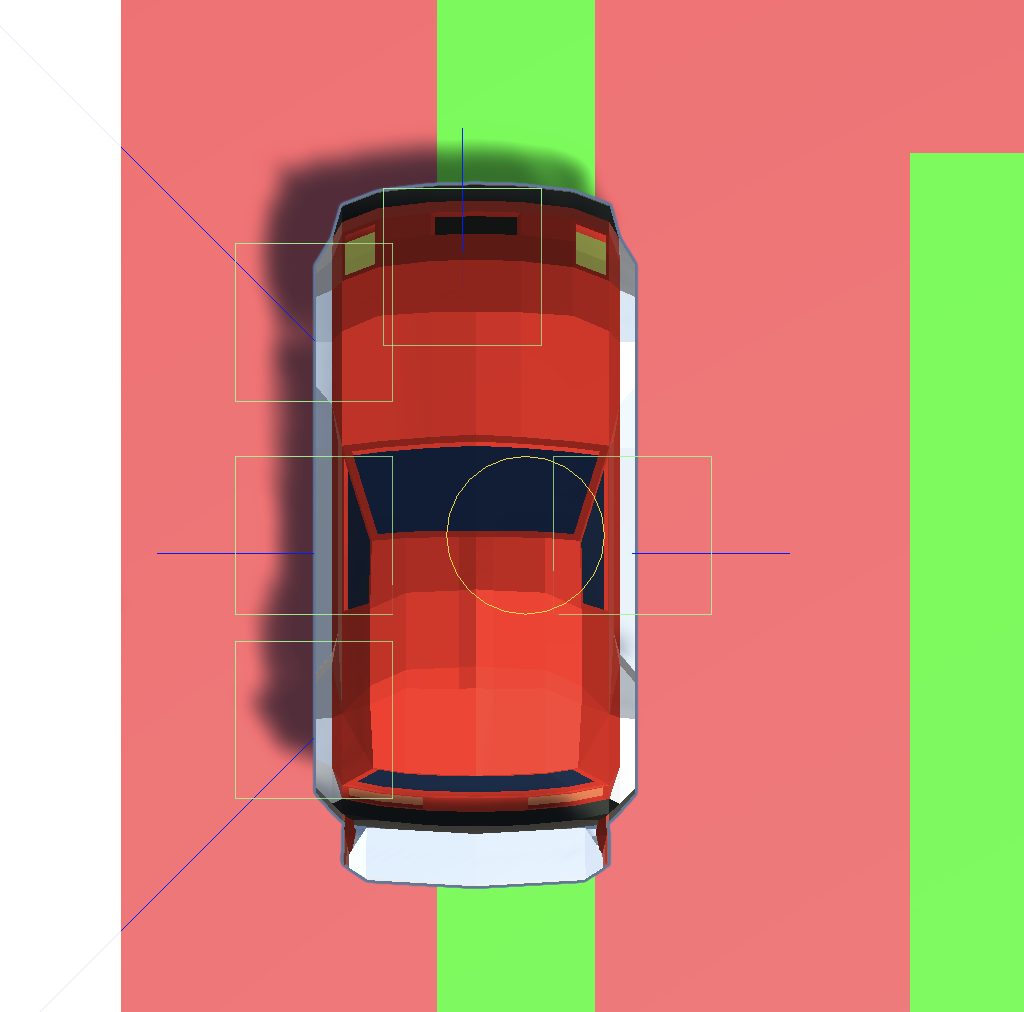
Here is a visual of how it looks, with the leftFrontSensor sensing the wall ahead and the leftBackSensor sensing the walls behind.
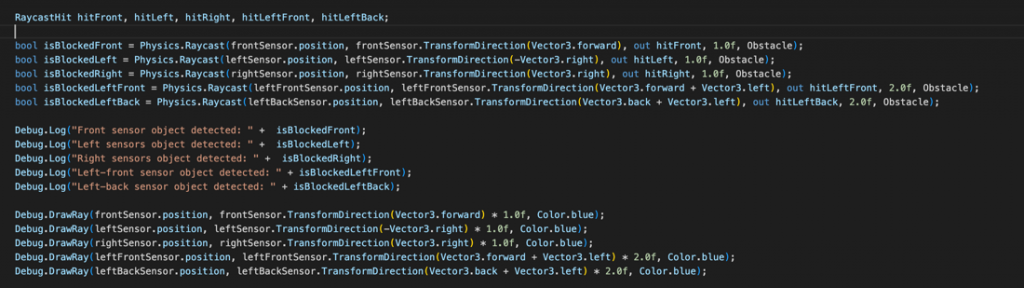
To raycast a sensor in the 45 degrees between left, right, front and back I only need to the add the vector3 forward/vector3 back and the side I wanted it on.
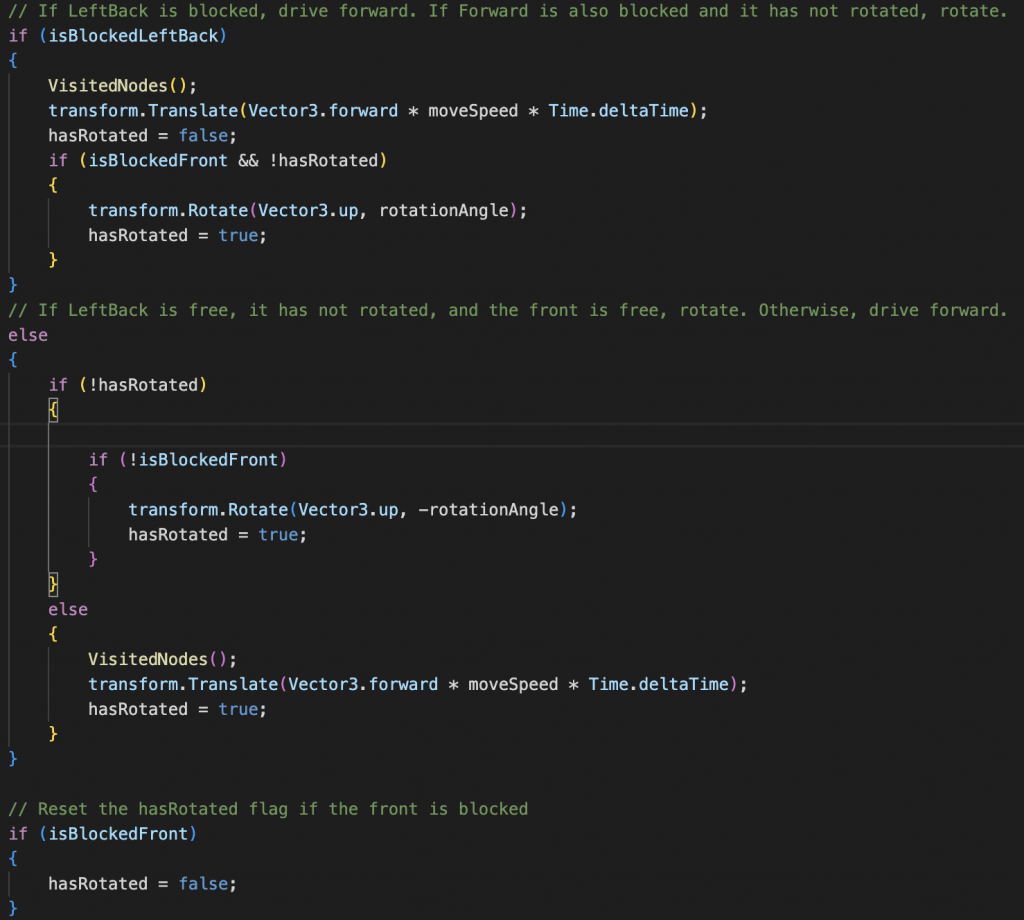
To make the car not go through the wall or glitch I decided to change the sensor responsible for turning to the leftBackSensor, this would enable the car to turn when the last sensor no longer detect the left wall which in this case is the leftBackSensor.
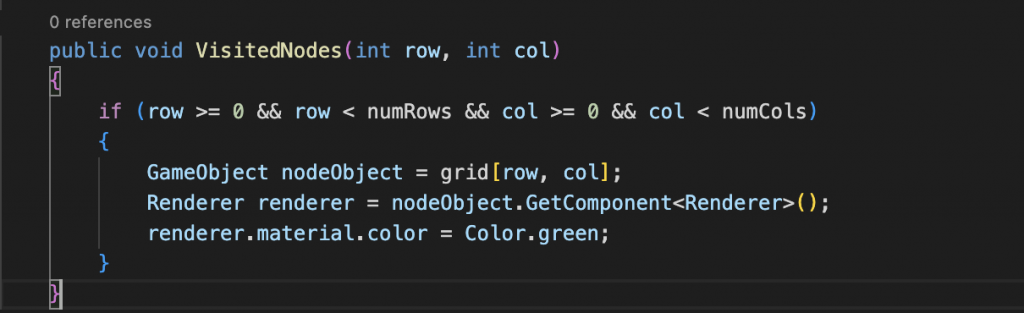
I also added a code that would change the colour of the visited nodes. The code makes takes in the position in the z and x-coordinates and stores them in the row and col. As you can see in the code above it is also called on every time the car moves.
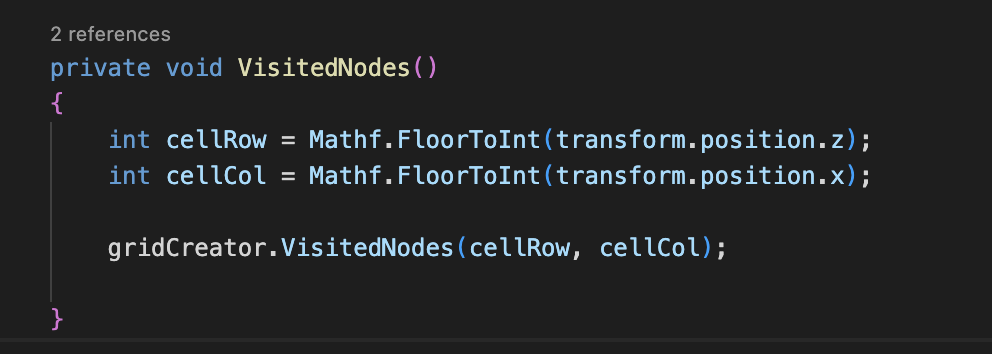
Then in the grid Creator script we make a another Visited Node script that takes the grid we have created as arguments, goes through the boundary of the grid, checks if it is within and changes the colour of the grid cell’s that the car drives over to green.
Video:
Abdirahman
This week I had a lot to do in some of my other courses, therefore I didn’t get much done. Nevertheless, I worked with a servo motor and tried to control it with raspberry pi. I used OpenCV within raspberry pi to write a code that could control the servo motor. It was the first time that I had to use the pins of the raspberry pi. It was quite understandable and straightforward. Below is a video of the servo motor being controlled an image of the code I used.
https://youtube.com/shorts/ilGPHHcxTzQ?feature=share

GHEBRE:
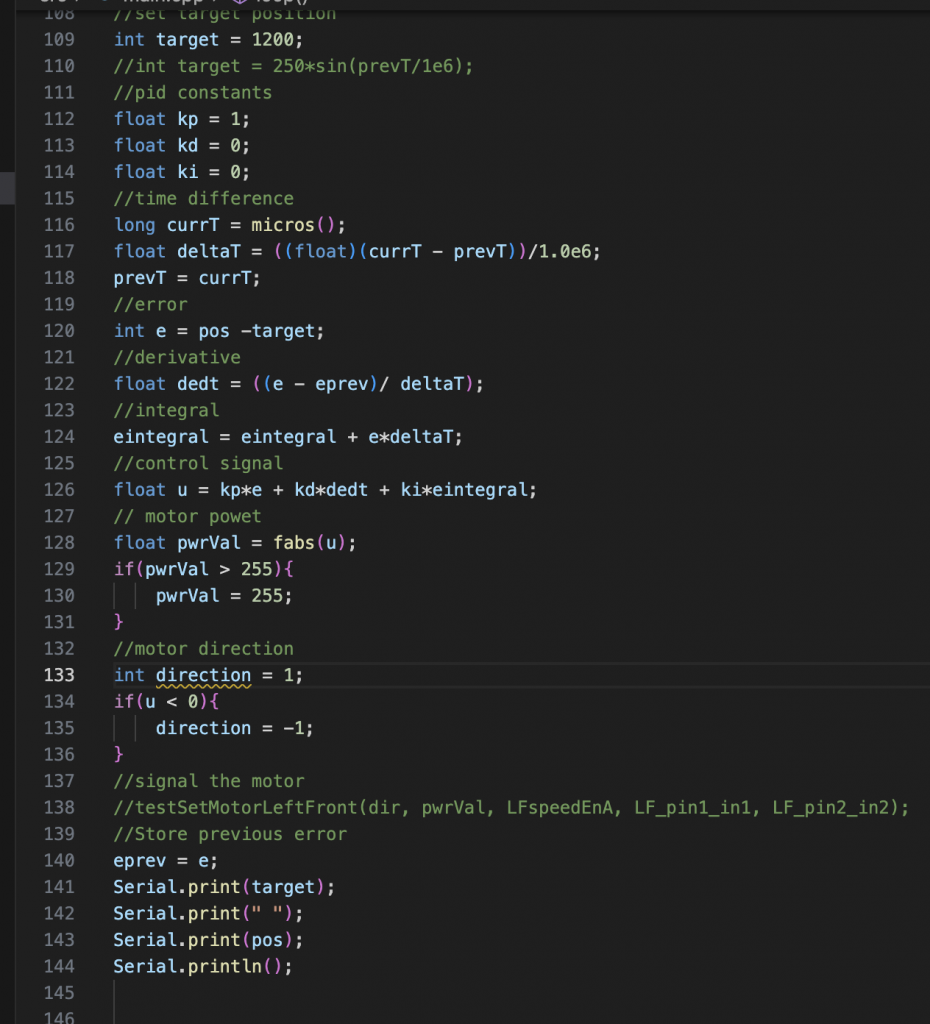
This week I had another project that consumed my time, even though I did not stop trying to make the pid controller to work. I may have misunderstood the difference between using encoder and interrupt.
I write a test algorithm for each wheel, and I will try the code on Monday when I get the car. I write some algorithm for the PID as well hopeful that works. If that did not work, I may need help from Stev for better understanding.
As the line sensor I am ready to implement the rest other line sensors if possible, because I need to drive the car by making a long-distance measurement for better the car to be able to move smoothly.
Here are some changes I made the last days. It was easy for me to make test codes to see if I could implement them on my real algorithm.
Alinur: