Abdiqani:
Unfortunately, I have been sick this past week and still am, I have not managed to do all the tasks I had planned. Nonetheless, I have been working on fixing the car’s sensor system and addressing some crucial issues in the control scheme.
I had Initially implemented physics-based controls for acceleration, deceleration, and braking force. While these controls were aesthetically pleasing and came with the car asset, they posed several challenges in a maze-like scenario.
The main issue I encountered was related to the car’s response time when detecting obstacles. With the physics-based acceleration, the car attempted to make gradual turn, leading to a slow and inefficient response when encountering obstacles. This behaviour was not suitable for a maze environment, where I needed the car to stop abruptly if it sensed an obstacle and start driving at top speed from the beginning.
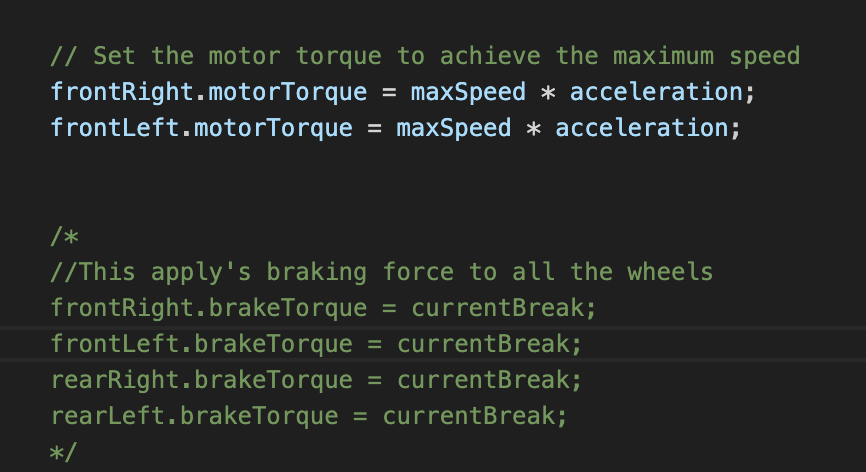
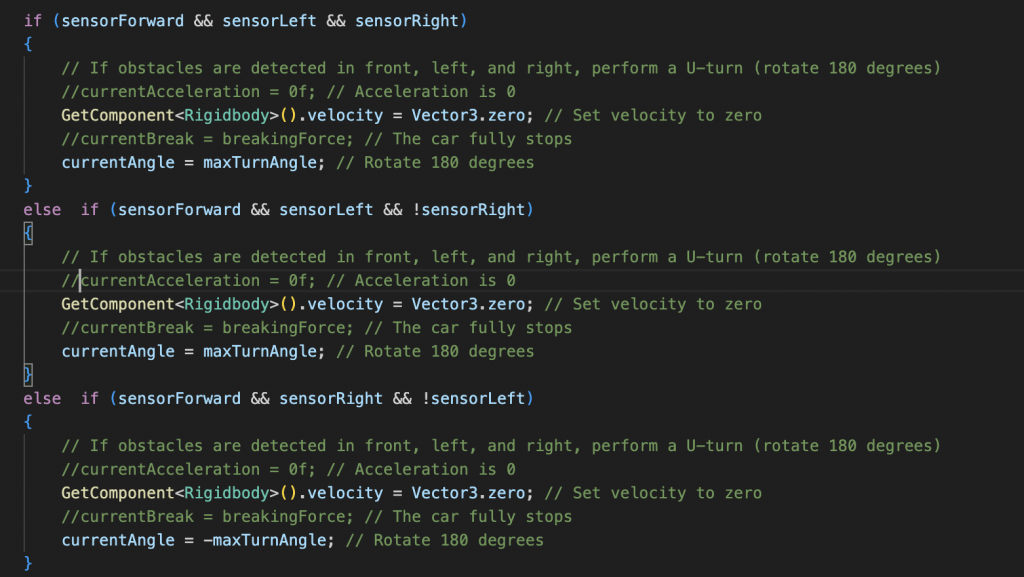
To address this problem, I made the decision to modify the car’s behaviour. I removed the acceleration/current acceleration and instead designed the code to time the difference between the startSpeed and the maxSpeed times an acceleration right away. In addition, I made a change that would also remove the the brakeTorque. Instead of trying to calculate what the breaking force should be for the car, I instead get the rigid body component from the car and set the velocity to 0 when it detects an obstacle this change ensures that the car can react swiftly to obstacles by immediately coming to a halt when detecting one. As you will see from the car will turn fast when it detects an obstacle to the sides but will take a long time if is stuck in a corner.
I have also been researching on the Bluetooth connection between the microbit and unity. I found some plugging/library on internet and unity asset store. The one in the assets store unfortunately only supports Windows, so I have to search for more on the web.
https://github.com/giomurru/ble-framework
https://assetstore.unity.com/packages/tools/input-management/microble-micro-bit-ble-interface-178584
Video:
The sensors work, but the car is taking an eternity to turn if it is stuck

Ghebre:
This week I made some progress which are all the wheels are working both directions forward and backward and the front ultrasonic sensor is working as well. I checked if the car could be self-controlled only by observing the environment only using the front sensor, meaning by using obstacles before the car and see if the car drive without taking any action at all, but as I put the ultrasonic sensor for 25cm detection and when the car reaches that the car detected it and stopped. And I tried it for both actions for either to stop or drive backward. The one is when there are obstacles ahead then the car stops and wait until the obstacles are removed, and the second one is to drive backward.
I implement also on how the car change direction to the left and right turn. By creating a void code and made some changes to the wheels.
Code sample
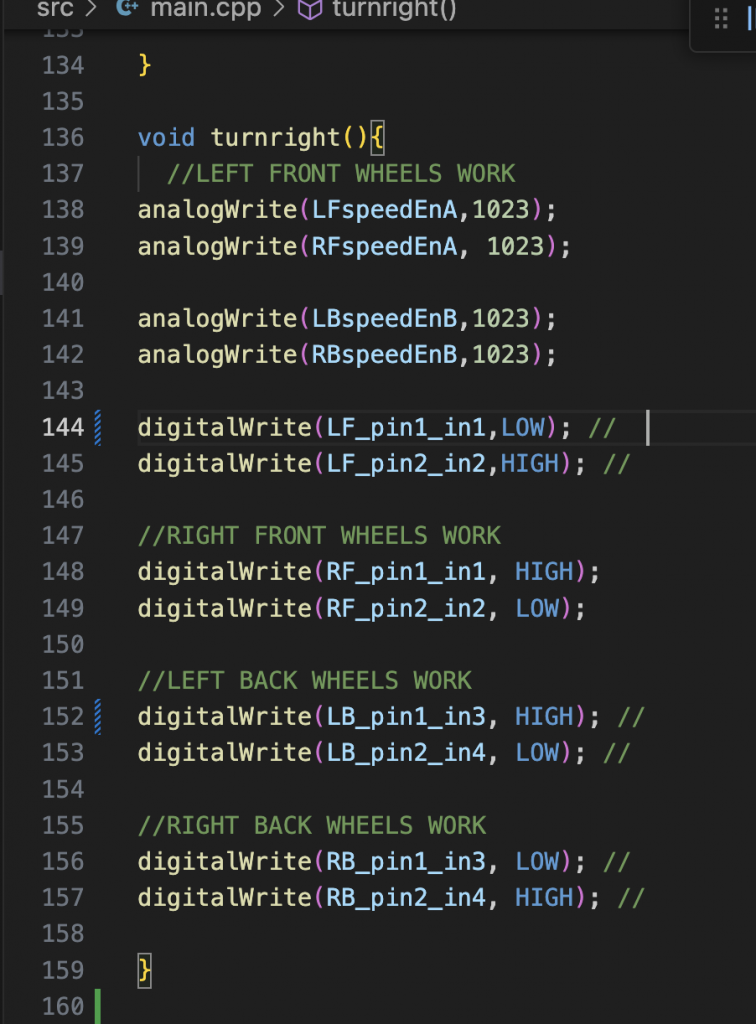
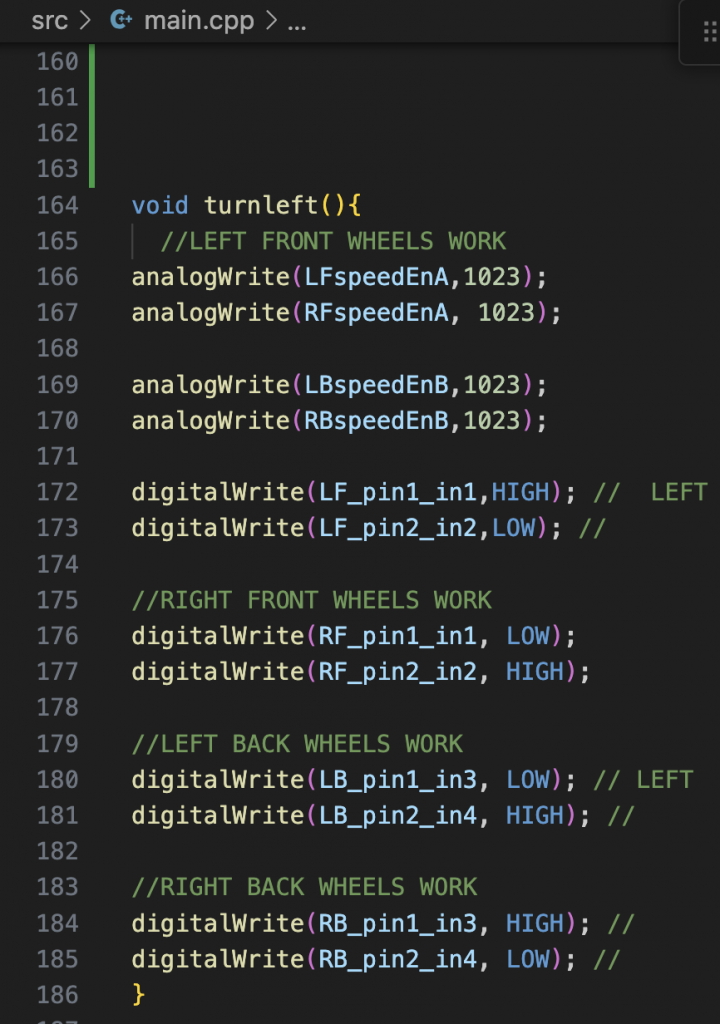
For example, turn-right code will change the left-front and right-back wheels directions to backward while right-front and left-back side wheels drive forward. And left turn will do the opposite as shown on the code below on sample 1 and sample 2.
Code sample:
I tried as well both left and right-side ultrasonic sensors just to see if it works but they were not working it may be due some wire or pin choose, but I will look to it to find out the reason and correct it.
I have assigned new task as per Monday this week which is to use PID controller for the line tracker and since that day I stared to check for some definitions and watch some YouTube videos to help me understand how it work and what I have to do to achieve that. Perhaps I well be do that by next week.
Sample 1
Sample 2
Video:
https://www.youtube.com/shorts/xqudLzDpkV4
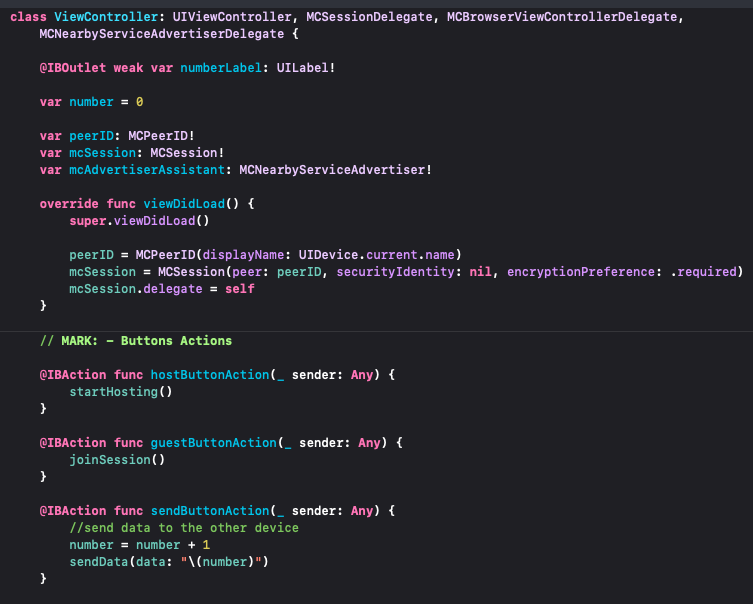
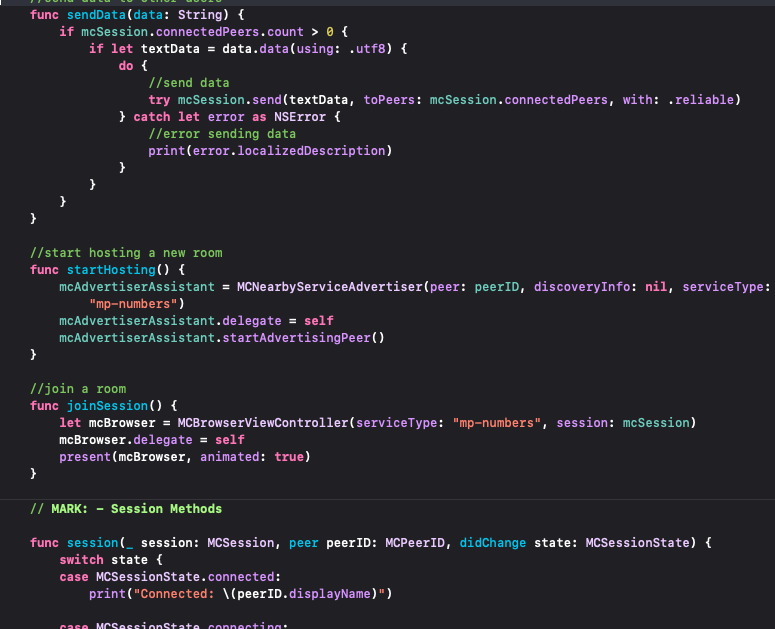
Alinur:
This week I made the progress to build a multipeer connectivity using Bluetooth which will enable communication between multiple device. This code allows one device to host a session and others to join the session. Currently I am testing in numerical value as a data once’s I completely it I am expecting to integrate it with the car app. This will allow me to establish communication with the car to exchange data and give command to the car which direction to move. Below is the a screen shoot of the multipeer code.
Video:
385794508 5488300554628512 6315293623635427034 n

Abdirahman
This week I worked with setting up the raspberry pi. I initially had problem installing raspberry OS for the sd card I got. It took me a long time solve that problem. I exhausted all the resources on the internet on how to erase everything from the card, and then install everything on it from scratch. Finally, I decided to buy a brand new sd card from a local store. I used the new sd card to set up the raspberry pi. I used a sd card reader to install the OS on the card, by inserting the sd card reader with the sd card inside into the laptop. My set up was a heedless setup since I neither have a monitor nor desktop at home. I set up everything on laptop by using different apps and methods.
This set up is really not that popular, so it was not easy to find many resources of it. Such apps that I used were Putty, RealVNC viewer and command prompt on my computer. Figure 1 shows how it looks after the set up. After that I downloaded OpenCV for Python, see figure 2. After everything was done, I tried to check if the camera is working properly. So, I run a command, see figure 3, to check if it possible to capture a pic with the camera, but unfortunately it did not work.
This too took a lot of time from me, and I still did not couldn’t solve the problem, despite looking it up online. They said that maybe the sunny connector was not connected properly, it did, that the camera was not set up correctly etc. I’ll bring the raspberry pi tomorrow and we’ll see it together.
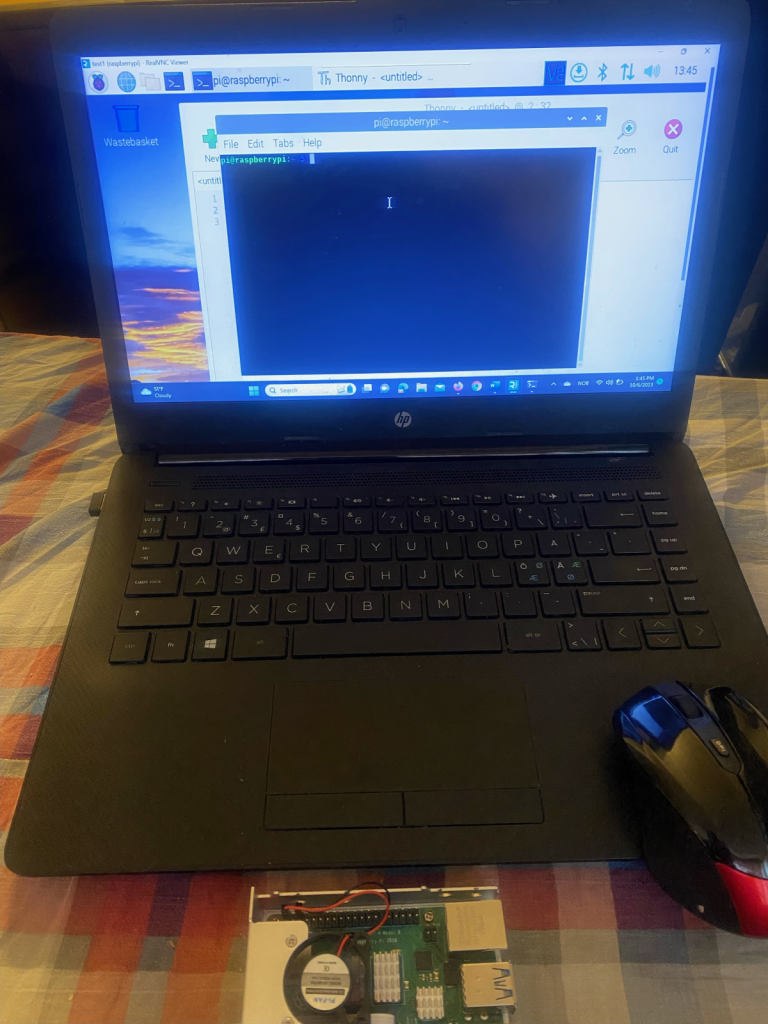
Figure 1
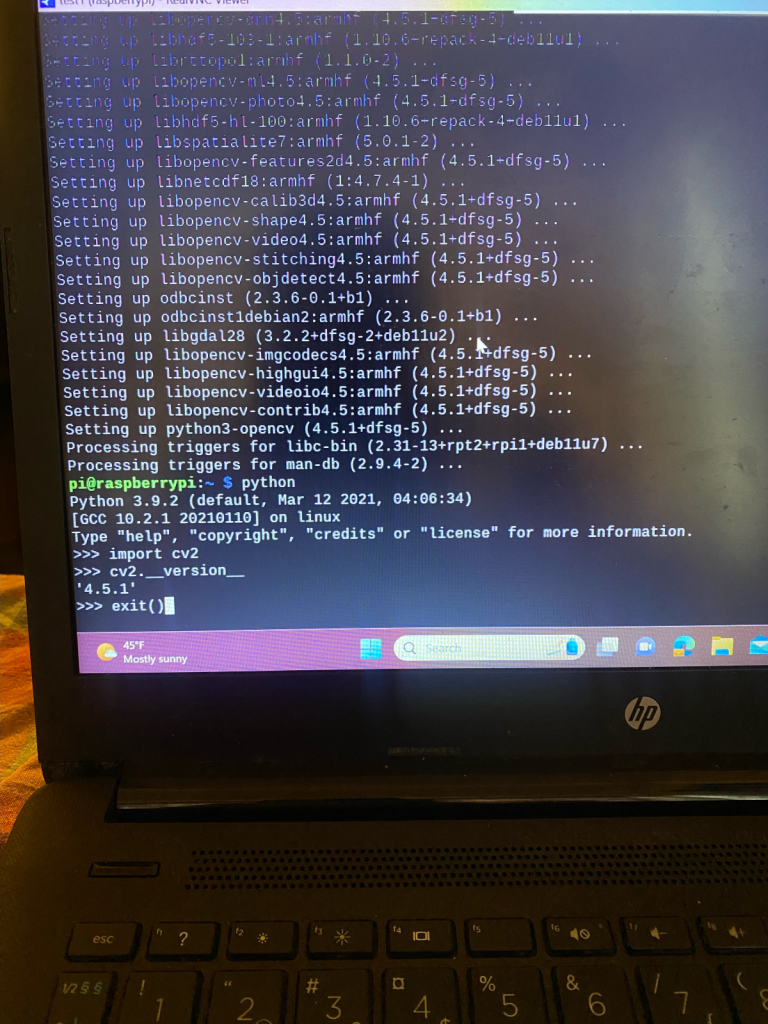
Figure 2

Figure 3