JENS (recap)
It’s been a few weeks since I posted anything, so be warned. This is going to be a long one.
A new skill!
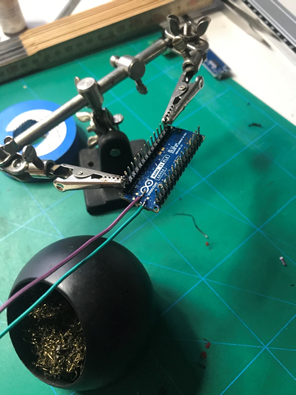
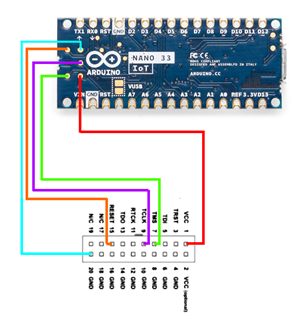
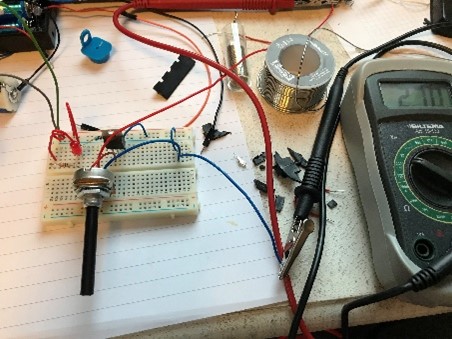
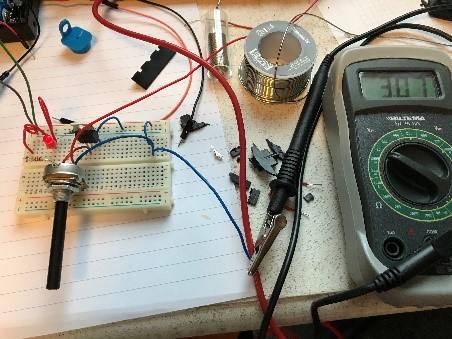
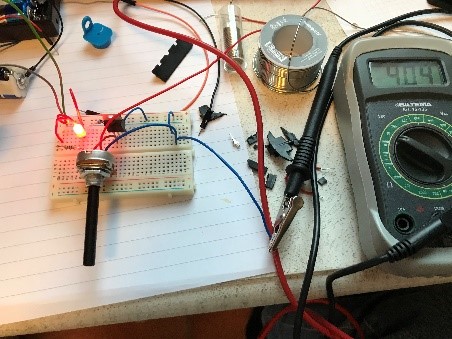
I never soldered anything before, and my first job was to solder wires on two miniscule copper pads on an Arduino Nano BLE. Great, I thought. How hard can it be? Then I heard that Steven had actually fried a Nano while trying to solder the same pads, and I got a wee bit skeptical. So I texted a friend who has soldered small, delicate electronics before and asked him for help. After a quick guide and a couple of test runs on expendable goods, it was ready. Solder wire on pad, heat pad with pen, remove pen immediately when solder melts. Then rest the signal wire on top of the solder blob, heat the wire until it melts into the blob. And that was it. Twice. Then cover the tiny solder joints with melted plastic from a glue gun for durability. I have to admit that I was a little nervous until Kjartan and Stian had tested the Nano, but I didn’t fry it ?
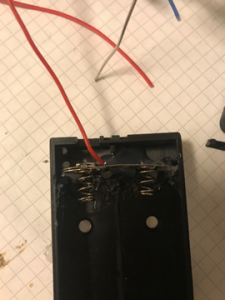
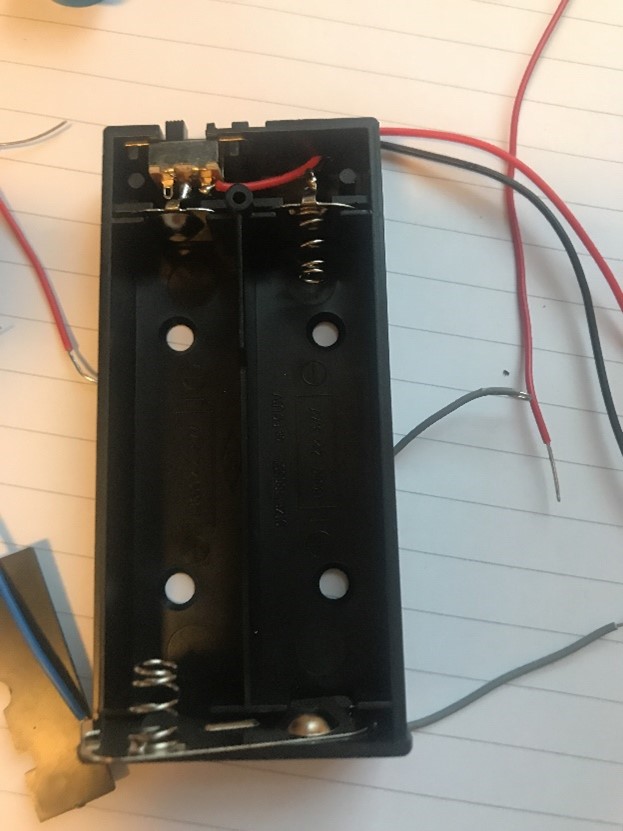
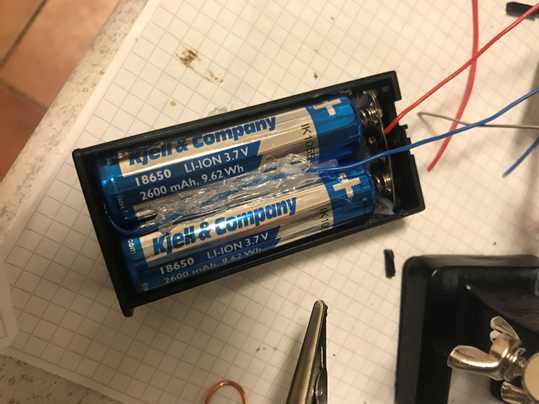
Later into, I have soldered wires onto batteries and their charging circuits. The thing with batteries is that you need to be quick, or you’ll overheat and damage them. Batteries often have a protective layer that needs to be sanded away in order for the solder to stick. The plus tabs on my batteries were most uncooperative, so I had to modify a couple of battery holders. More on batteries and charging later.
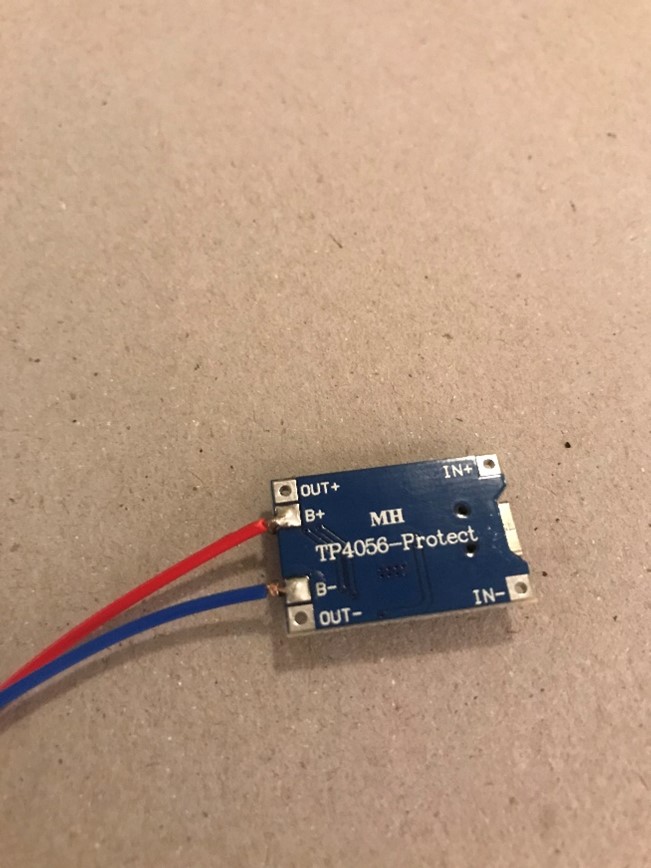
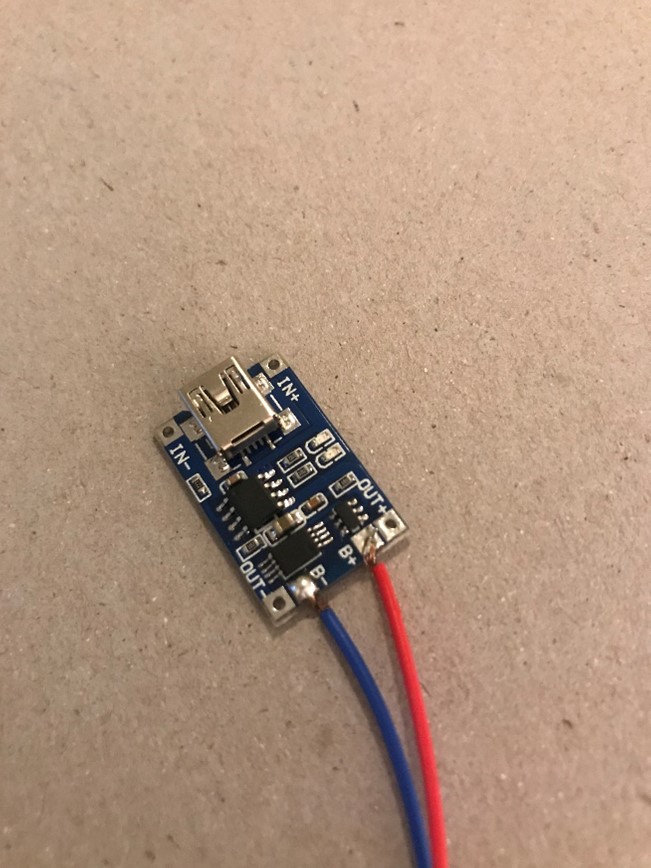
When I soldered the LiPo charging circuits, I accidentally made a solder bridge between the B+ and OUT+ (the pads are awfully close). I tilted the circuit so that the solder would drip off the OUT+ pad and then heated it again. Then checked that there was no continuity and it was fine. The OUT+ will not be connected to anything, but I wanted to make sure there was no current rebound back into the circuit.
Power management
A lot of my time has been spent toying with different solutions for power management and control.
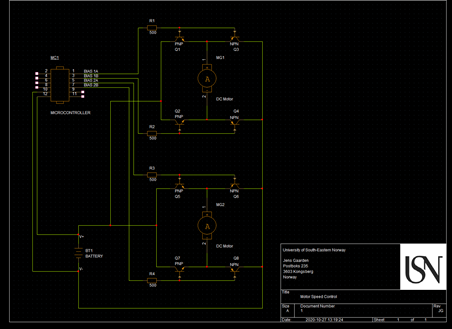
This is one of my first sketches, where i modeled H-bridges using BJTs. Motor speed would have been controlled by PWM pulsating bias current. If I had gone for this solution, I would have had difficulties finding pairs with matching current gain characteristics, and would have felt unsure about overstepping voltage and current ratings, possibly damaging the DC motors, so I never ordered the transistors. I later modeled another slightly different circuit using N-channel MOSFETs. This design appealed more to me, and I went ahead and ordered components rated 2.5A and Gate-Source threshold between 2 and 4 volts. When i tested each individual MOSFET (pictures below), I found them to have slightly different characteristics in threshold and conductivity. This made me somewhat uncertain, as the motors would presumably need some kind of adjustments to their individual PWMs. I also considered the room available in the robot and found that the safest solution would be to use an Arduino motor shield to distribute the power, and control the PWM from the Nano.
I also learned from Mads that the DC motors i had pulled out of a pile of RC helicopter parts didn’t have enough torque (they were built for speed, off course), and he had ordered new, geared down motors with slightly different voltage and current ratings.
Batteries
The DC motors we are ending up using have a rating of 6-12 volts, and the servos are the same. As main power supply I chose to use 3.7V Li-Ion batteries of the 18650 size. In series of two, these will supply 7.4V as a minimum, and fully charged they will supply 8.4V. They are 2600mAh, so I chose to put two in parallel too. The charging circuits I have are meant for single or parallel cells and can not be placed in series. We will need a couple of switches or relays to accommodate this.
HoloBot connection challenges (Stian)
We have been trying different solutions to fix the connection issues we have. Steven provided us with some directions to go which is HID over GATT and setting up the Bluetooth connection in the HoloLens. I tried to understand what was needed on the HoloLens side but since I did not primarily work with it, I did not manage to test the last way properly. I did test a lot on the HID over GATT, and it was a frustrating mess of a system to understand.
HID over GATT is not like the other standard of profiles, but from my understanding it is also a profile different from only GATT. I did test if it would work to use that approach and it did partly work, I got a connection with the HoloLens but then it broke only to reconnect again then disconnect. So, I tried some other libraries that might help, but the ones that could work did not work when we tested them. I have not any more solutions to get the Arduino nano 33 BLE to work with the HoloLens 2 other then putting different modules on the Arduino.
We got back to work on the Holobot after some exams and other projects and we realized that we do not have time to get this to work. With a heavy heart we will go to a plan B and unfortunately a lot of the work we have done up to now is scraped on the data side.
The plan B is to connect an IR sensor to the HoloBot and control the basic movements with a remote. We chose this over going with a routine hardcoded that is hard to control, and we did not want to have buttons on the robot because we wanted it to be smarter.
We have started a new GitHub repository and salvaged the code we could from the plan A and is working towards getting this done to Thursday.