August & Sander: pictures and an expression of what this week means to us:
Where to start?
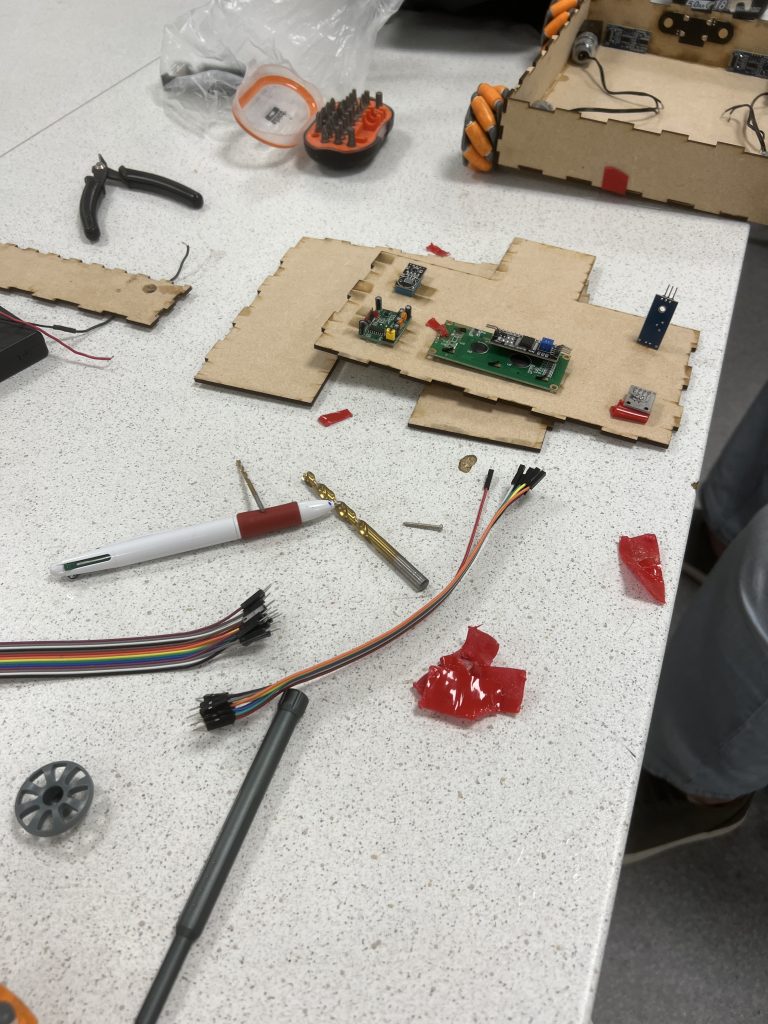
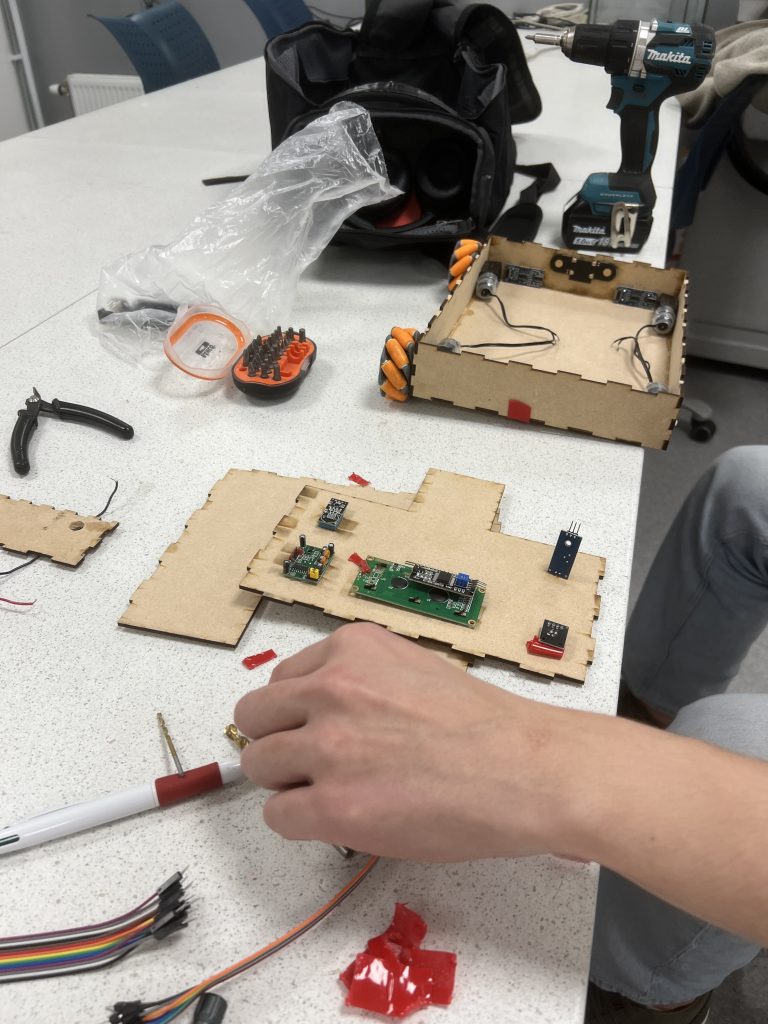
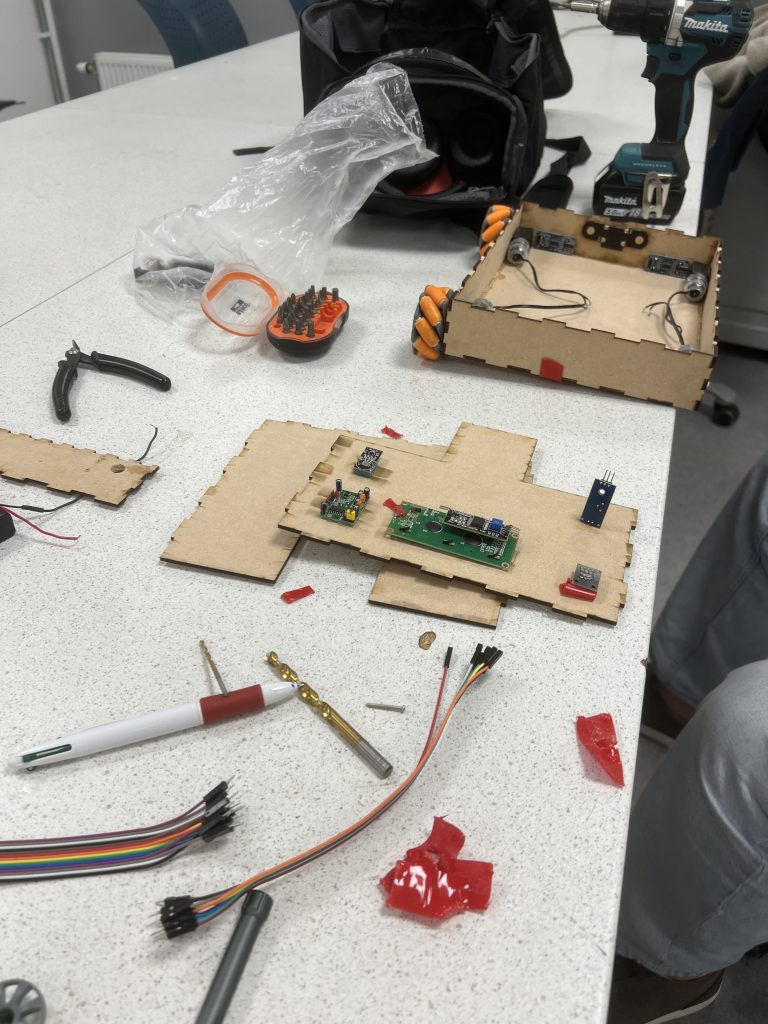
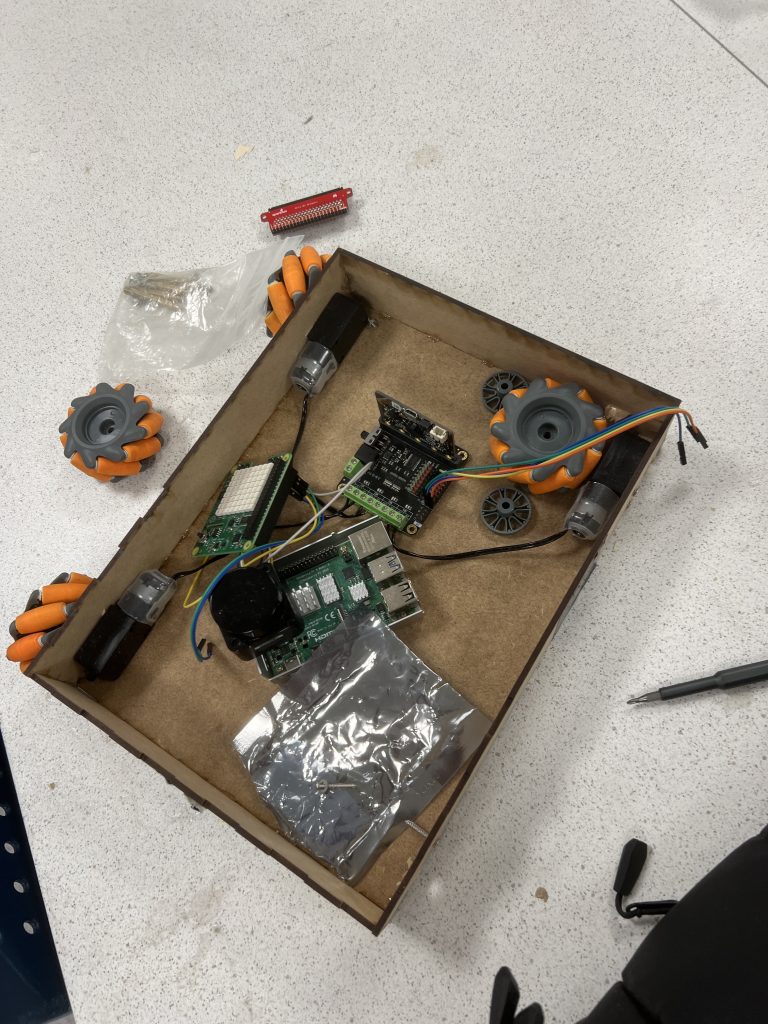
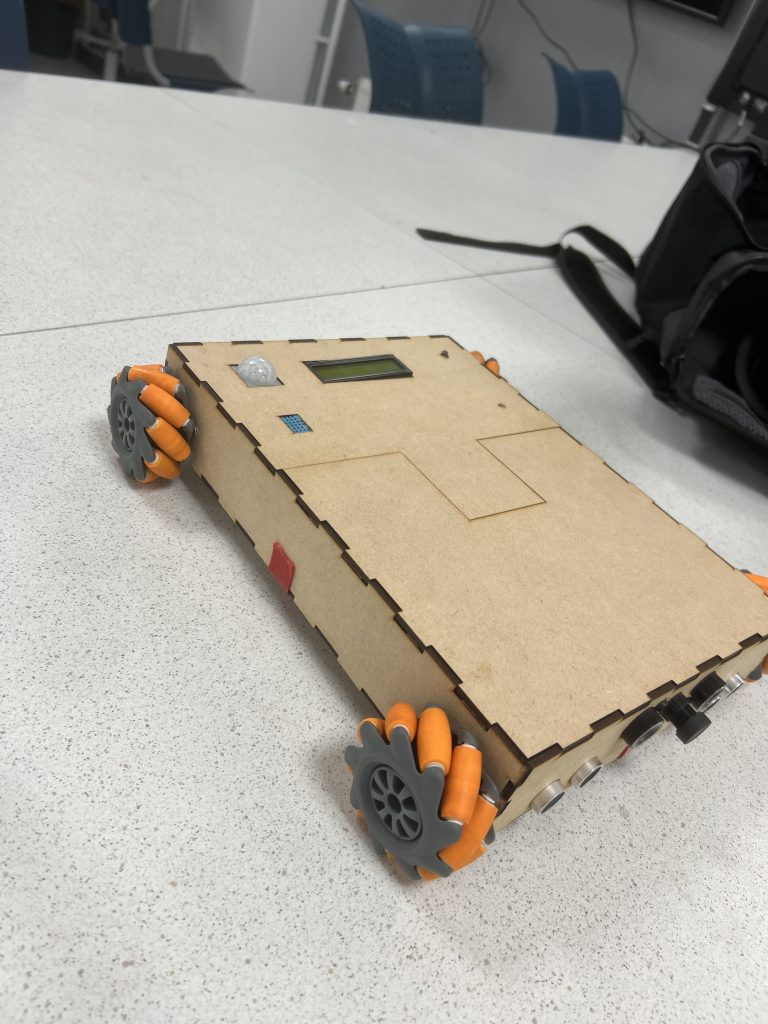
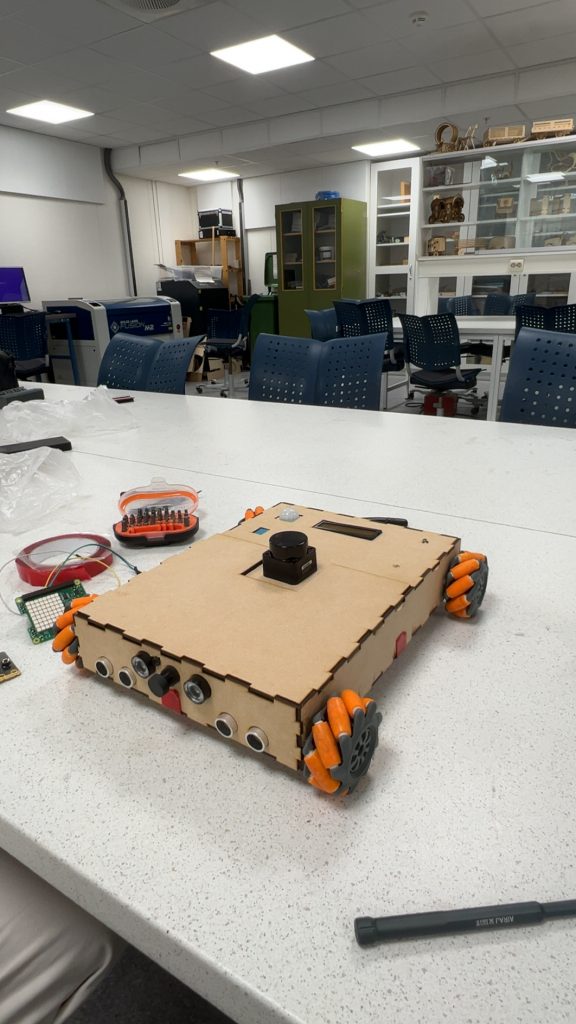
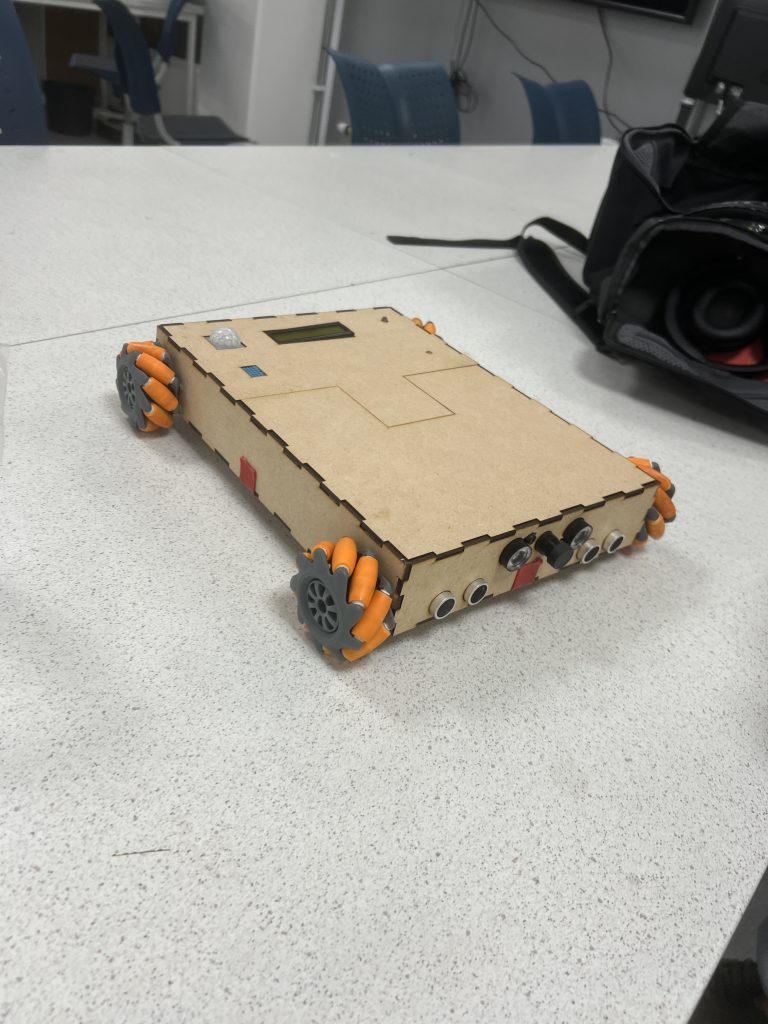
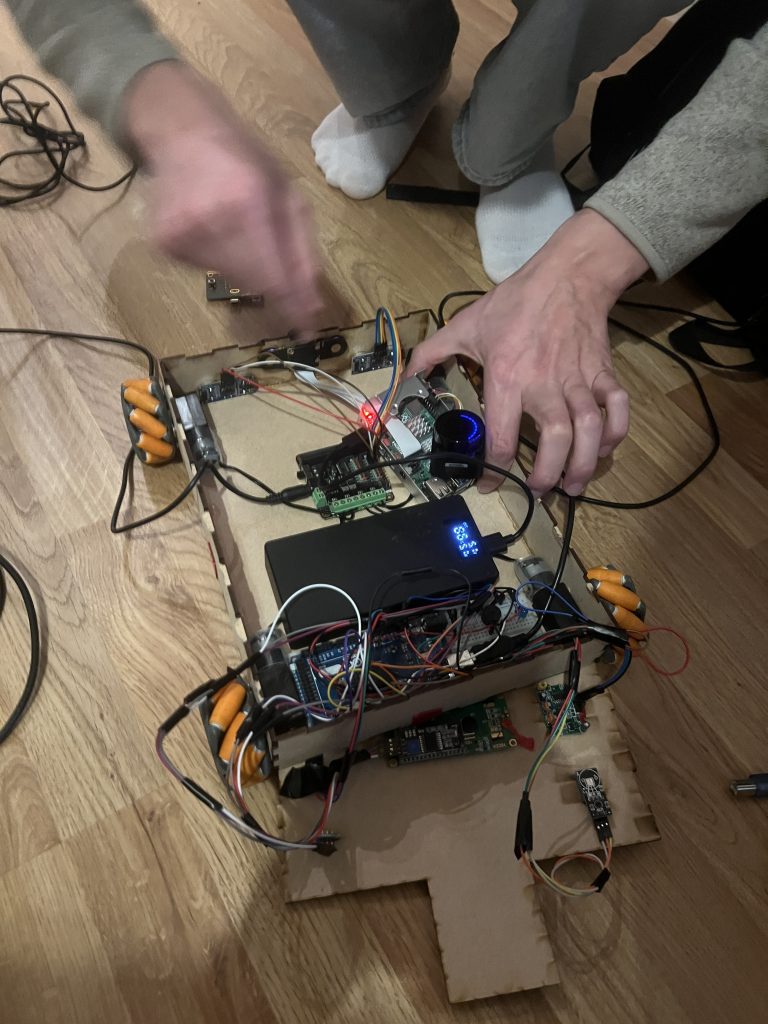
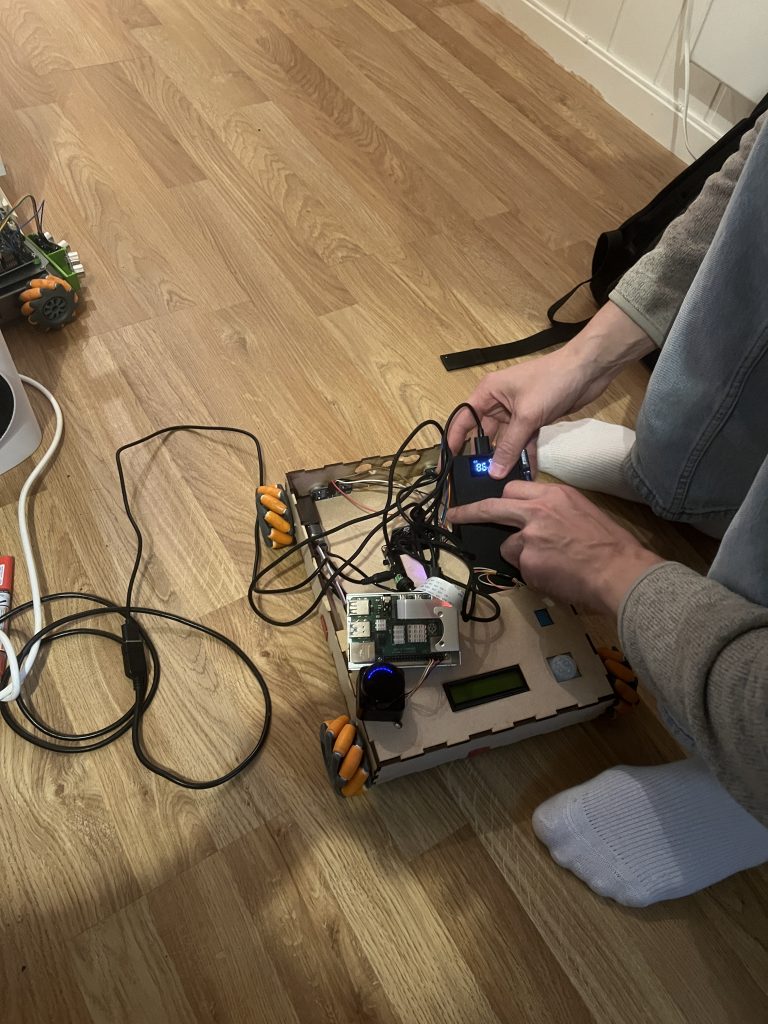
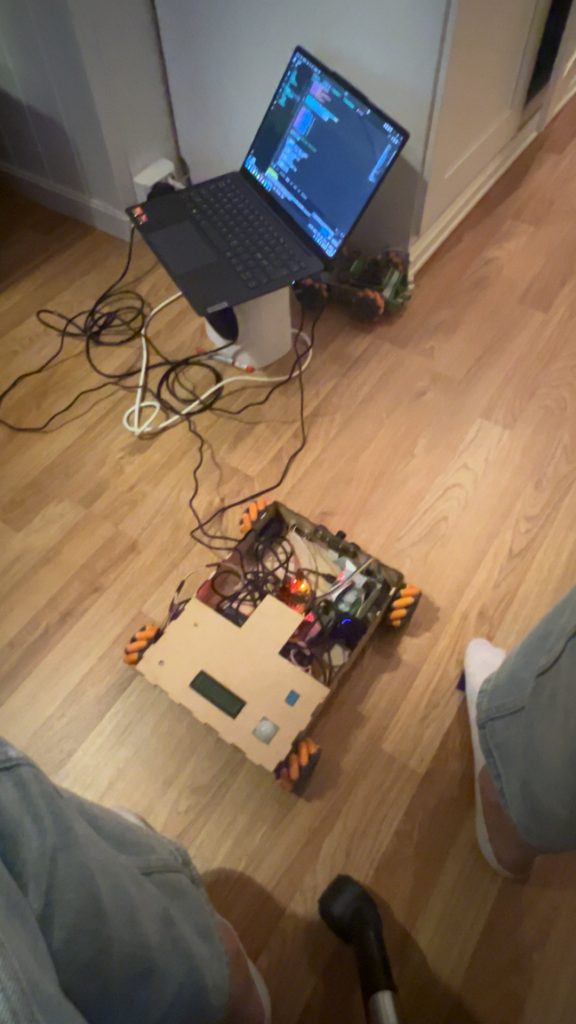
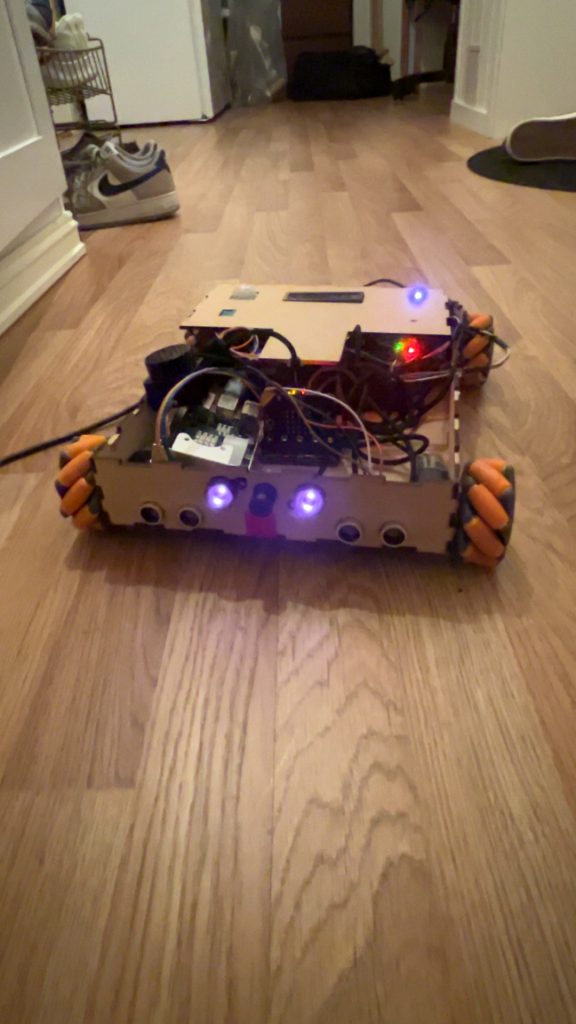
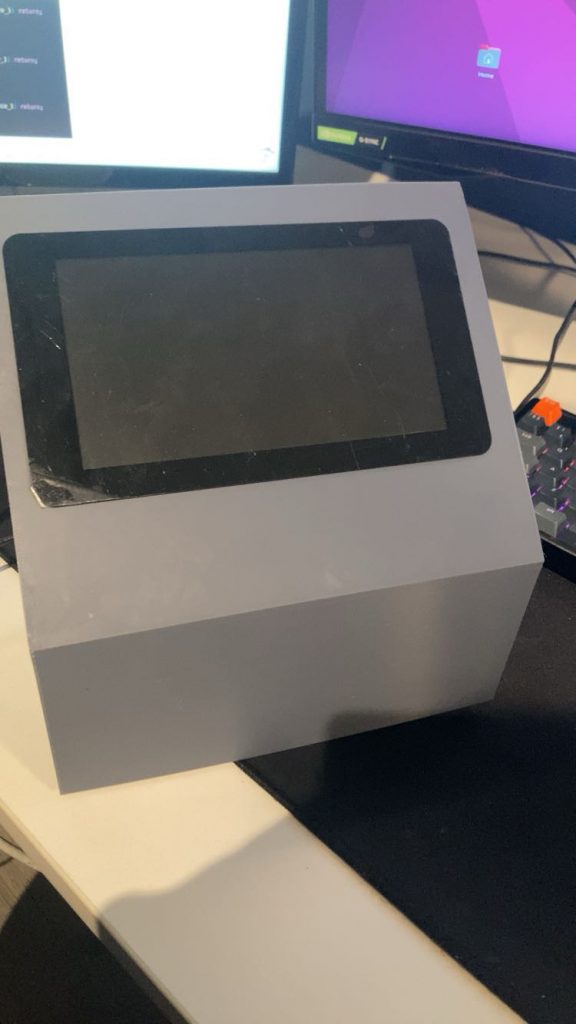
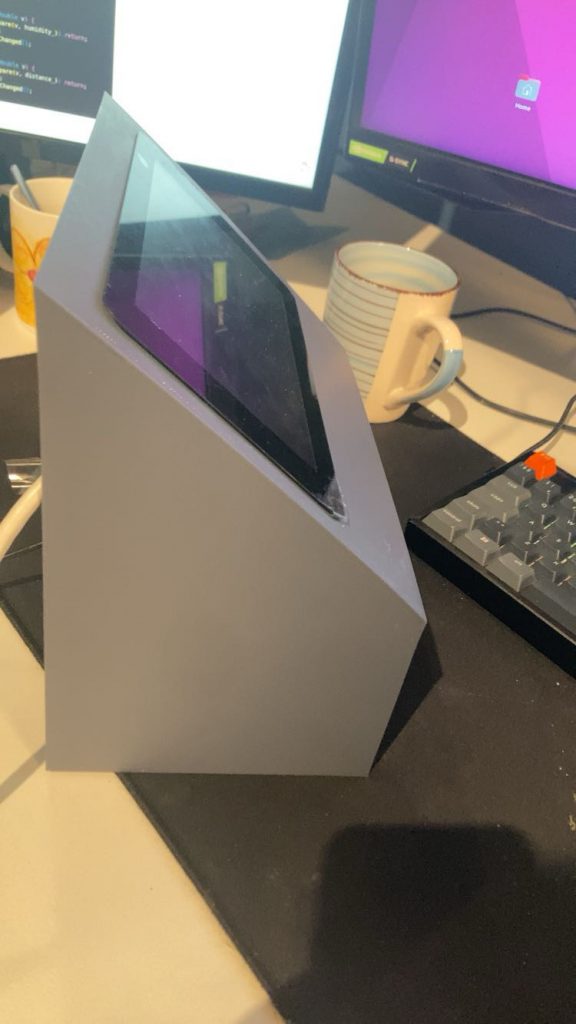
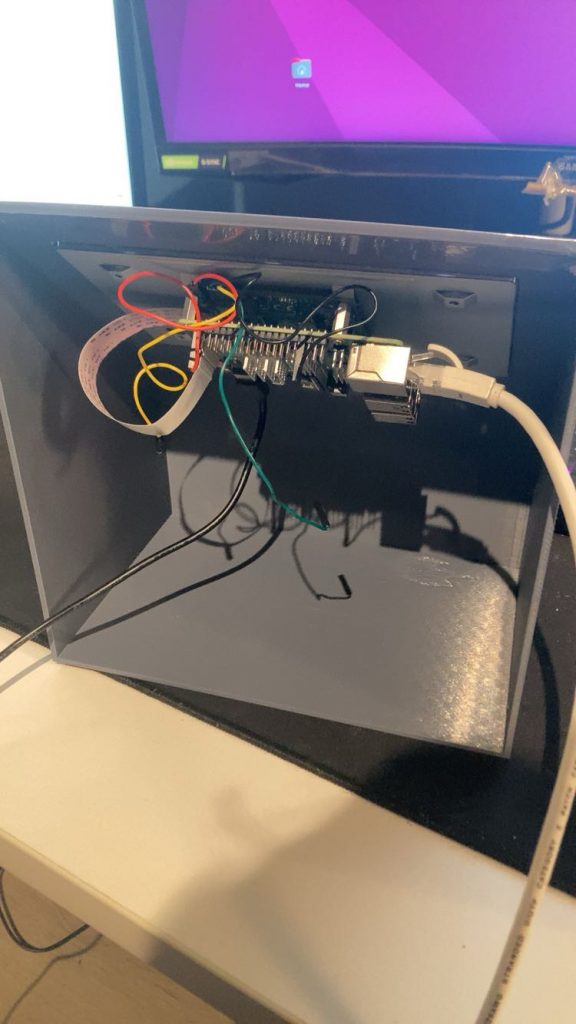
Lets just start by saying that this is how our project, our Astrorover, looks like after integration hell:
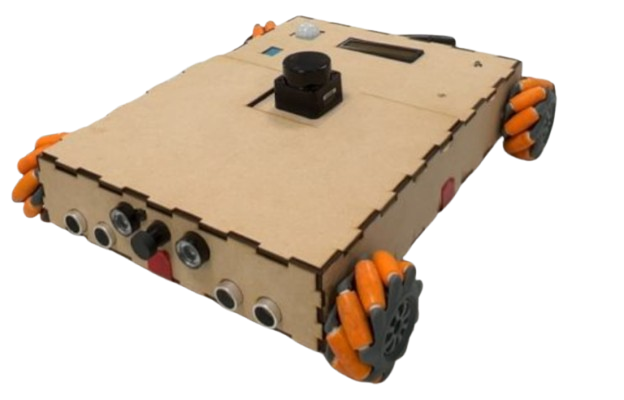
When writing this, after all the hours it took putting the frame together, designing it, gluing it, mounting the sensors and cameras, taping and sorting all the cables inside and connect them to their respective pins, drilling and mounting the weels and motors, without even mentioning all of the hours, iterations, discussion and implementations to actually see our envision standing in front of us, physically, in real life, we feel proud.
We didnt quit. We have put in the hours, and been trusting the process. And here we are. Of course, we are not done. We will iterate everything at least one more time, but the thing is, we dont want to do anything else. The car is a result of our frickin minds. The system as a whole, including the GUI, joystick, the car and all of its functions, are working as we envisioned. There are really a red thread through everything, and we are handling the complexity really well. This is fun and inspiring for us, to say the least!
We implemented a safety function to the joystick mode this week. This function is implemented on the microbit, to reduce the risk of crashing when driving with the joystick. It is not easy to see and operate the car just using the camera, because the difficult to percive depth, and there is a bit of latency on the video feed. Its implemented on the microbit, wich has code for the motors and ultrasonic sensor. This seperates it from the other parts of the system, and reduces response time. This makes it trustable, and highly useful. This is an elegant way to protect the car and its components from damage.
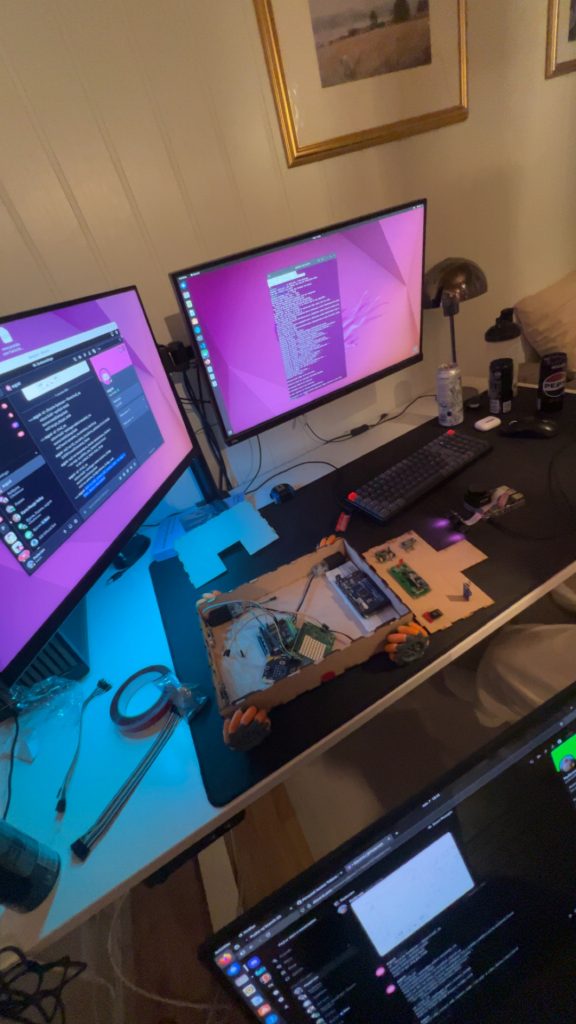
Collage:

Videos:
August:
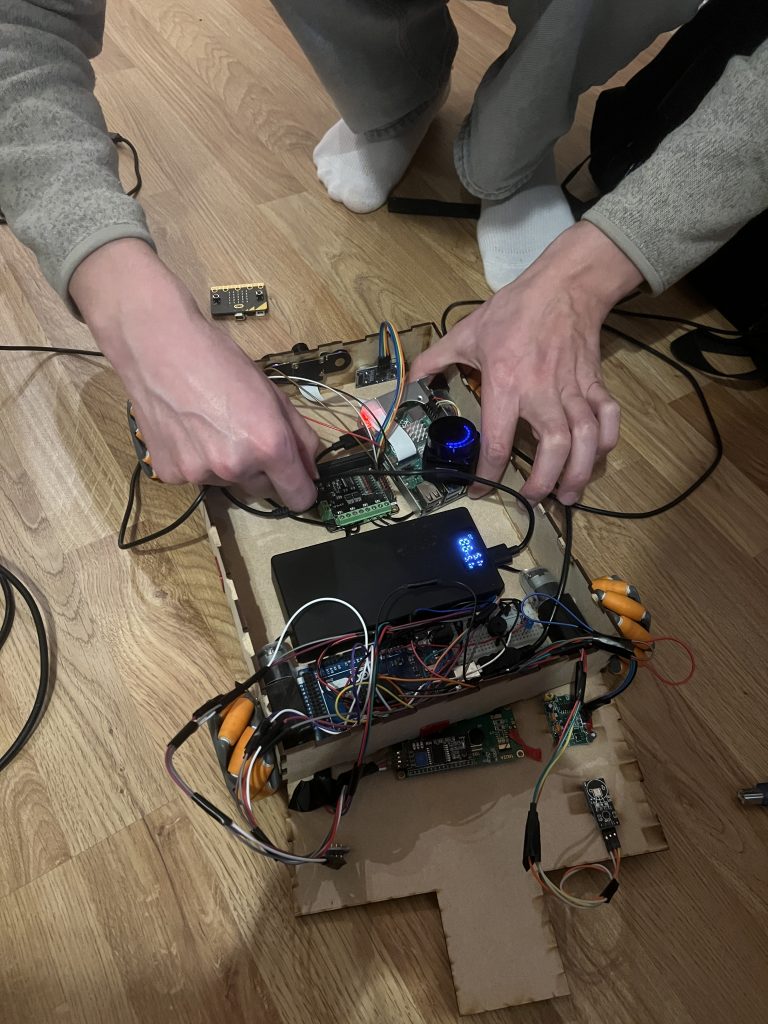
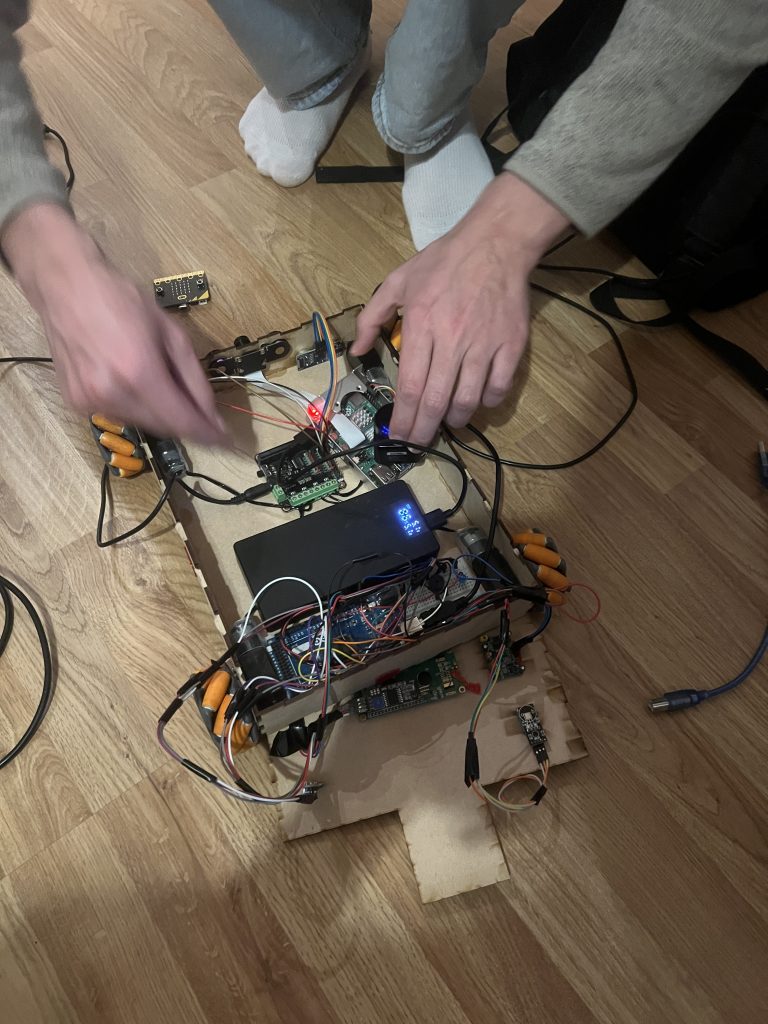
Well, its that time of the project. Where your hair falls off, and whats left turns gray. Its time for integration hell raised to the power of 2000 factorial. I co-operated with Sander on this one. We learned a lot. Primarily that things (still) takes time, especially when merging. Im also glad that im not an electro-engineering student. The cable work was batshit crazy, but we managed it fine.
Iteration 1 this week on the frame:
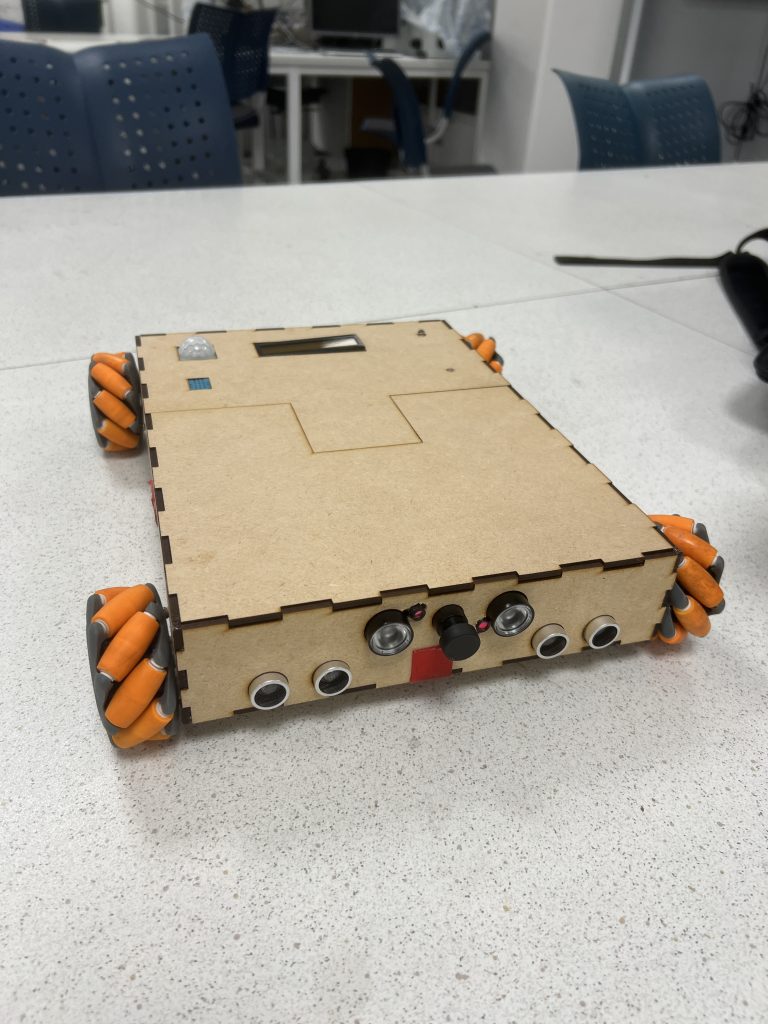
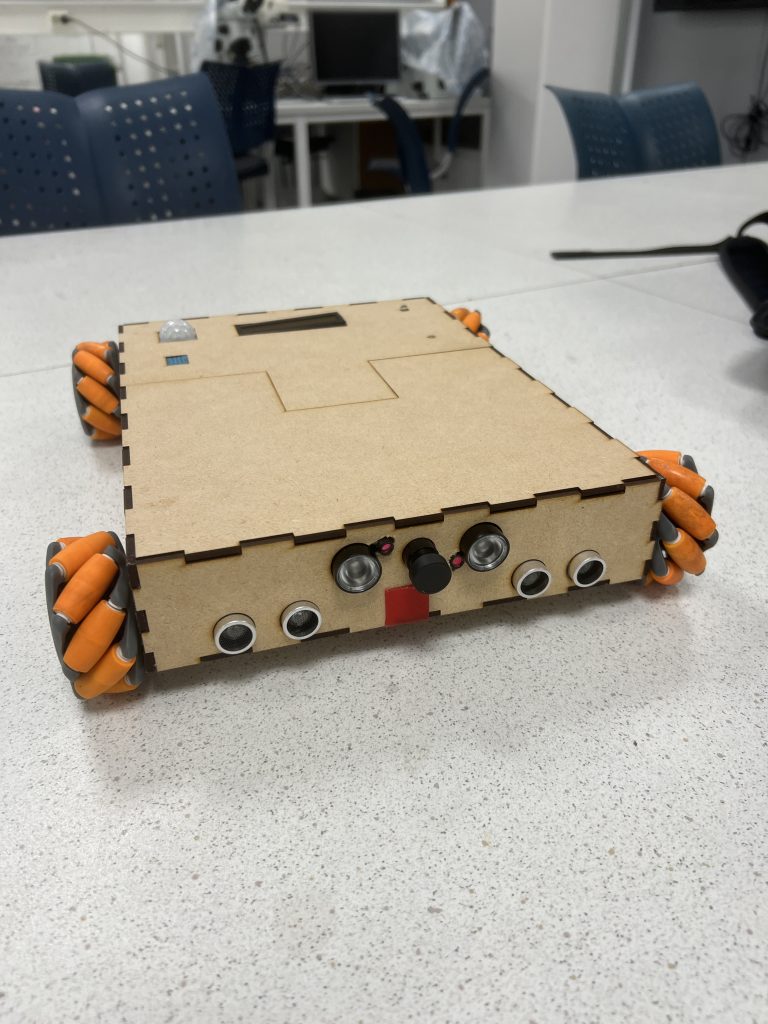
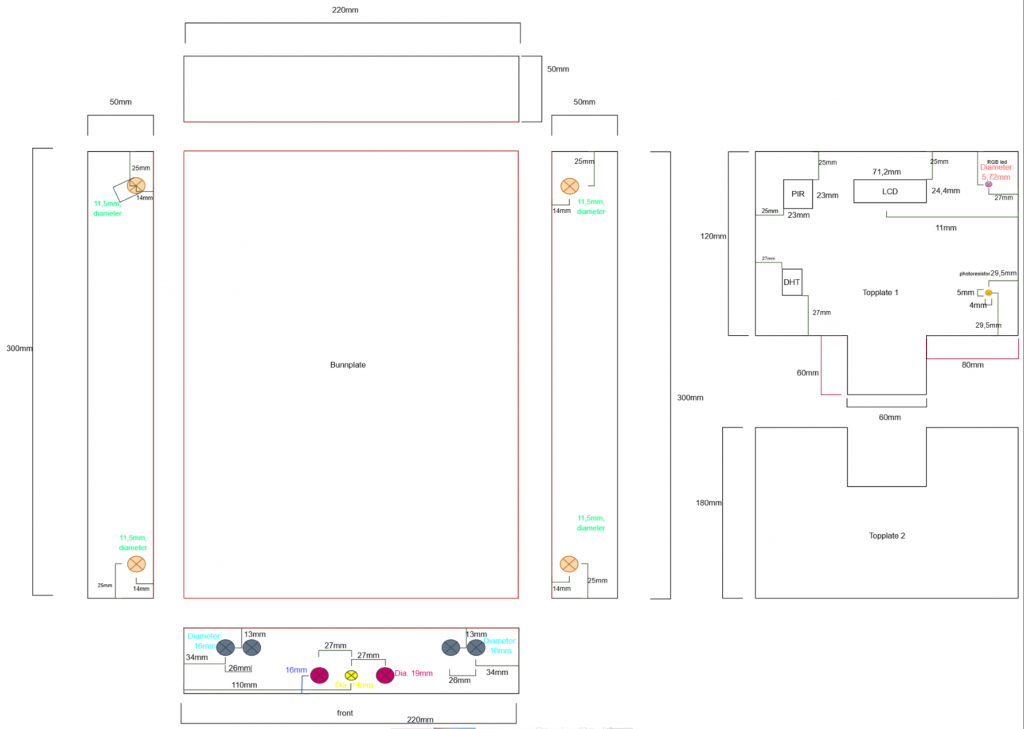
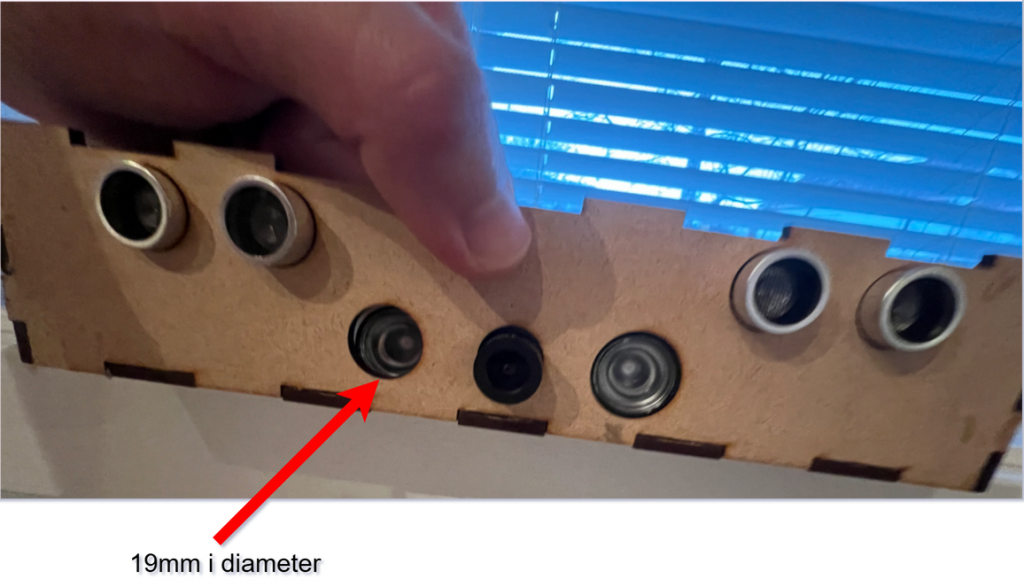
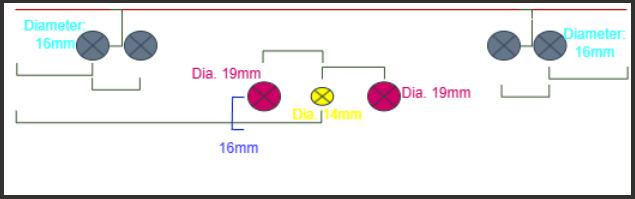
Jamal Safi once said, and i quote: “You have to iterate! Dont fall in love with your first idea!”. I now understand what he meant. It turned out that he wasn’t a crazy systems engineer after all. He was right all along. And iterate we did. We needed to get the placeholders to the frame for the camera and the ultrasonic sensors. Our first drawing (earlier week) witnesses our initial plan, to 3d print mounts for the ultrasonic sensors and the zero-cam. We later thought that it would be a great idea to just drill holes for them in the front of the frame. We measured all the sensors and the camera, and sketched a new design:
Iteration 2 on the frame this week
List of everything done this week collaberating with Sander:
- Tried to drill holes for the sensors and camera in the front of the frame of the car. This didnt go well
- Draw new frame design in drawio and sent it to Richard
- Richard fixed the frame design
- Had to do an iteration, one hole was too small in the front. Draw new, and sent to Richard
- The frame was glued together upside down, so we took it apart, and glued it all back together with the correct front
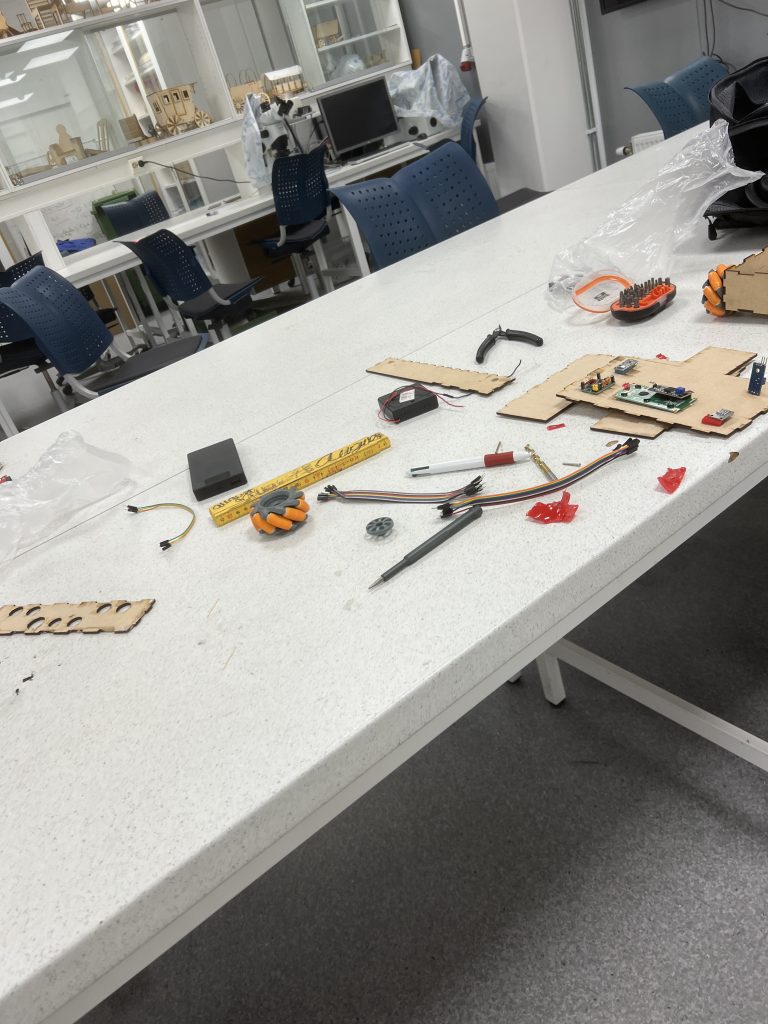
- Taped all the cables for the arduino and the sensors
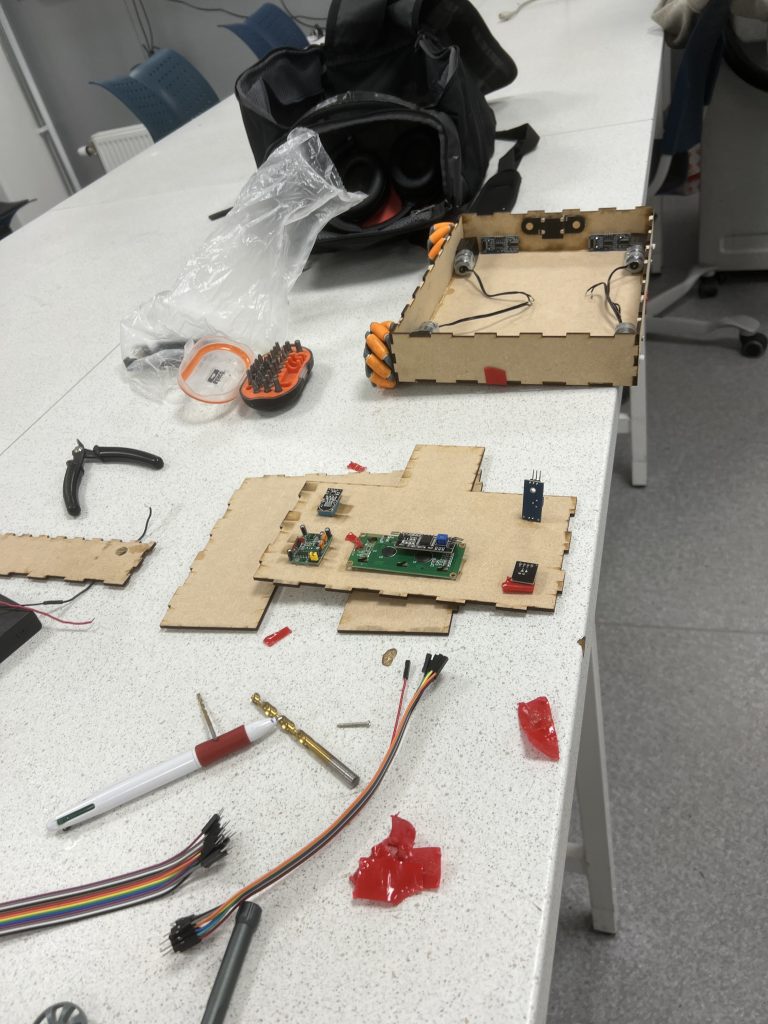
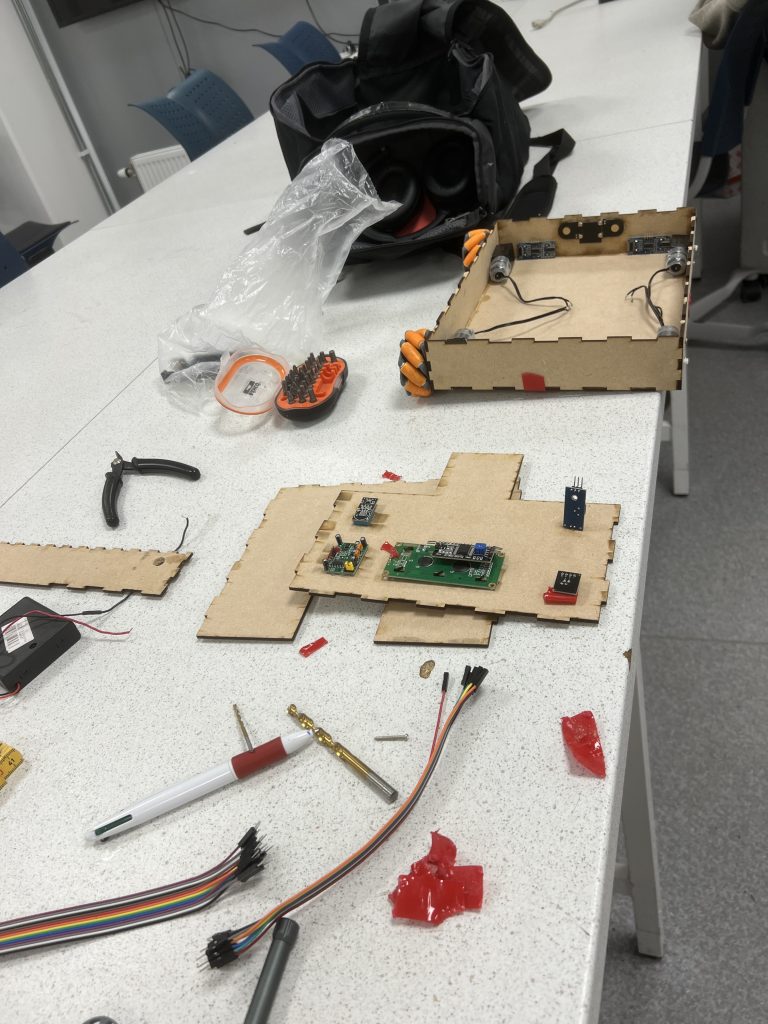
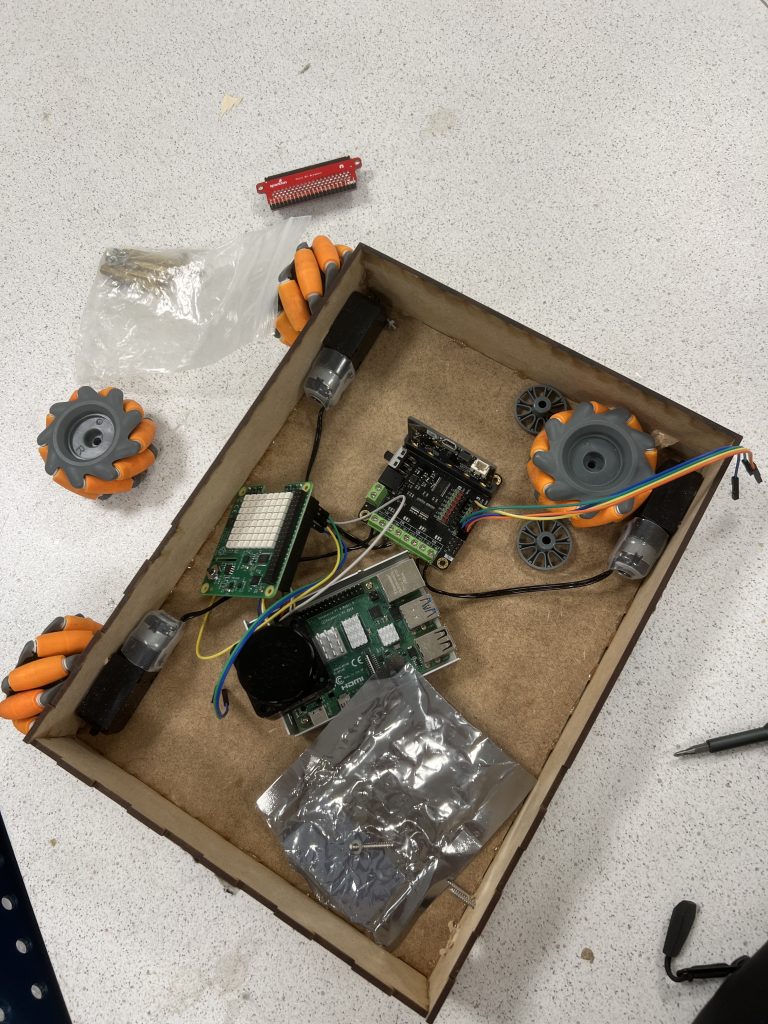
- Mounted everything to the car, sensors, camera, lidar, rpi4, arduino, motors, wheels, microbit driver board, microbit.
- Merged every ros2 node and the topics. Making it all work on one RPi4.
- Making sure that everything worked
- Spent a lot of time to get all the ros2 nodes to work. This was mainly because of different libraries and packages that one RPi4 had, but the other RPi4 did not.
Summary of Integration Hell
Look at the pictures above, and blogposts from earlier weeks. We have integrated and merged everything. This took time! My god.
We are closing in on our goal!
Next week:
- Iterate on GUI
- Iterate on cable work in car
- Getting new front with placeholders for ledpins
It is imperative to optimize time usage the future weeks.
Sander
This week was spent on integration and iterating on the rover design. I cooperated with August a lot this week as seen in the pictures over. We created a new and better drawing for Richard, where we added more holes, including pre-cut holes for the wheels, this was to reduce the friction on the wheels which seemed to help.
Done this week with August
- Created a better drawing for Richard
- Redid the front panel
- Took the car apart and glued it together
- Mounted everything to the car
- Merged every ros2 packages to 2 workspaces, one for the Pi and one for the PC with the GUI and joystick
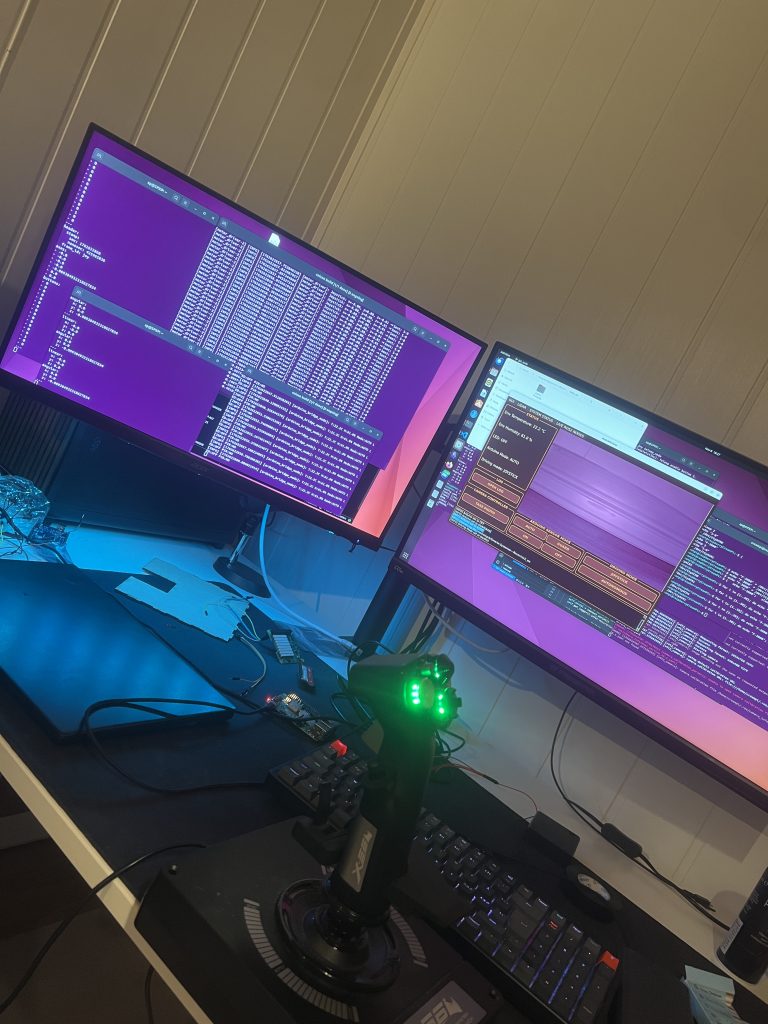
- Spent some time merge conflicts specially regarding the camera and joystick, since they was configured on separate Pies. We also had to reconfigure some wifi settings on the pi to get them to work. The problem was that one of the pies cant connect to a screen
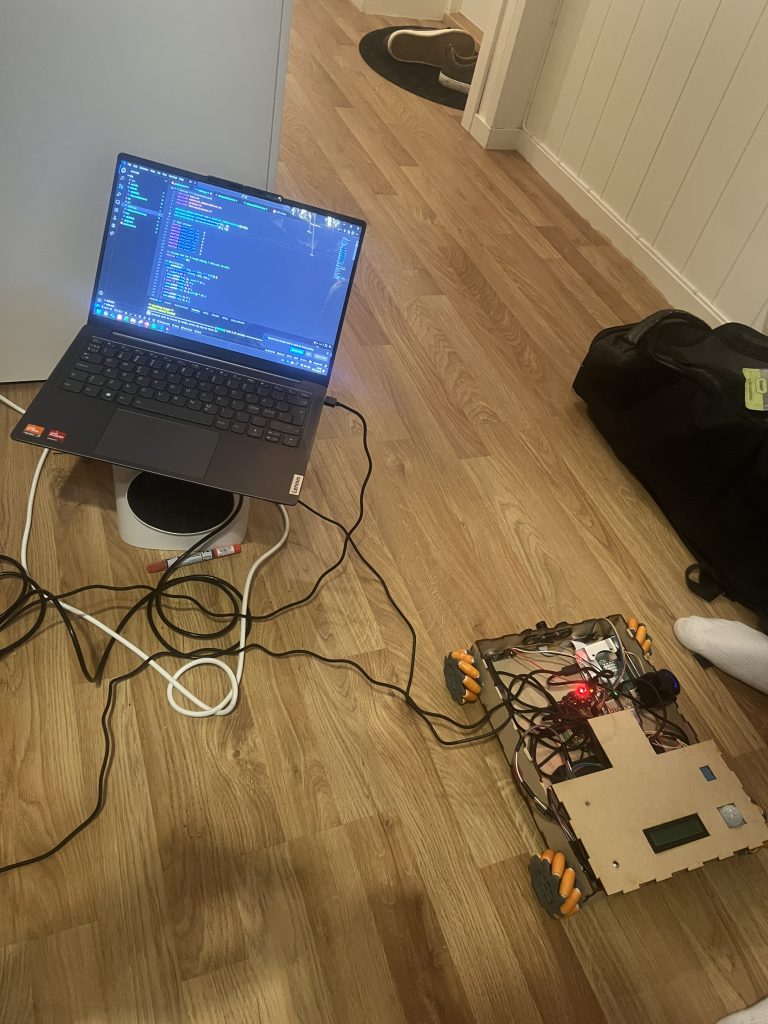
- This was finalized in a test driving with all the sensors and camera displaying in the GUI. Everything that we imagined from the start was now realized.
Next week:
- Continue making the car autonomous
- Work on mapping
- Iterate on the front panel to make room for the led pins
Sondre
Small Design Change
I started this week with a small design change.The original plan was for the dashboard to subscribe to the rover’s camera-feed node and then forward that feed to an external ground-station monitor. But considering the limited time and the number of upcoming exams and assignments, I have decided to create a dedicated window in the dashboard that streams the camera feed directly.
Meeting with Richard
I stopped by Richard to get the ground station printed.We fine-tuned the measurements so the touch screen fit perfectly into the “box.”It was printed the next day as well, so now I have both the software and the hardware to work with.
This Week Improvements
Sensor Data Panel
The next step was to implement a panel on the dashboard that displays sensor data from the rover.
Before creating the panel itself, I needed a class in ros_node that subscribes to the topics I need.
ros_node.cpp
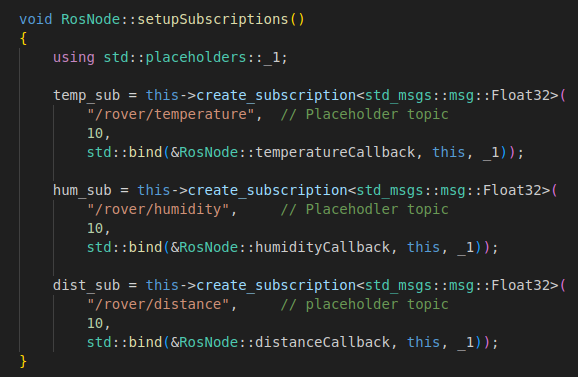
Here, I created the class responsible for handling all subscriptions.
For now, I have subscriptions for temperature, humidity, and distance.
At the moment, these are not subscribing to the rover’s actual topics, but once the ground station and rover are on the same network, I can replace the placeholder topics with the real ones.
The image below shows the class that subscribes to the topics. But this class alone cannot update the dashboard, each topic needs a dedicated callback function that takes care of updating the UI. That part is shown further down.
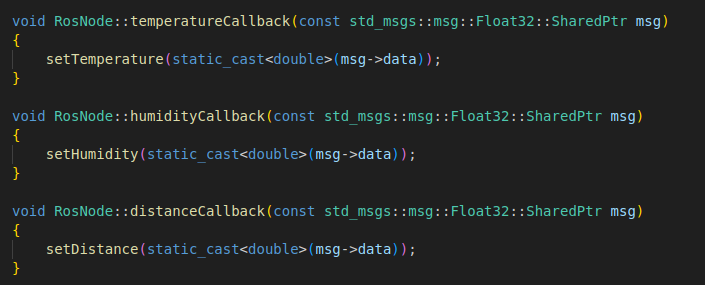
Here are the callback functions for the different topics.
ros_node.hpp
These are the Q_PROPERTY lines, which act as a bridge between the QML interface and the C++ logic. They expose the C++ values to QML, and through the READ and NOTIFY mechanisms, they ensure that QML is both notified of new values, and able to access those updated values so it can refresh the dashboard accordingly.

These functions represent the NOTIFY part of Q_PROPERTY and are the ones that notify QML that it must update its values. They are triggered when the callback function uses the set-function that comes below.
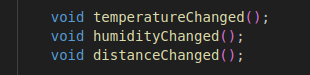
Here are the set-functions, and when the callback uses, for example, setTemperature, temperatureChanged will be triggered, which in turn triggers NOTIFY in Q_PROPERTIES.

When QML is notified by NOTIFY to update the data, it uses one of these getter functions to read the new data. They are connected to READ in Q_PROPERTY and provide the new data that should be displayed.

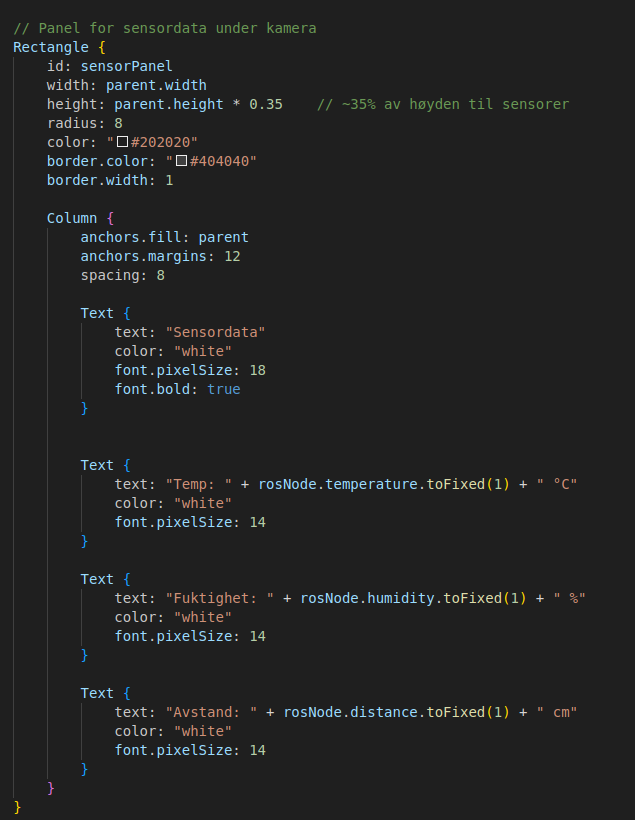
main.qml
Here I added a Rectangle{} in main.qml that represents the panel. Inside it, I placed some Text-boxes that display the panel name and the different sensor data.
Next Week:
- Integrate camera-window
- Put in real Topic-names
- Possible snapshot-function and snapshot-database
Oliver
This week, I started working with GPS positioning. I received the Swift Navigation GPS module and began familiarizing myself with how it works and which software is required.
The group has purchased a new LiDAR, so mine will not be used in the project.