Ulrik – Week 12
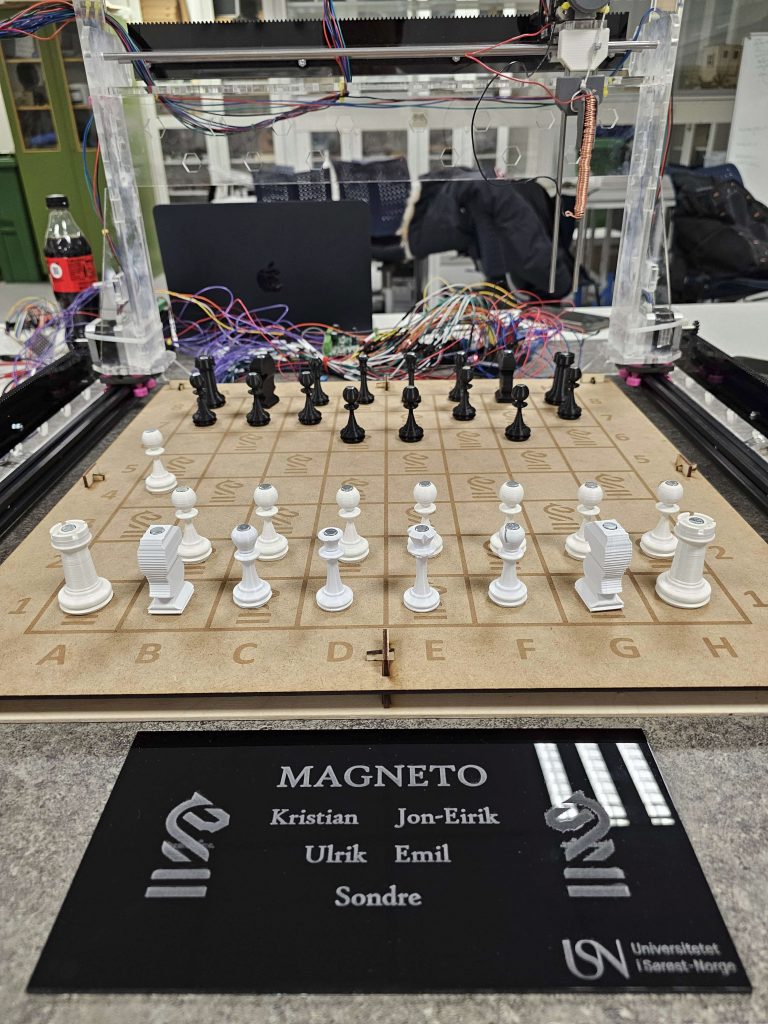
This week’s focus has been on the finishing of the chess-robot. I bought perforated metal strapping for the fastening of the machine to the baseplate/foundation. I used wooden screws to fasten the frame, so the chess board won’t move under operation. The software that controls the robot is precise and in need of small tolerances, so the non-moving parts have to be fixed. This was a precise job that demanded measuring and patience.
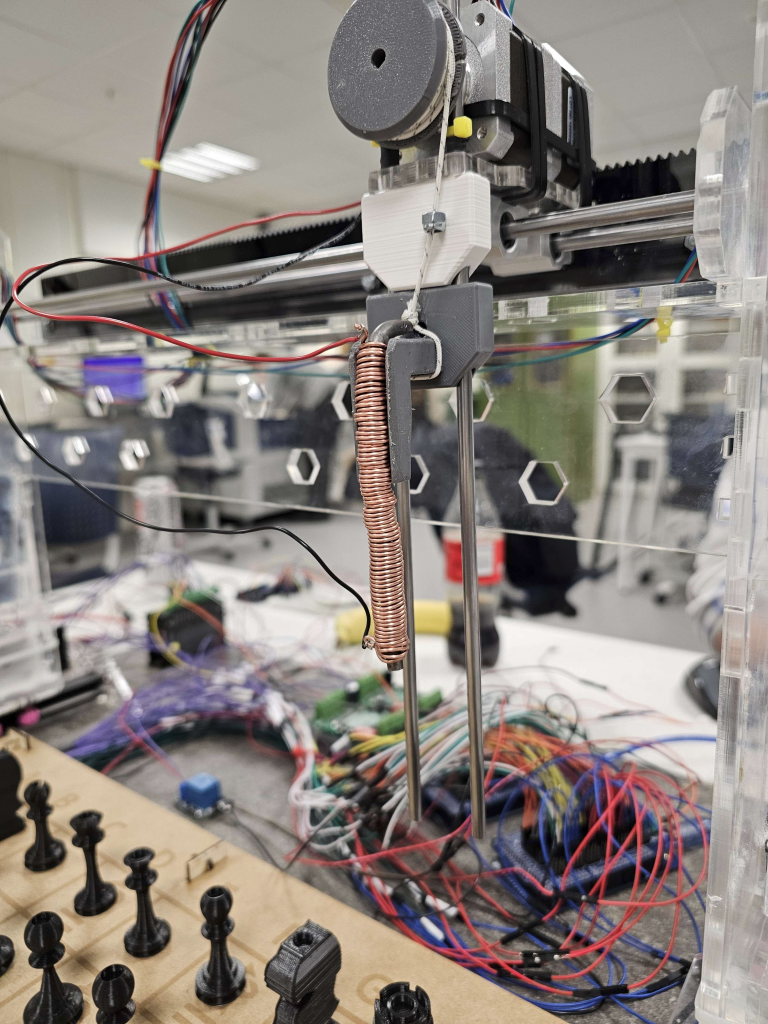
The electromagnet functions but needed a little tweaking to be efficient enough for the chess pieces to hang firmly while moving. It was a really rewarding experience to develop an electromagnet myself instead of buying it.
I designed a simple reel for hoisting and lowering the electromagnet. I chose this design to keep it simple so that the gravity will pull it down and the motor pull it up. This is to keep the margin of failure as low as possible. The reel was added to the robot and the wire threaded around it. This design proved to work really well.
The wiring of the robot was a joint operation, and I participated in the routing and strapping of the wires to the gantry. It was a spider web of wires, so this proved to be a time-consuming task.
After fitting everything together the stepper-motors pulled in the opposite directions, clockwise and counterclockwise. The data guys and I cooperated in the rewiring of the right motor, as well as mounting a cable guide tower to keep the wiring from getting caught up in the moving robot.
I had to assist in the printing of the chess pieces so we could have them all ready for the deadline and presentation. It was a trial-and-error to find metal that was magnetic enough to hang on to the magnetic field, and we had some bolts that we figured out would work if we cut off the threaded area and just kept the head.
The workshop has angle grinders and grinding machines, so I went down there with 32 bolts, cut off the threads and grinded the heads flat. After borrowing a glue-pistol from Richard I thoroughly glued the bolt heads to every single chess piece so that they can be lifted.
This project has really been a learning experience and the feel of creating something from idea/drawing board to a functional prototype is beyond exciting. I am really impressed with the group members and their creativity, competence and flexibility.
Thank You!
Sondre – Week 12
This week I’ve iterated the x-axis rack & cog so they fit together and assembled it to the gantry.
As the motors for the y-axis are fastened by strips, last week’s testrun showed that the torque when moving the gantry will make the cog disengage and tear on the rack. To fix this I laser cut some support plates that block the motors from turning.
Made iteration on the chess pieces so that the magnet underneath and metal plate on top will fit better. Also switched to a newer material for 3D printing as the first prototype was stringy, brittle and easily broke.
Finished the last designs of all the chess pieces in SW.
Printed the last pieces and post processing to remove supports. Cooperated with Ulrik to print some of the pieces as I didn’t have enough black filament left and printing time for only one printer was high.
Reassembled all the components in a new assembly so that all mates and dimensions were correct. Partly rebuilt some of the components/sub assemblies to get the parts working as moving parts. And added materials to all parts missing chosen material.
Tried to run a FEM analysis but one component could not get a valid mesh so the test could not proceed.
Tried again on another computer and added the chessboard. The mesh went through but got problems with material specific traits that stopped the test from running.
Got problems with to big displacements in simulation so some parameters would need to be changed to get the analysis correct.
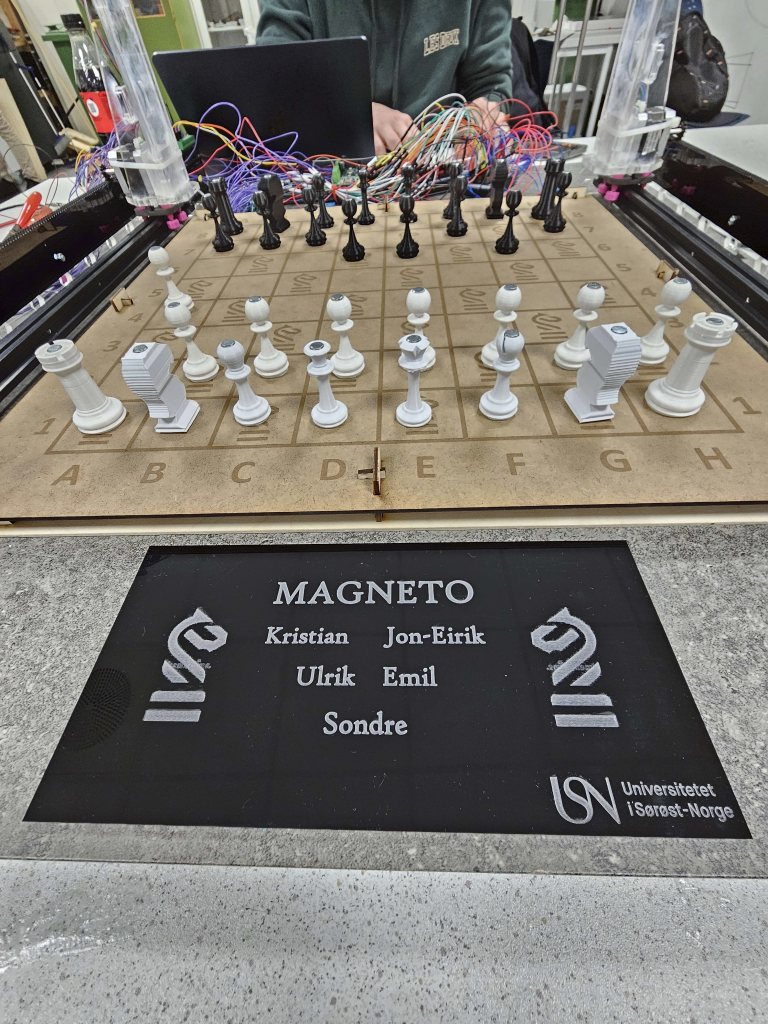
Designed and laser cut/engraved the logo-info plate. Post processed the plate to have it clean.
Kristian – Week 12
Emil and I drove and fetched a free table from finn.no and drove it back to school, the table is now used as a stable foundation for everything to be connected to.
The week started with an Arduino code that works for one Arduino except the fact that even with a shield it’s not enough pins. The Arduino had to be divided into a Master and a Slave. I divided the code to make it logically correct. The communication had to be set for the Arduinos to communicate and the code to be able to reach the next step. The communication bit was made, and I made sure it was logically correct. Making sure the code was communicating to the right functions.
I made sure to add a variable a long time ago for x, y and z stepper motor to make it easy to calibrate the length the stepper motor must run to go the distance of one square. Through a calculation using the diameter of the sprocket length, stepper motor micro stepping ⅛, and the length of the square which was 5 cm. Using this calculation, we managed to find a reasonably accurate stepper length per square, which we altered just a tad through testing.
When we got the robot working, we couldn’t get the robot to start over, and we could not make it take a piece from the human player. The code for already there to do it, but we couldn’t access it because of the bidirectional communication by the Arduinos. After some hard work the robot could now both do all rotations needed, and being able to access the code that determines if the robot must remove the human player chess piece before it moves its own (basically when taking a piece from the human).
added two buttons to make sure the move is correct before sending to slave and being able to reset the move to check sensors again.
did a lot of electromagnet testing, cut some metal in the workshop to make sure it was the correct length
created a wiring diagram:
Jon-Eirik – Week 12
This week we have sprinted towards the finish line. Everyone has done their parts so that Magneto now is up and running.
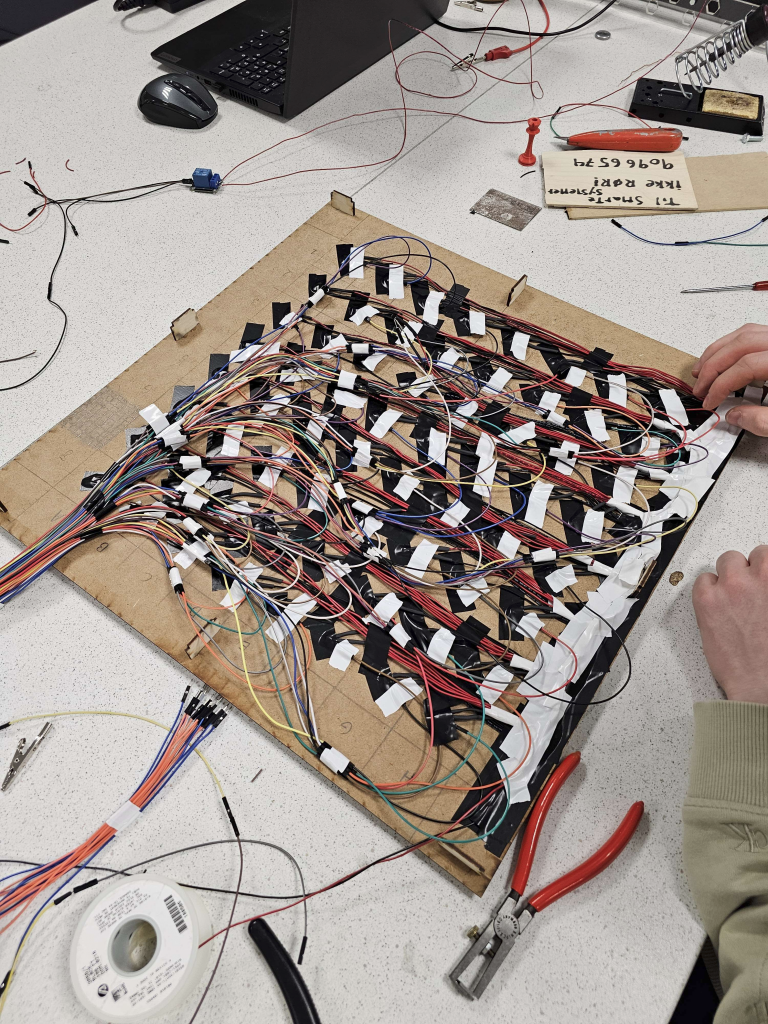
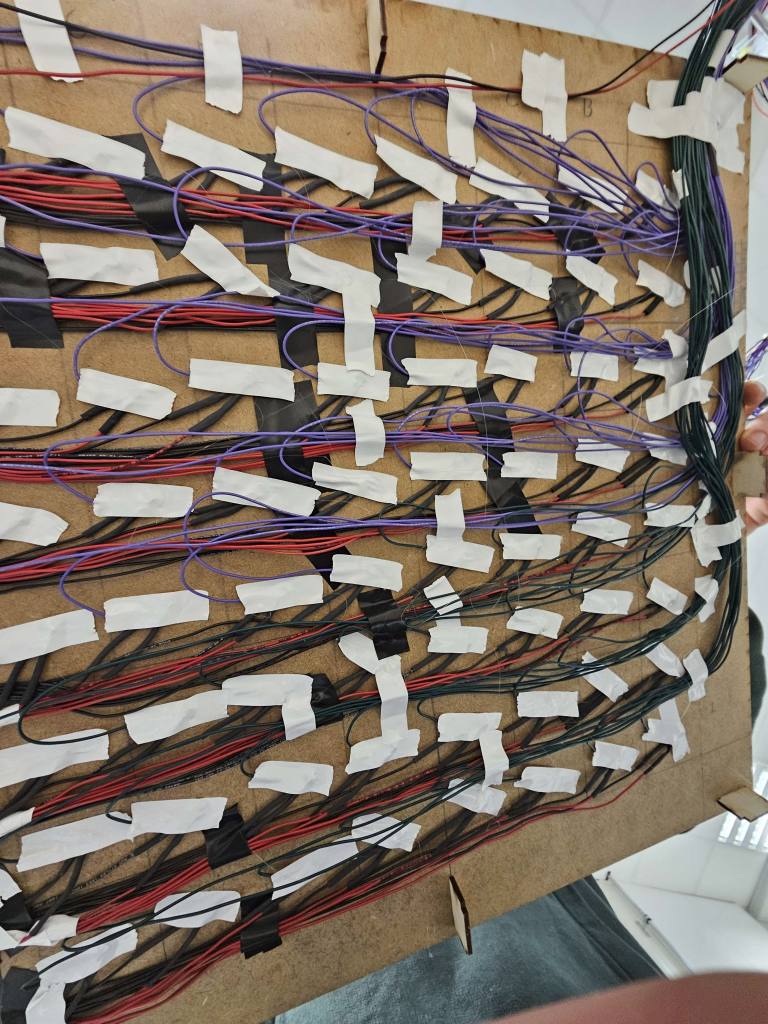
I started on Monday with some testing of the sensors where we then ran into some issues with how we had weird things underneath the board. We then planned to solder every signal wire from the sensors just like we had with Vcc and GND. That meant 64 new wires, all going out to the wires connected to the Arduino shield. A total of 128 small points to solder together so its nothing loose.
After soldering every sensor we then routed every cable so it’s somewhat neat going towards the shield. After connecting we ran a short test to see if we still got any wrong information from the sensor data. Getting every sensor to give us the right readings meant we could then start to assemble it on top of our tabletop plate that we got for free on Finn.no.
When we ran it after assembly, we noticed the servo motors on our bottom axis ran the same way, and since their connected opposite of each other they needed to run opposite ways. We then had to pinpoint what wires needed to be swapped, and after they got swapped around the motors now go the correct ways!
During the end of the week, I worked on getting the two Arduino’s we use. One for the motor and the other for the sensors.
We run our sensor Arduino as the “master” and the motor Arduino as the “slave”.
The master Arduino takes in the signals from the sensors with the code and will then when we do the move send that move as a string to the slave Arduino.
We found out that using Serial1 for communication between the two, and it’s been working as intended.
We then had to calculate the variable for the steps for x and y, so the board puts the pieces in the middle each time. Since each square is 5 cm it was just some minor trial and error to get the variables completely as we wanted them.
We also had to try a lot of different types of electromagnets, some did not produce as much of a magnetic field as we needed. We found that the best solution was a small iron rod, with a lot of copper wiring spooled around. This electromagnet worked way better than any other, so we could put our AMPs down to 3-4 for it to still hold the pieces.
The last part for Magneto to work was to get it to sense if a piece was at the position it wants to move another piece to. It then needs to move to that position, pick up the piece there and move it outside of the board. We managed to get it to work with the Arduinos asking and responding to each other. So, sending a string, we could then receive the information from the Arduino in control over the sensors to send to the motor Arduino that wants the information about position “x”.
After the last part of testing, and getting the 3D printed pieces from Sondre and Ulrik we now have a running chessrobot with some baby flaws.
Emil – Week 12
This week, also the last week with a blog post. It’s been very fun to work on all the posts and putting them together for the team. This course has been a very fun experience and ofc successful.
This week has probably been the most progression we have had all semester. All components and codes we made have now been merged and work great together. I, Kristian and Jon-Eirik have been working together the whole week. Every day except Tuesday we were here from around 10 to 18. So, we have put a lot of hours into this week. Totally around 144 hours so 48 hours each. Ulrik and Sondre have also been here a lot this week, but they have also been working from home.
The week started with us connecting all the wires from under the board to our Arduinos. Then we realized that the connection from the standard Arduino cables was not enough. They didn’t work properly. So, me and Jon-Eirik started soldering all the wires from the sensors instead of using the stock ones. This was time-consuming but ended up working great.
I also went to Finn.no to find a table that we could get for free. Me and Kristian picked this table up and brought it to the university. Then with some help from Richard we cut the table in too and used it to have it under our machine. We then screwed the machine on the table so that it was stable on good. Now everything sits great and good at the table.
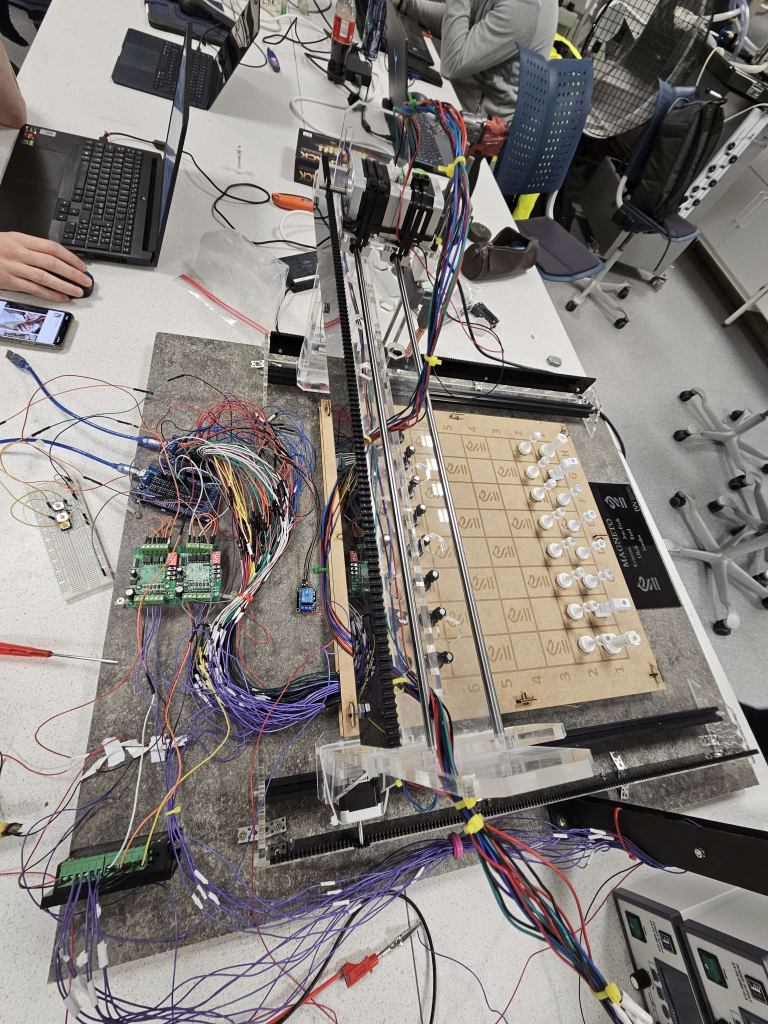
Then we put together all the mechanical parts and wired up the stepper motors so that the machine was built completely. Ulrik had an idea that we could make our own electromagnet. We did this and it worked, but not the best. Later we did some research and Jon-Eirik and I made a better electromagnet, using a metal rod and bending it a bit. Then we hade the coils made with a long “screw” that had threads so that the coil was well made. This worked super well, and we could now pick up metal with ease. We glued the magnet to one of the mechanical parts that would pick up the pieces.
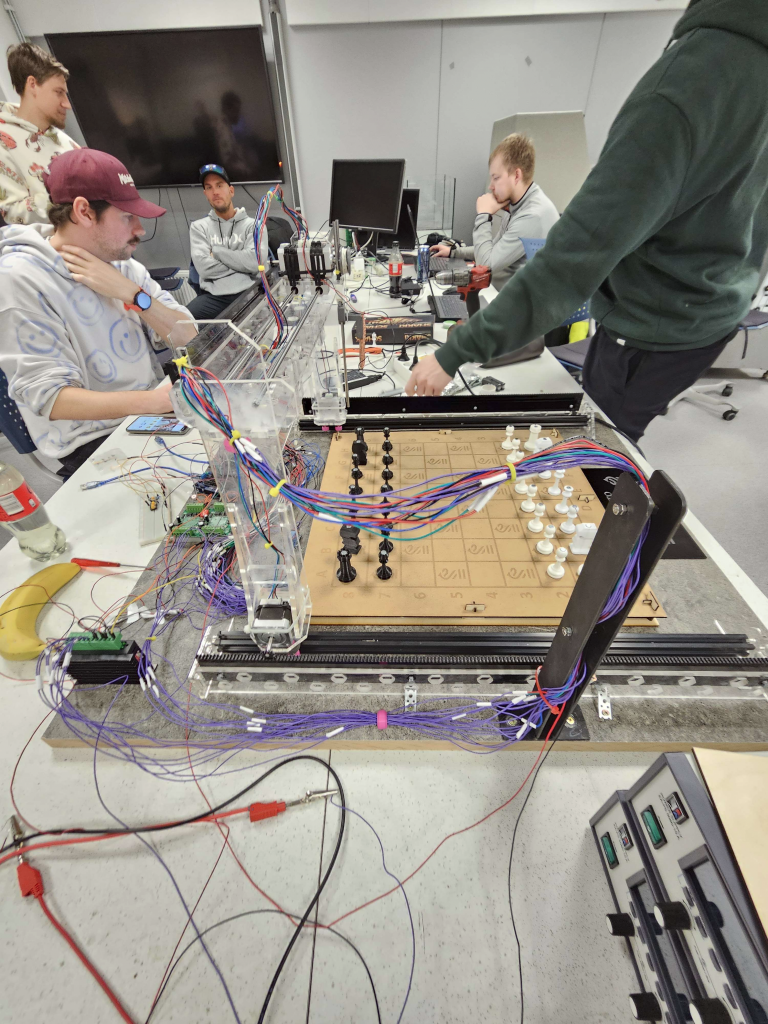
Me, Jon-Eirik and Kristian worked on the code and Jon-Eirik and Kristian made the Arduino boards talk together with all the moves. One of the boards has control over the stepper motors and the other one has control over the sensors. After all the code was put together, we had to calibrate all the motors, we did this and made it so that they can locate all the squares exactly and pick pieces up and put them down on the squares. We did the calibration together and tested a few variables to see what worked the best.
Around the end we tested a hole game with the robot, and this worked great. We did not have all the pieces yet, so we had to help the robot a bit to do this. But it ended up going very well. The Stockfish sadly won the game, but that was expected.
This test worked great! the only thing is that we placed the top motor a bit to far to the right. but it works as its supposed to.
We had to get some metal on top for the chess pieces for the magnet to pick them up. We had some screws that Ulrik cut the top of on and used to glue them on top of the pieces. I did two of the pieces. Now everything is pretty much complete.
As said earlier, me, Kristian and Jon-Eirik did work a lot together this week so pretty much all the computer work and electrical work is credited to us evenly
I Also ended up gluing all the sensors to the board and some of the tape to make sure it doesn’t fall.
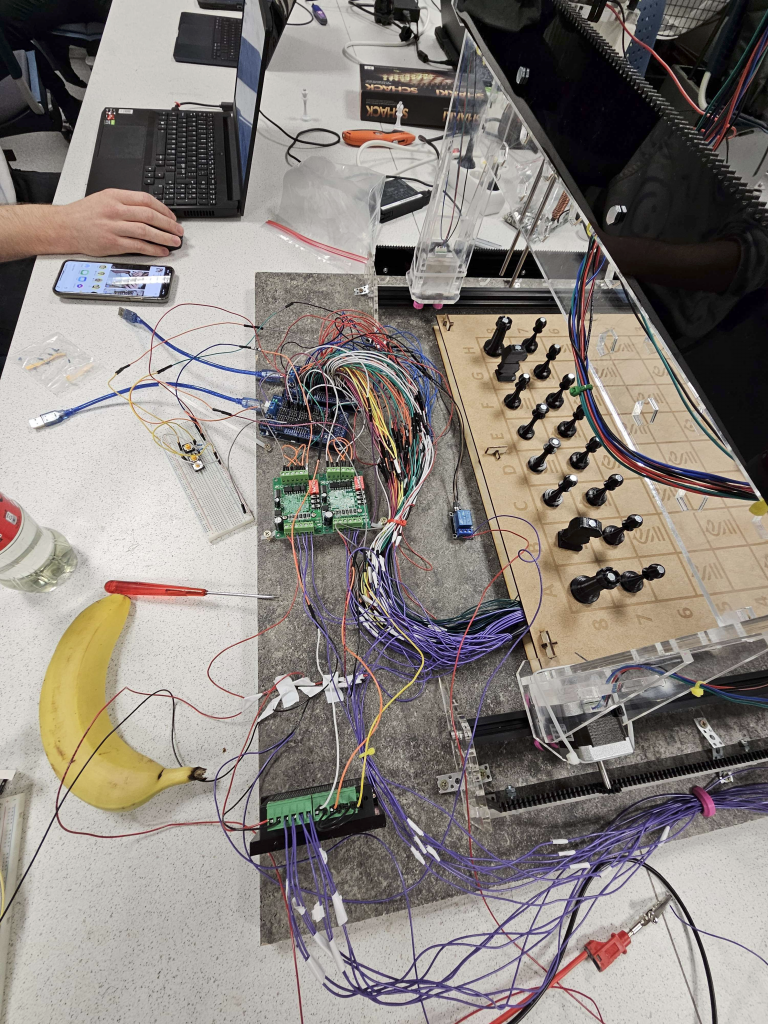
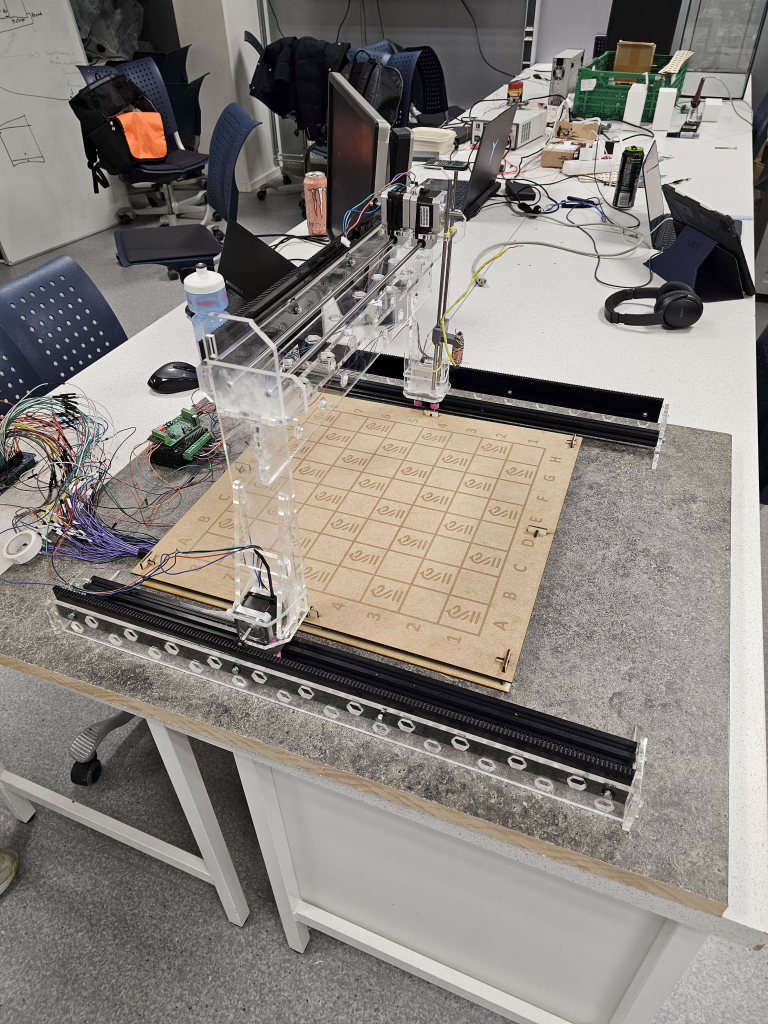
More pictures and videos from us testing and figuring things out:
The videos have bad quality because we had to crop them to be able to use them
Github link: