Ulrik – Week 11
This has been a fun and productive week! We have worked well together as a team and seeing the robot come to life has really been a rewarding experience. I have helped the data-guys soldering together the wires for the sensors and made some modifications on the crane feet. The latter for lowering the centre of gravity in the robot.
To pick up and release the chess-pieces, we tried to source a magnet that was small in size, but still powerful enough to lift the pieces. This proved to be more difficult to acquire than expected, so I decided to engineer it myself.
With copper coil, an iron bolt and the crane block I have created a simple electromagnetic device capable of performing the task. With a power source connected to both ends of the copper wire, a magnetic field is created around the bolt, and the force is strong enough to lift the pieces.
Plan for the next week is to tweak the hoisting mechanism and fasten the motors so the torque won’t twist them.
Sondre – Week 11
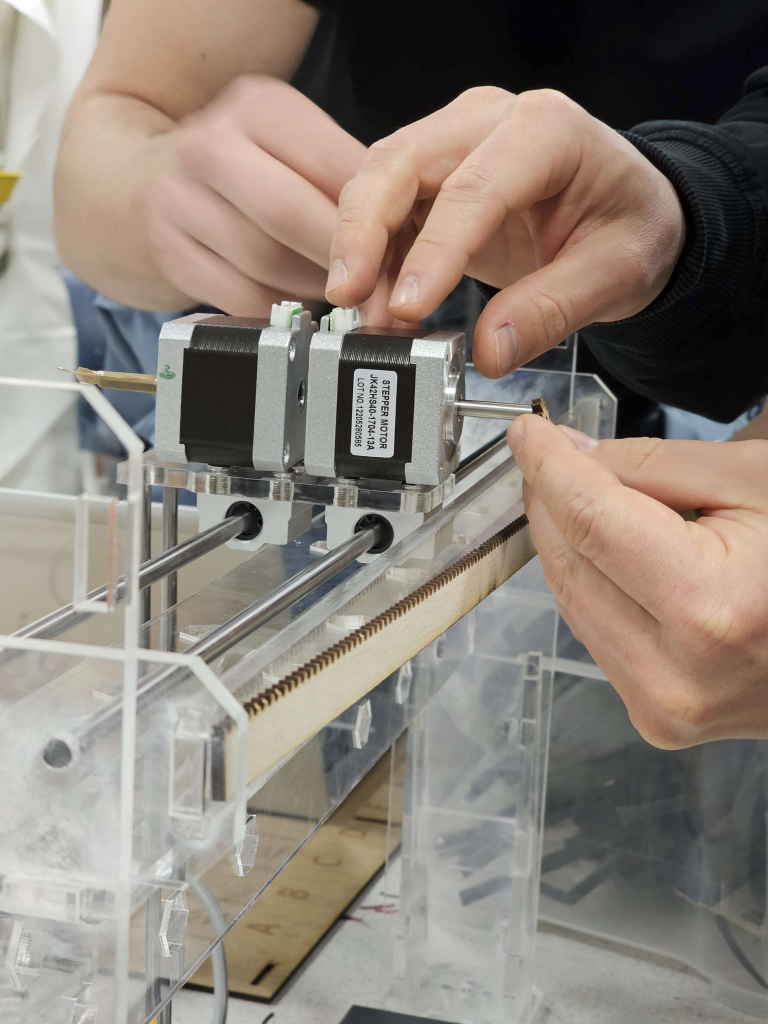
This week I’ve laser cut various parts, iterated the cog to fit on the motors.
Lasercut the drivepart for y axis, mounted and fitted together with the team.
Designed some of the chess pieces in SW and started 3D printing to check
Kristian – Week 11
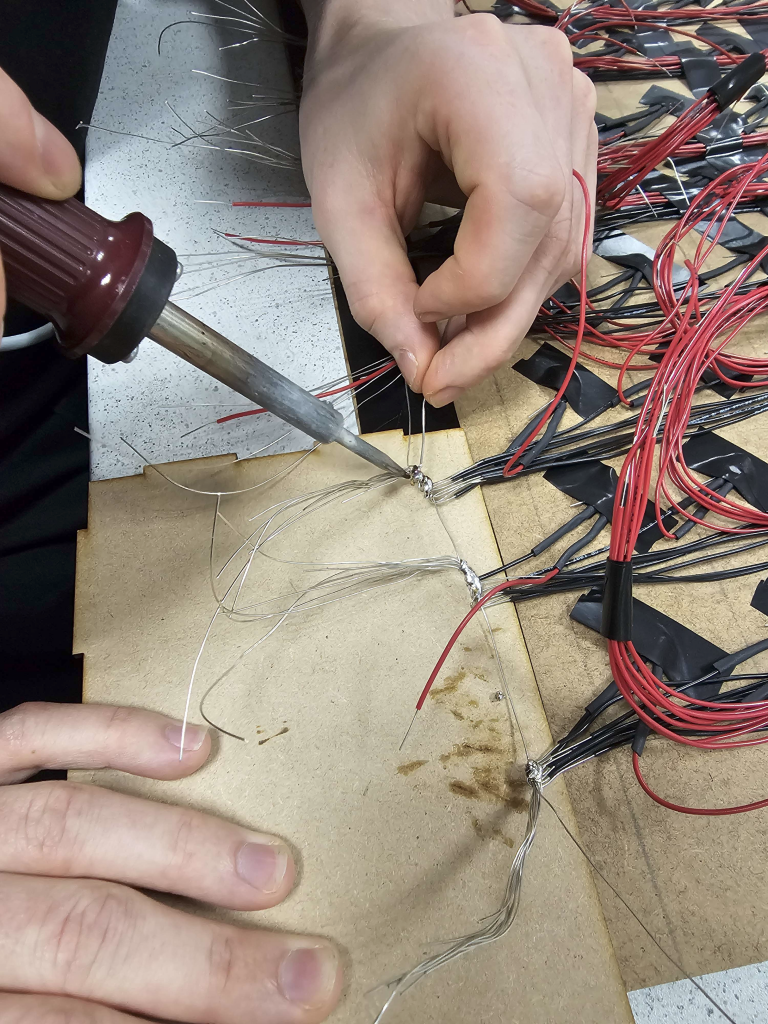
This week has consisted mostly of connecting wiring to the sensors. There are 64 sensors in total resulting in a loooooot of wiring. Each sensor needs ground and electricity resulting in 128 cables that need to be soldered in place. I have worked on this process from start to finish this week.
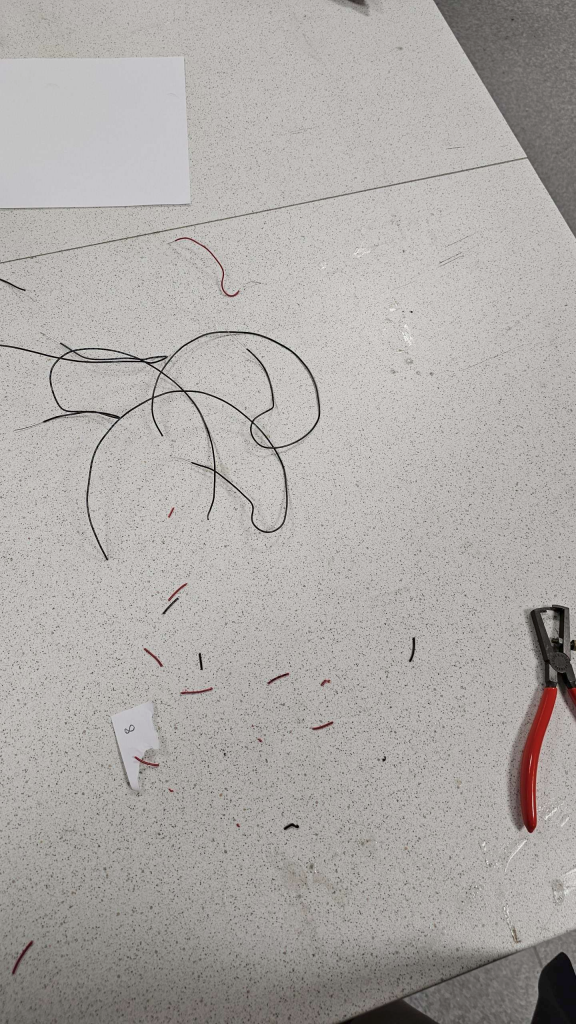
The plan was to have two main wires with ground and electricity beneath one side of the chessboard and connect all sensors to this main wire. And that is what we did. I cut the wiring based on the length from the chess square the sensor is located on to the main wire. This means cutting the wire into 8 different lengths and 8 wires in each length times two (because ground)
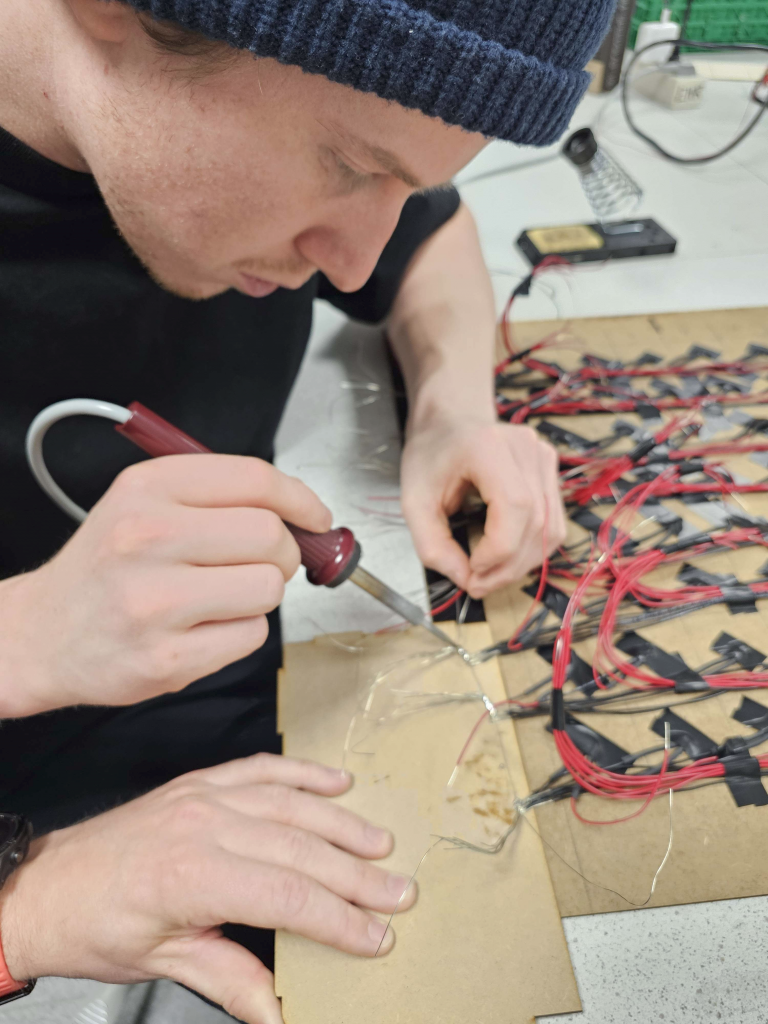
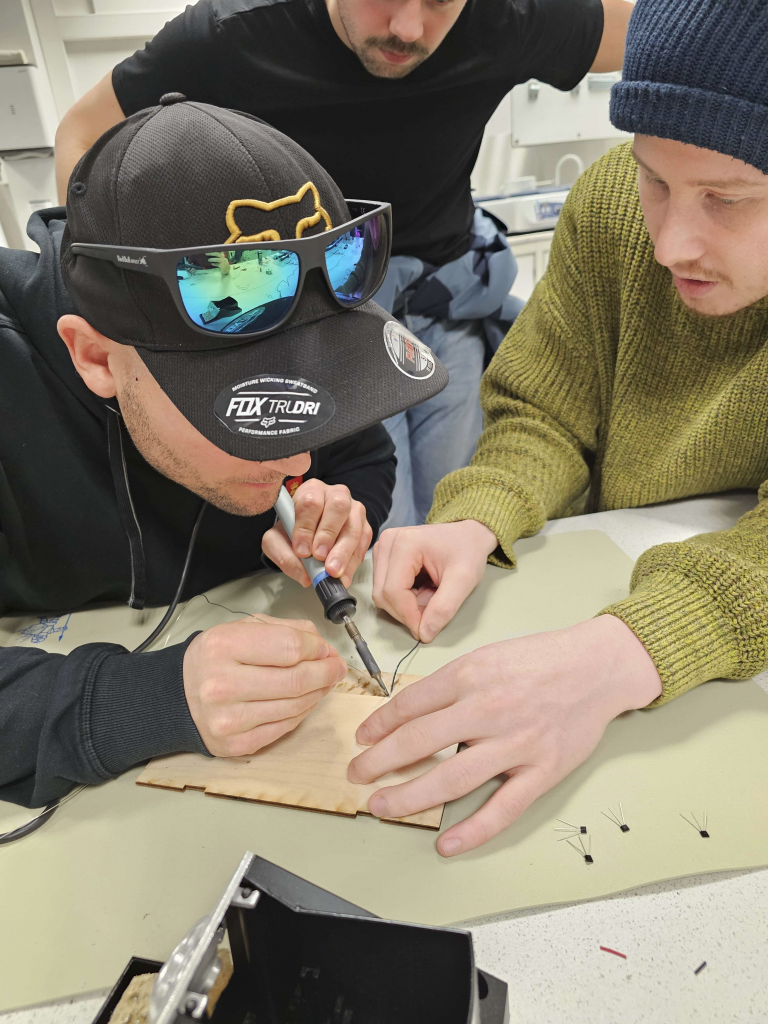
It didn’t take us long to figure out the soldering was a two man job, one person soldering and the second making sure everything stays exactly in place. Both the sensor and wires were all over the place unless they were held in place. I held the wires for each sensor while the sensors were soldered one by one. When all of the sensors were soldered we started putting them under the chess square they belonged to..
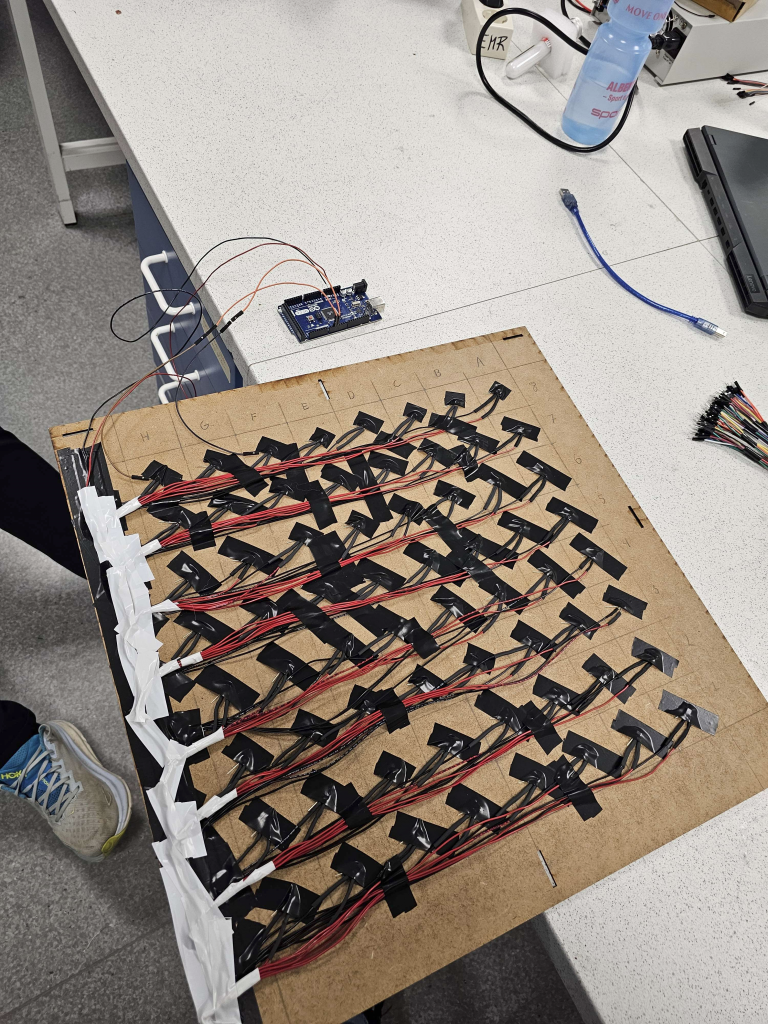
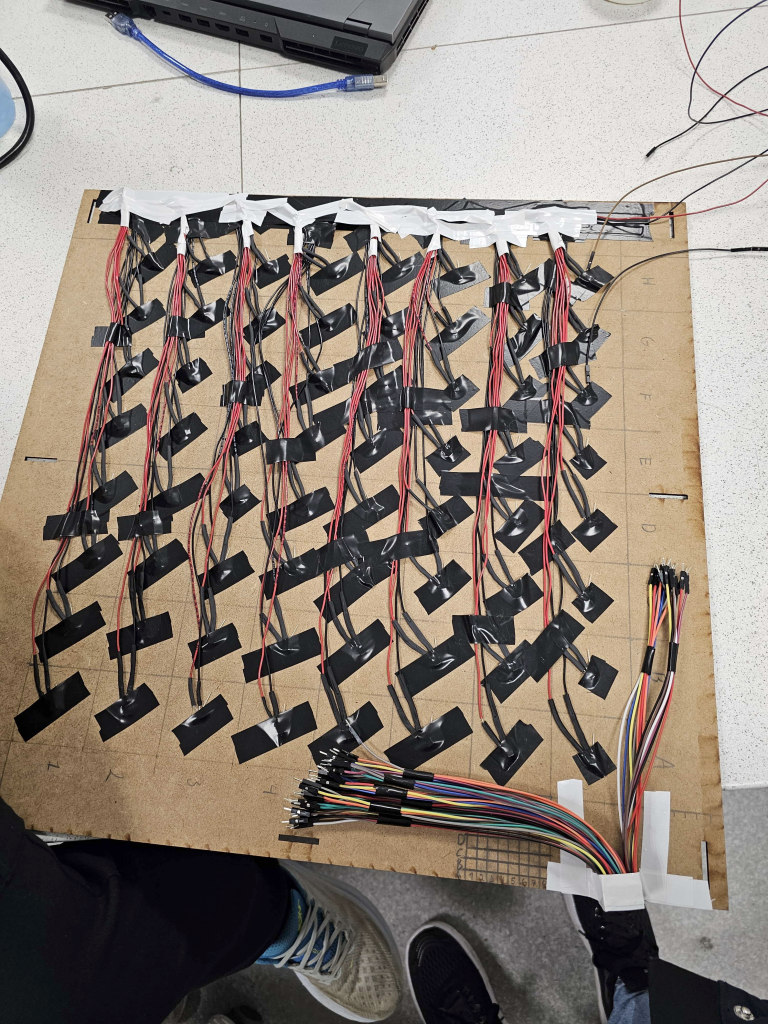
As you can see by placing just the 8 first sensors there are quite some wires already. We made sure to tape the whole row of both ground and positive to make sure the wires were kept at least a bit in place. This was done to keep the board “cleaner” as we continued placing sensors down the board.
After every sensor was placed on its respective square we had to solder each and every ground and positive opposite end of the wire to the main wire on the side. But before we could start soldering the wires to their respective main wire we had to strip their ends. (yes, we should definitely have stripped the other end before we placed the sensors down hahah) but we made it through and soldered all the opposite ends to the main wire as well.
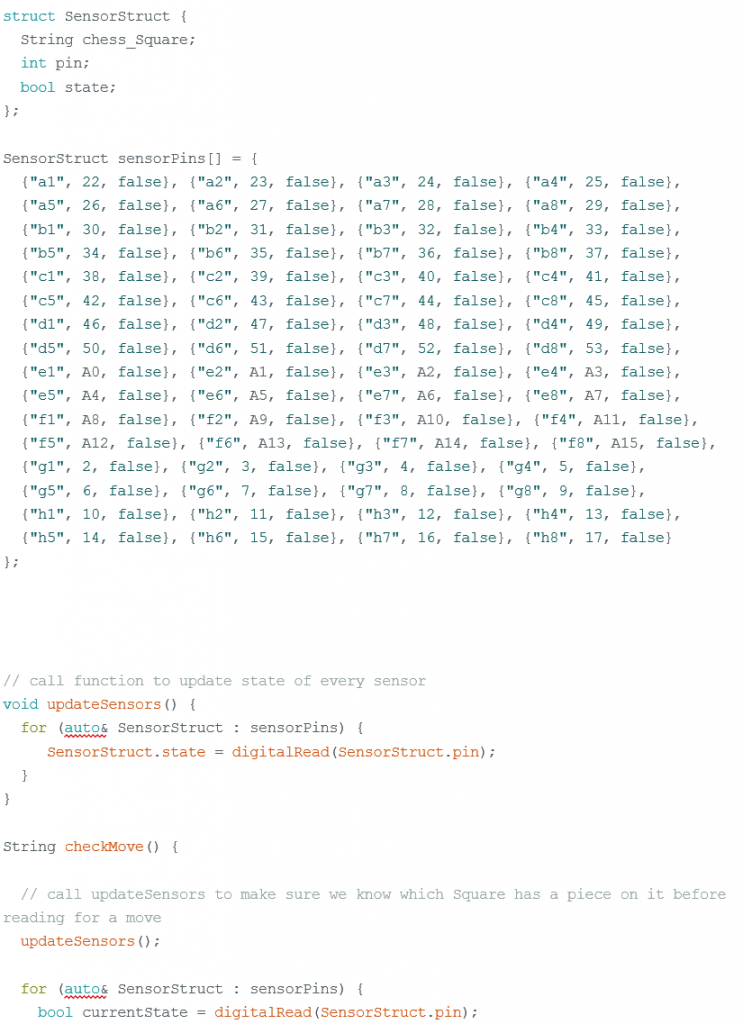
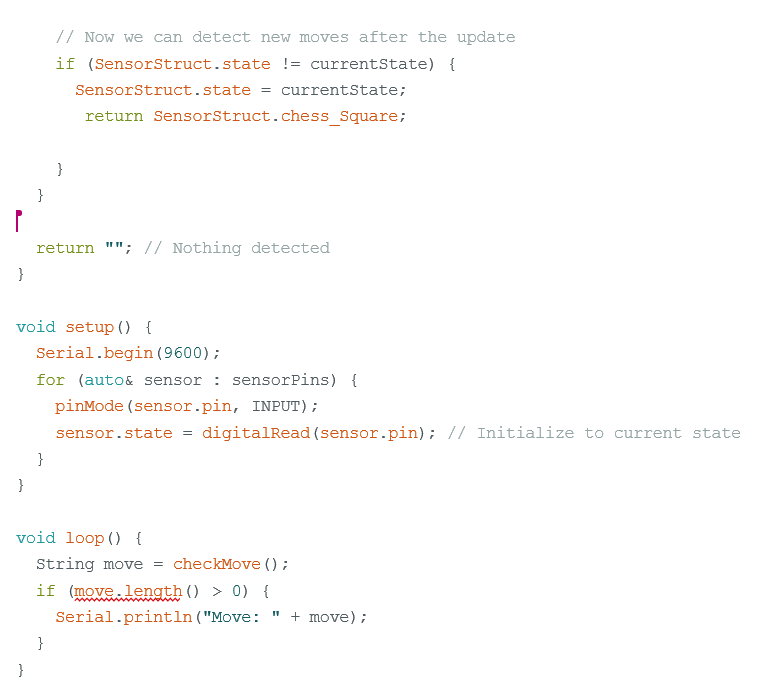
I also looked into how we could/should read the sensors by using arduino code. I started by using a library giving me access to std::map. This library gave me some errors that I didn’t understand, and figured I had to try using something else. After trying std::map i tried using a struct for each sensor.
String for the chess square, int pin for connected to pin and a bool state.
The code is not yet finished, but i believe this can be implemented into the rest of the code and make it work eventually.
This will by no means work properly yet, but can be used for testing. Next week it will be ready.
Jon-Eirik – Week 11
The main focus this week was assembling and connecting the 64 halls sensors that will serve as the eyes of our robot, detecting piece movement on the board.
We had to position the sensors in its designated slot on the chessboard grid. Soldering the pins was our first step. We soldered one by one sensors, doing both the GND pins and VCC pins.
We had to think about the length of the cables before soldering, so we precut the length we needed so the soldering and placement jobs went smoother.
This task wasn´t a solo endeavor. The hall sensor is incredibly small, making it tricky to handle them alone. So, we divided the work:
I worked on soldering the wires, while Kristian where my extra set of hands. We tried having two soldering stations but found it to be easier for Emil to handle the shrinking tubes around the wires where we soldered.
After we soldered and placed every sensor we started testing some of them before we started with even more wiring. We wired with a lot of male to female and some female to female until we ran out of wiring, now needing more for the rest of the sensors.
Emil – Week 11
This week, me, Kristian and Jon-Eirik has worked on putting together the sensors and wiring for our chess robot. We have made good progress and are pretty much done with the work for this week. We started on figuring out how we were going to fit cables to the sensors, we were debating if we were going to use soldering or maybe shrinking tubes. Soldering ended up being the best method with shrinking tubes to cover it up after. I striped a lot of the cables so it would be ready to be soldered.
We started by trying to be 2 persons that used the soldering tool, but that didn’t work so we had to be 2 on one tool to do it with consistency. I tried soldering and did a few by myself, but Jon-Eirik and Kristian did it much faster, so I started putting on the shrinking tubes and heating them in place. We did this for all 64 sensors + one spares.
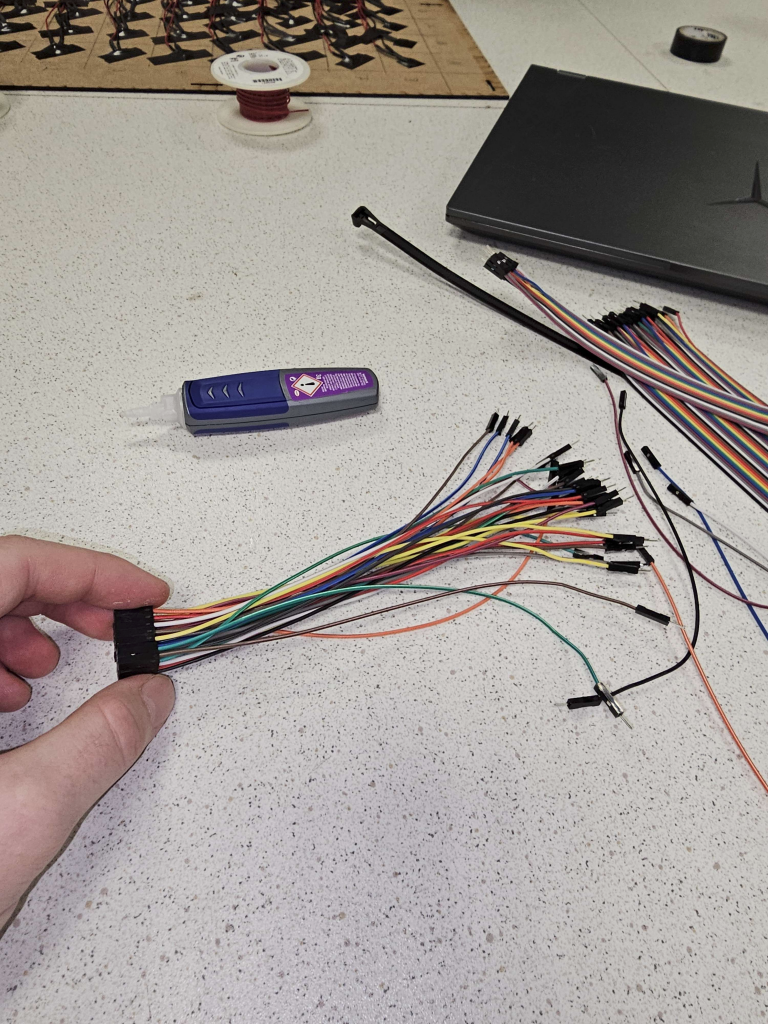
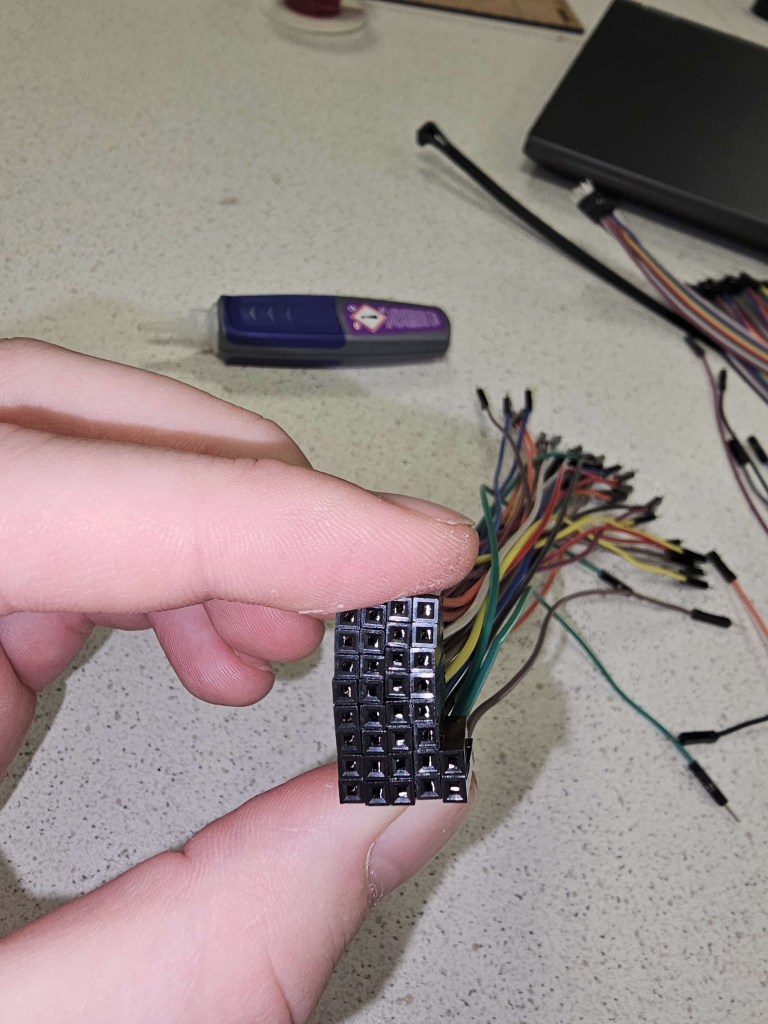
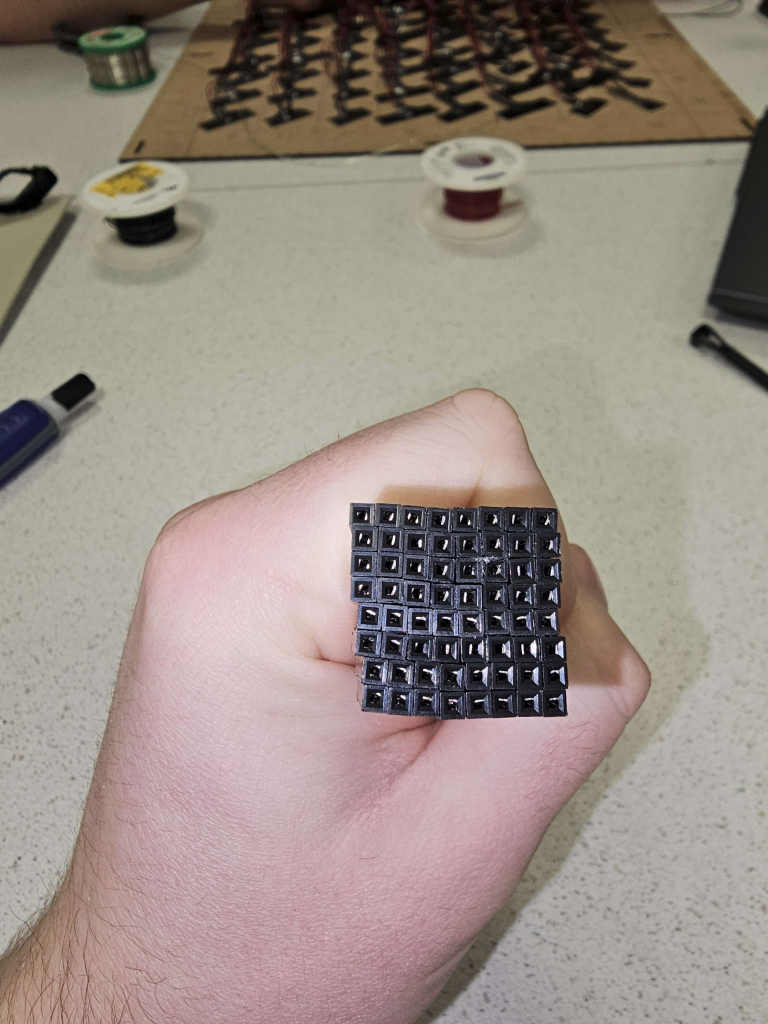
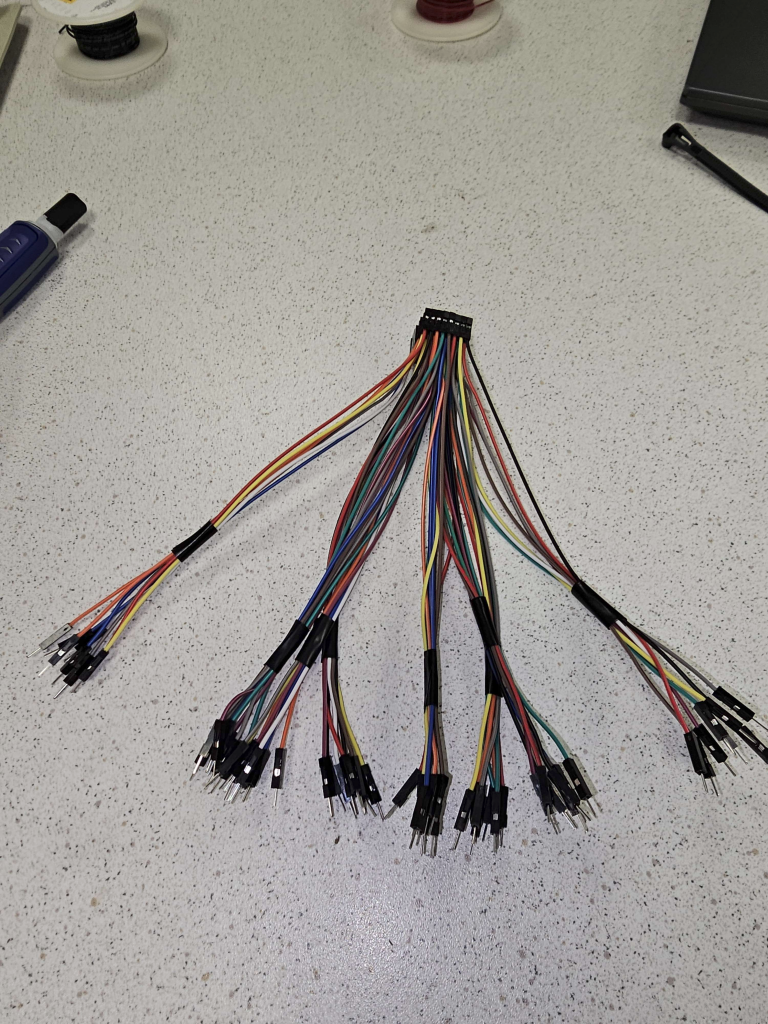
After this we put them on the board and connected all the wires to a power cable and a ground cable. After that I glued together some cables so it was a big cube that we could easily connect the Arduino to. Then I connected most of the sensors to the cube so we could test it and connect the rest. All this took up most of the time this week, it was very time consuming.
This is some group photos/videos from what we have done and some for what ive done:
